
This article represents the Korbyt system before version 3.0. It is maintained for any On-Prem Users who require legacy support articles.
If you are using Korbyt Anywhere release 3.0 or newer you should use the following article: How to Import New Desktop(InView) Users
Creating KorbytGO Users
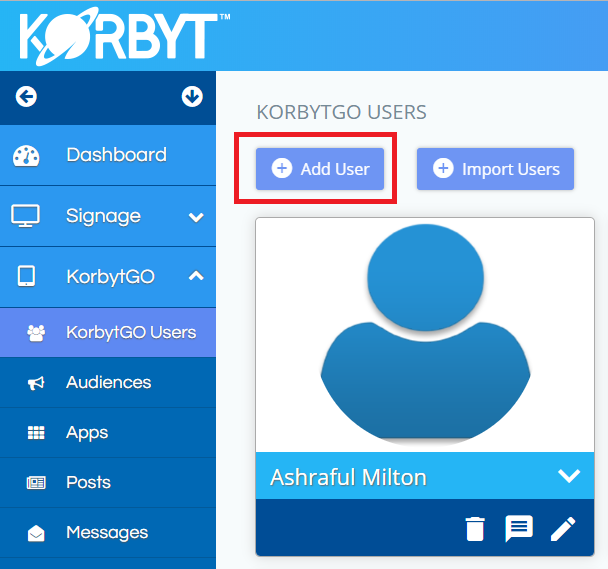
- From your Dashboard, click ‘KorbyoGO’ to expand that section.
- Click ‘KorbytGO Users’
![]()
- Click ‘Add User’ in the top left corner.
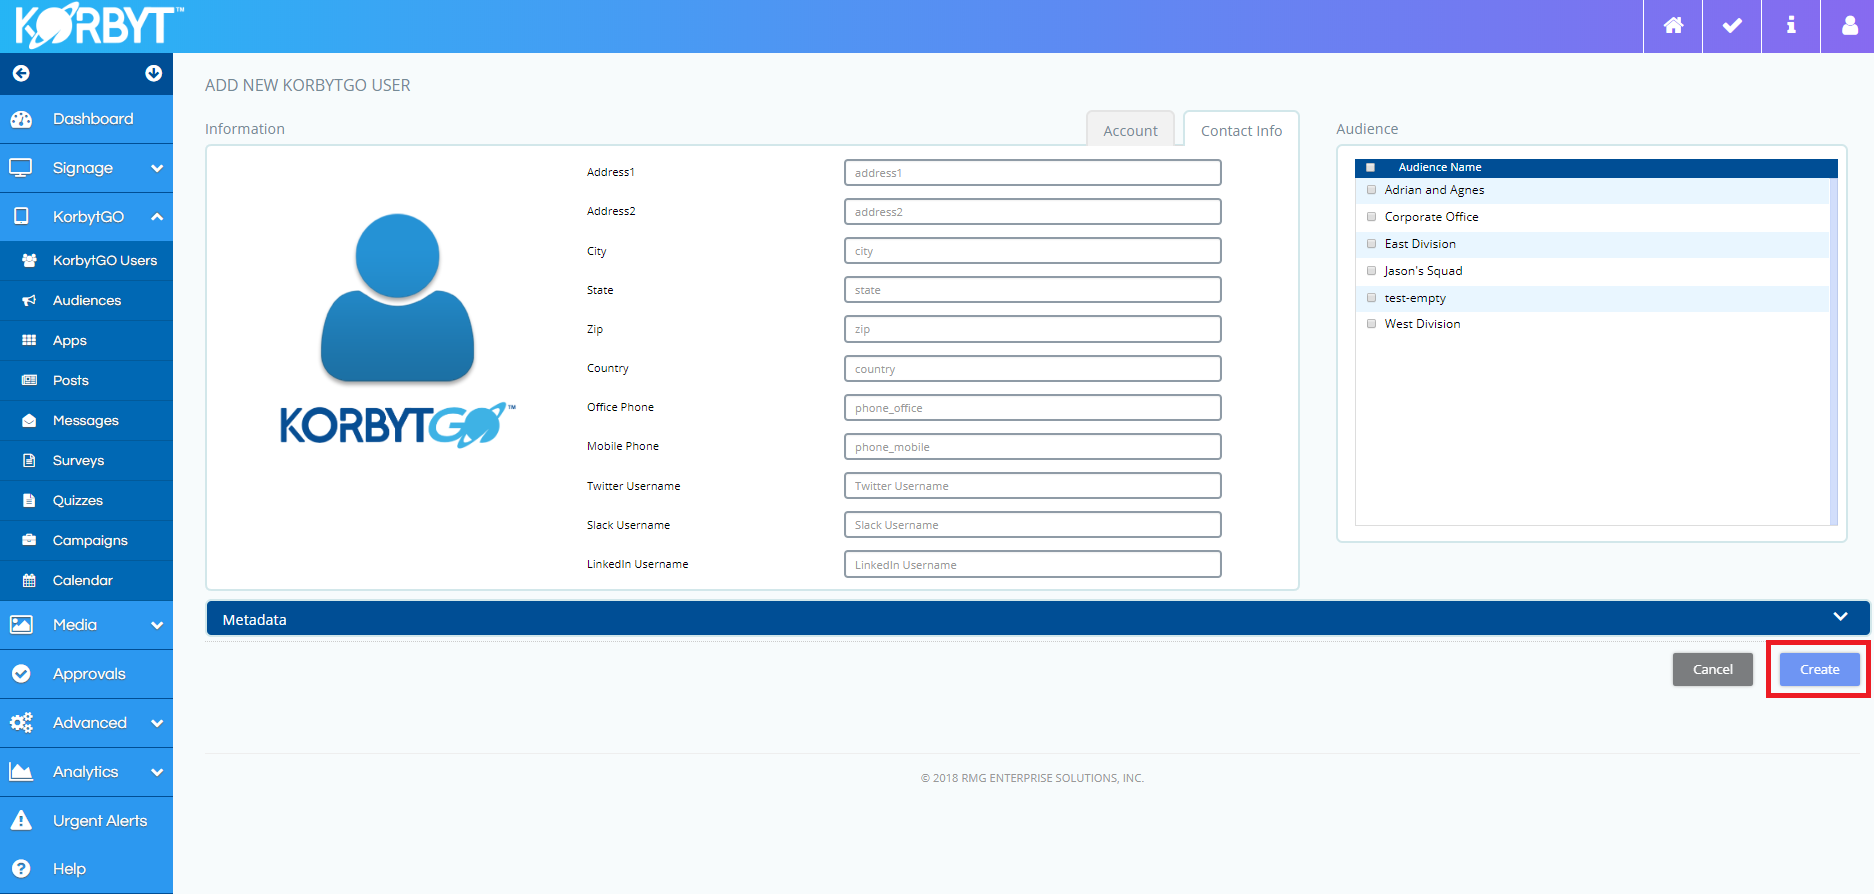
- You will now be on the Add New KorbytGO User Dialogue
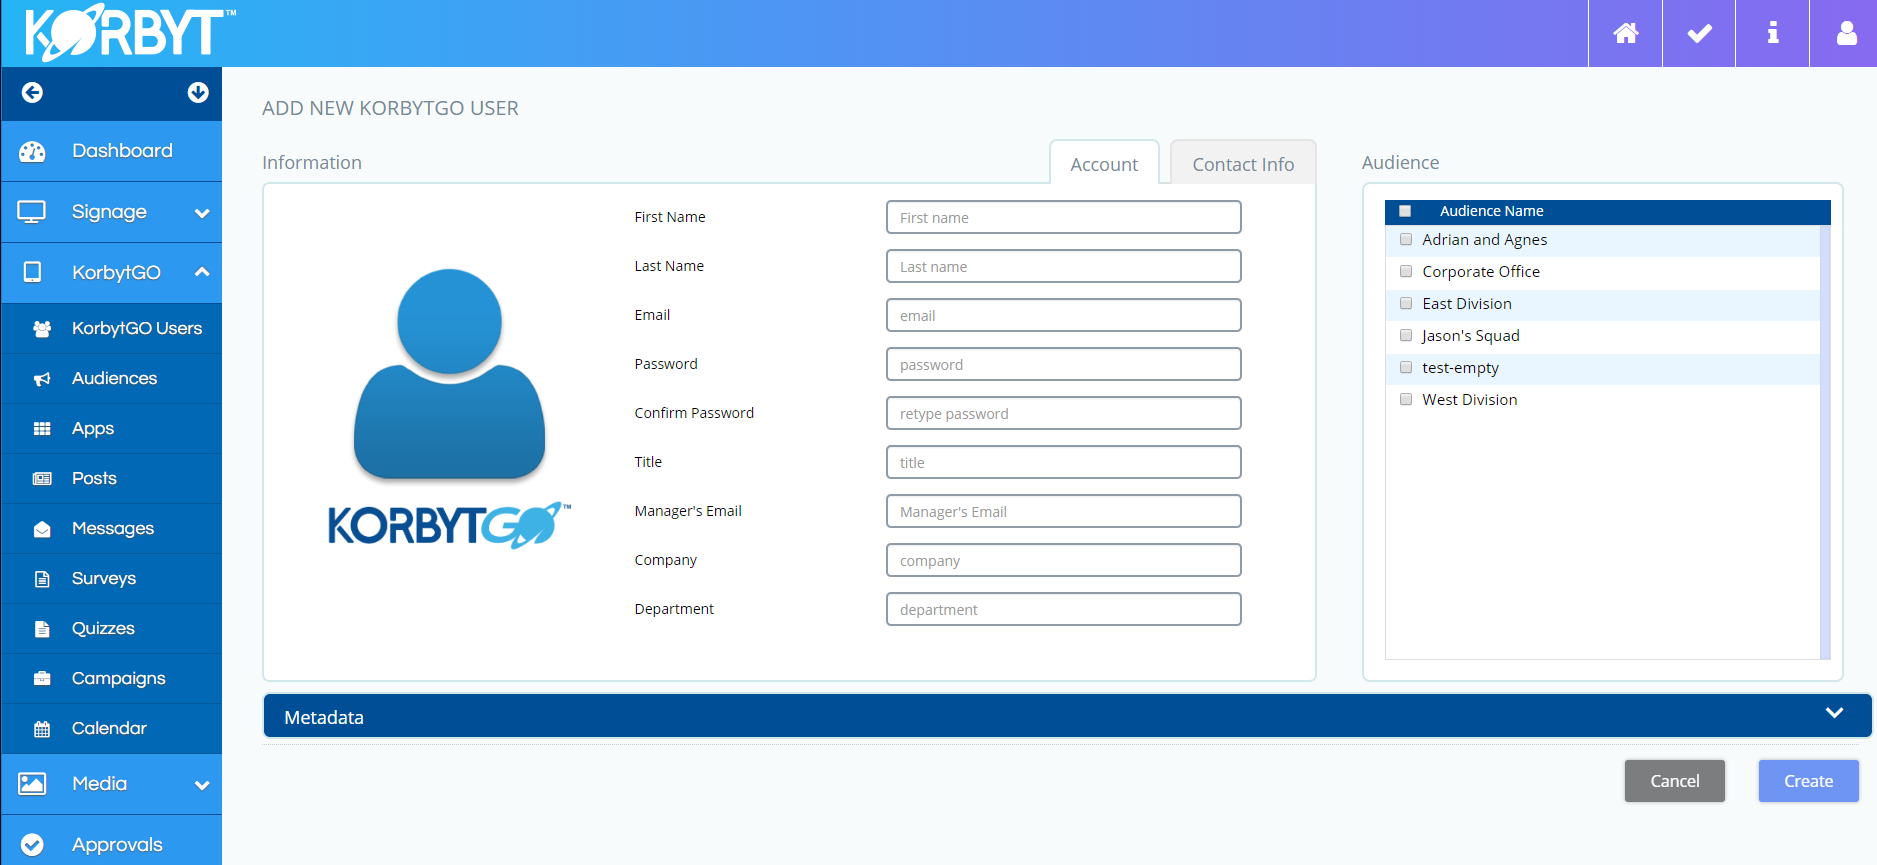
- Type in the following:
- First Name – User’s First Name
- Last Name – User’s Last Name
- Email – User’s Email Address *Note: Upon creation an email will be sent to the user at this email address*
- Password – Password for user *Note: Setting the password to Default1! they will be prompted to change their password the next time they log in*
- Confirm Password – Confirm the password you typed above
- Title – Set a User’s company title
- Manager’s Email – Set a User’s manager’s email address
- Company – Set User’s Company Name
- Department – Set User’s Department Name
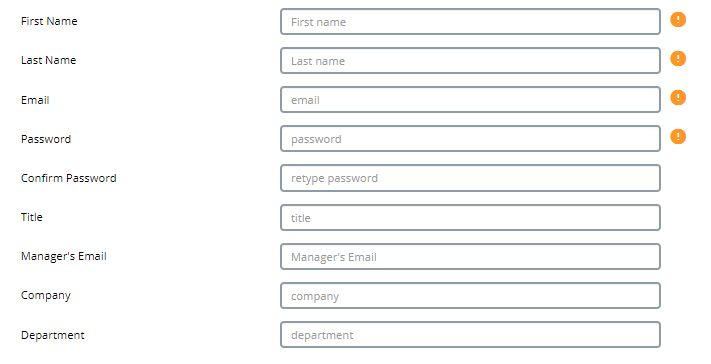
- Only the First Name, Last Name, Email and Password are required fields
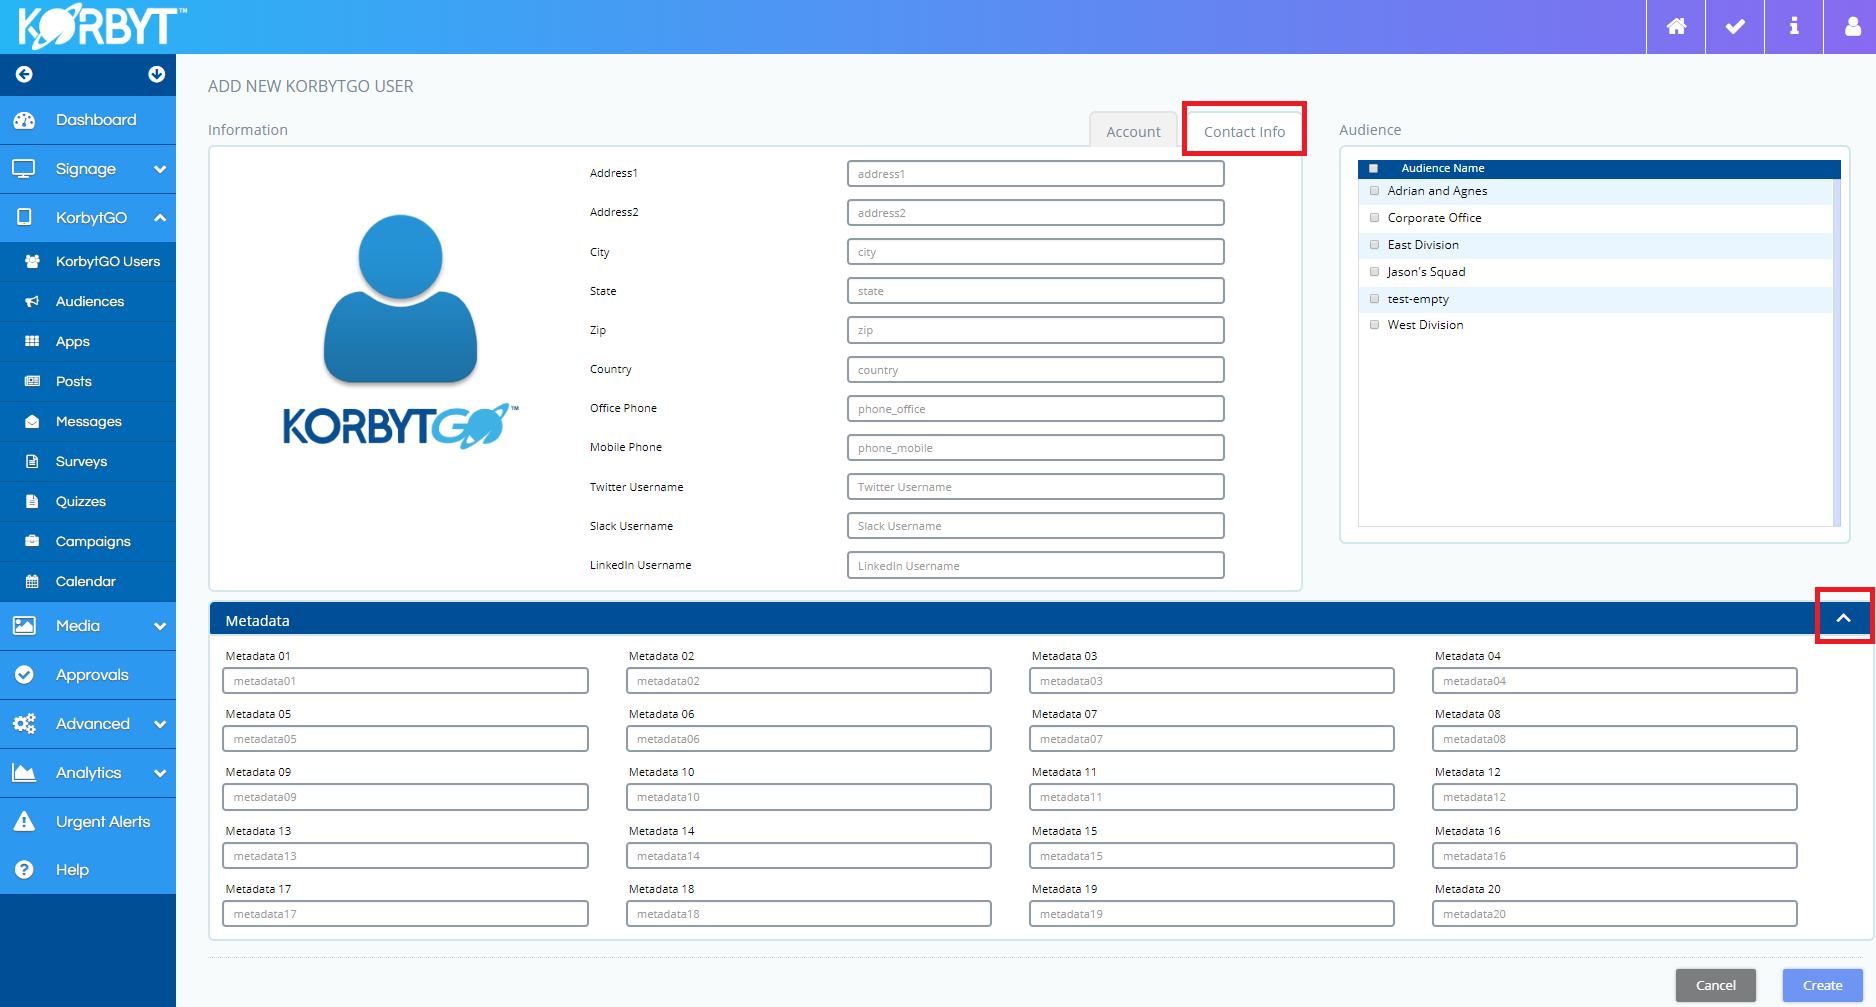
- Additional information can be filled out for the user by clicking on the Contact Info tab and the Metadata drop down. *Note: None of this is required information*
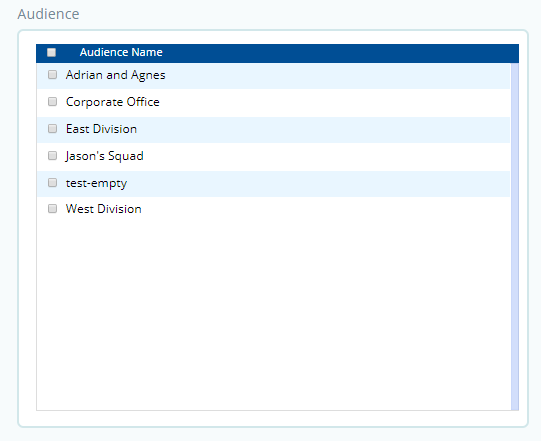
- Lastly you can select the Audiences this user is a member of.
- Finally click the Create Button to complete adding your new user.
- Congratulations you have successfully created a new KorbytGo User.

Adding KorbytGO Users in Bulk
We also offer the ability to Import a CSV file to create KorbytGO Users in Bulk.
- From your Dashboard, click ‘KorbyoGO’ to expand that section.
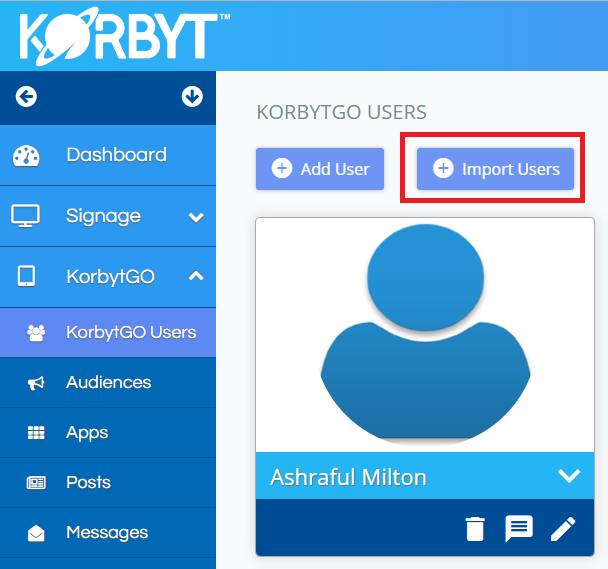
- Click ‘KorbytGO Users’
![]()
- Click ‘Import Users’ in the top left corner.
- You can download a sample CSV File by clicking the “Download Sample CSV File” button.
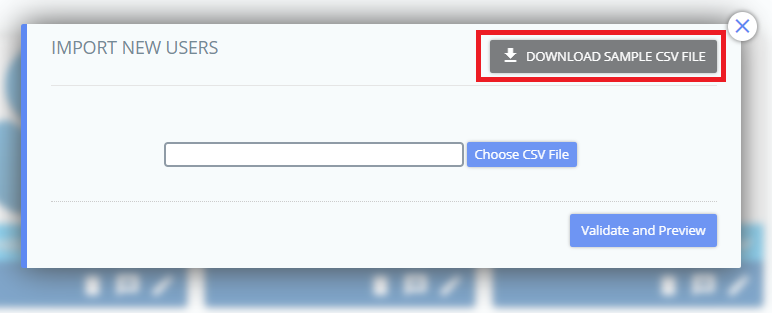
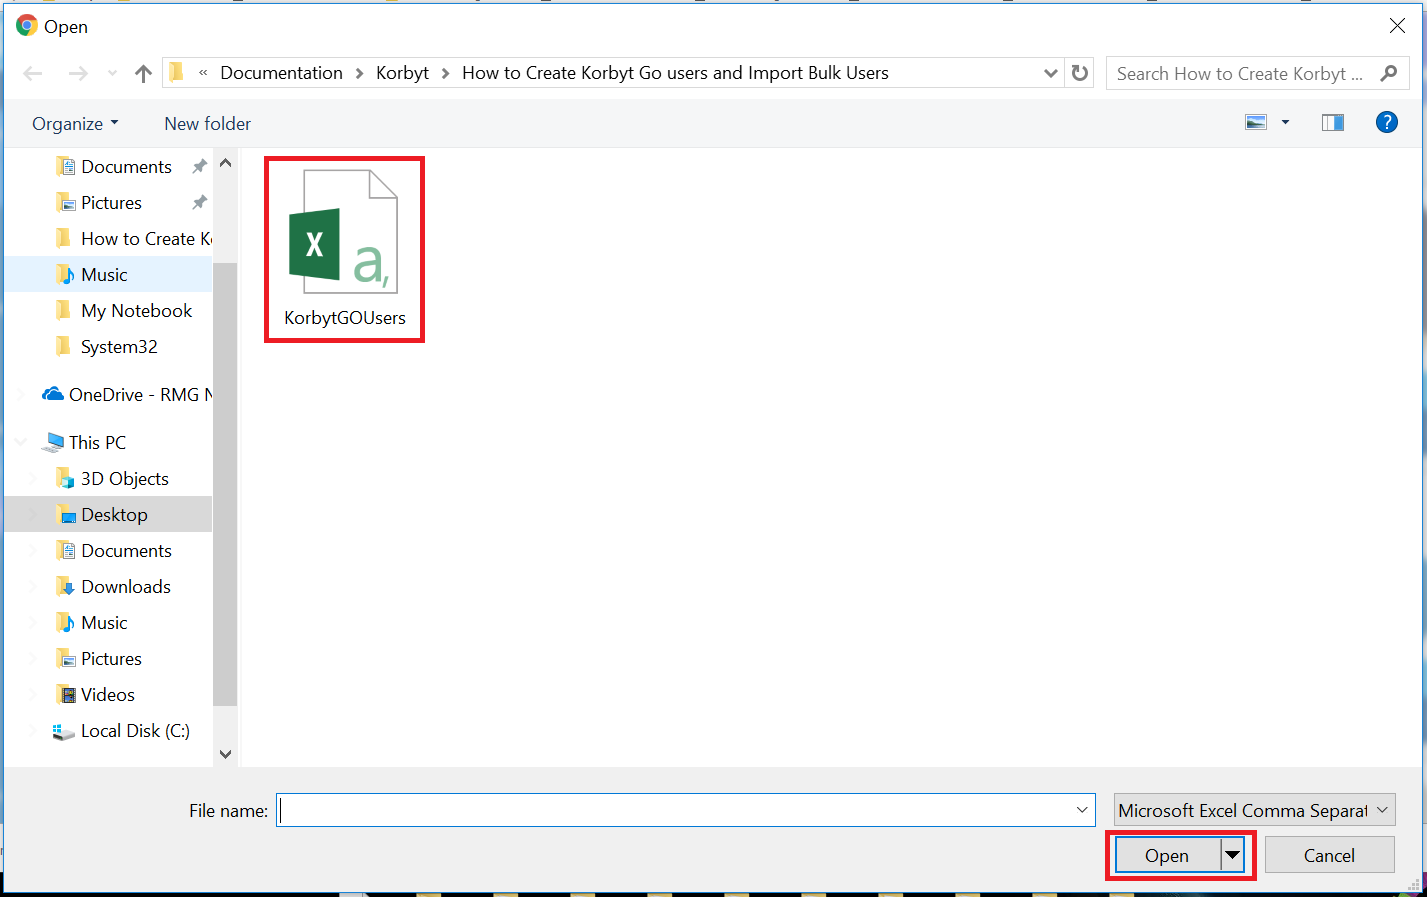
- After editing the Sample CSV file to your liking with all of your user information, you can click the Choose CSV File Button.
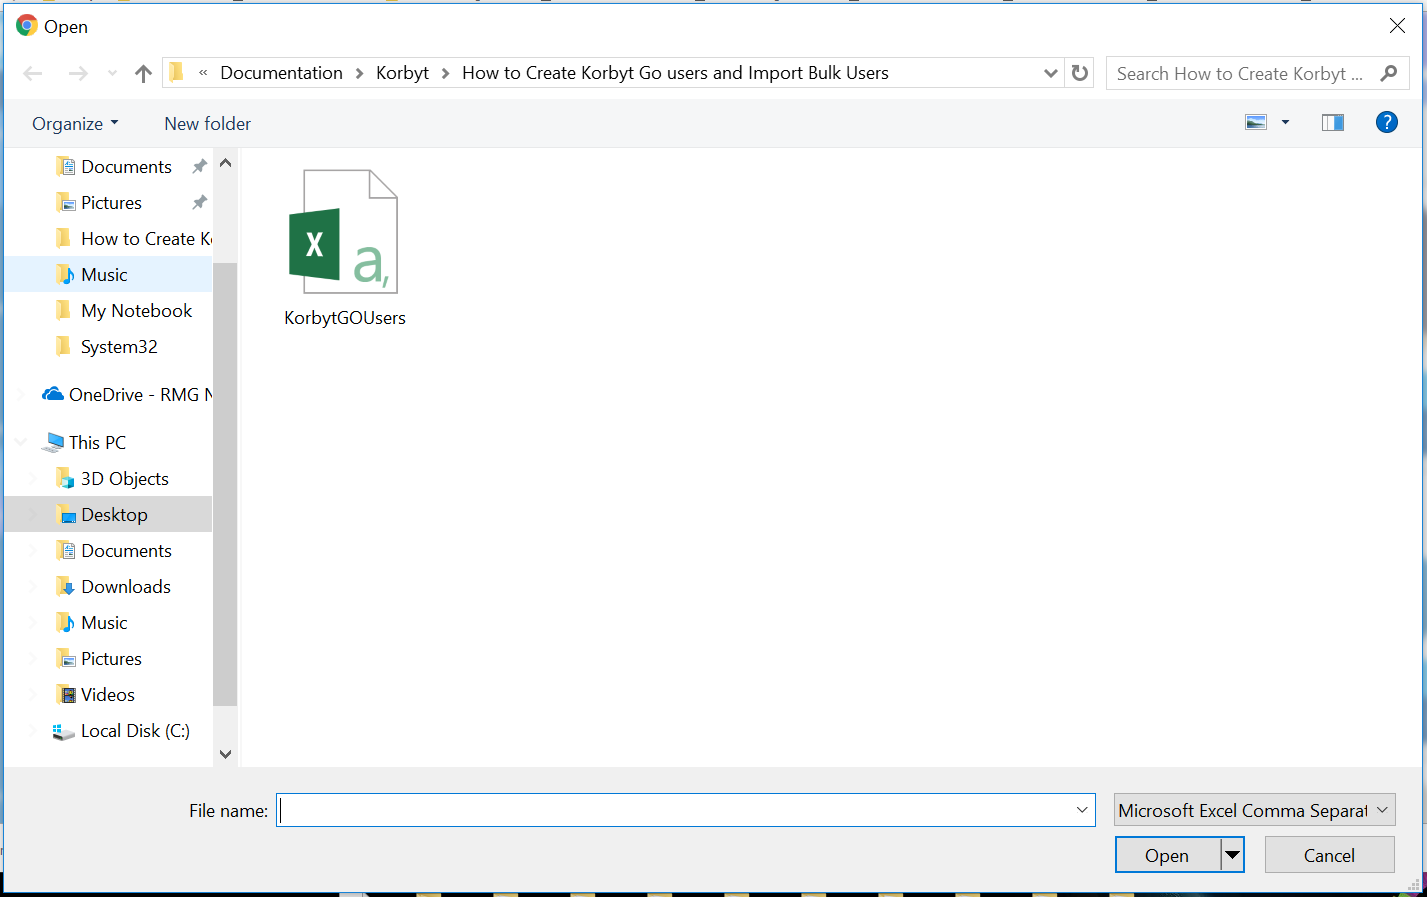
- Select your CSV File and click the Open Button.
- Then click the Validate and Preview Button.

- You will now see the Preview Import Dialogue. Verify your users in the list and you can now click Import.
*Note: If you wish to remove all users that are not in the CSV file you can check the “Remove Users Not in File” Check box*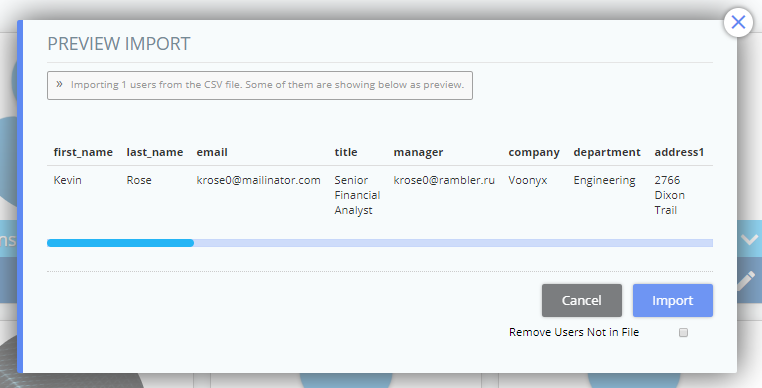
- After clicking Import it will reload the main KorbytGO Users screen with the users now showing in the list.
Notes regarding Import functionality
- There is the ability in Korbyt to rename the Metadata fields so that instead of saying “Metadata 1” etc they are whatever you want them to be (IE. Shoe Size, Shirt Size, Political Affiliation)
- Adjusting these Metadata Field Headers is done by going into Advanced -> Settings -> KorbytGO Settings -> KorbytGO User Metadat.
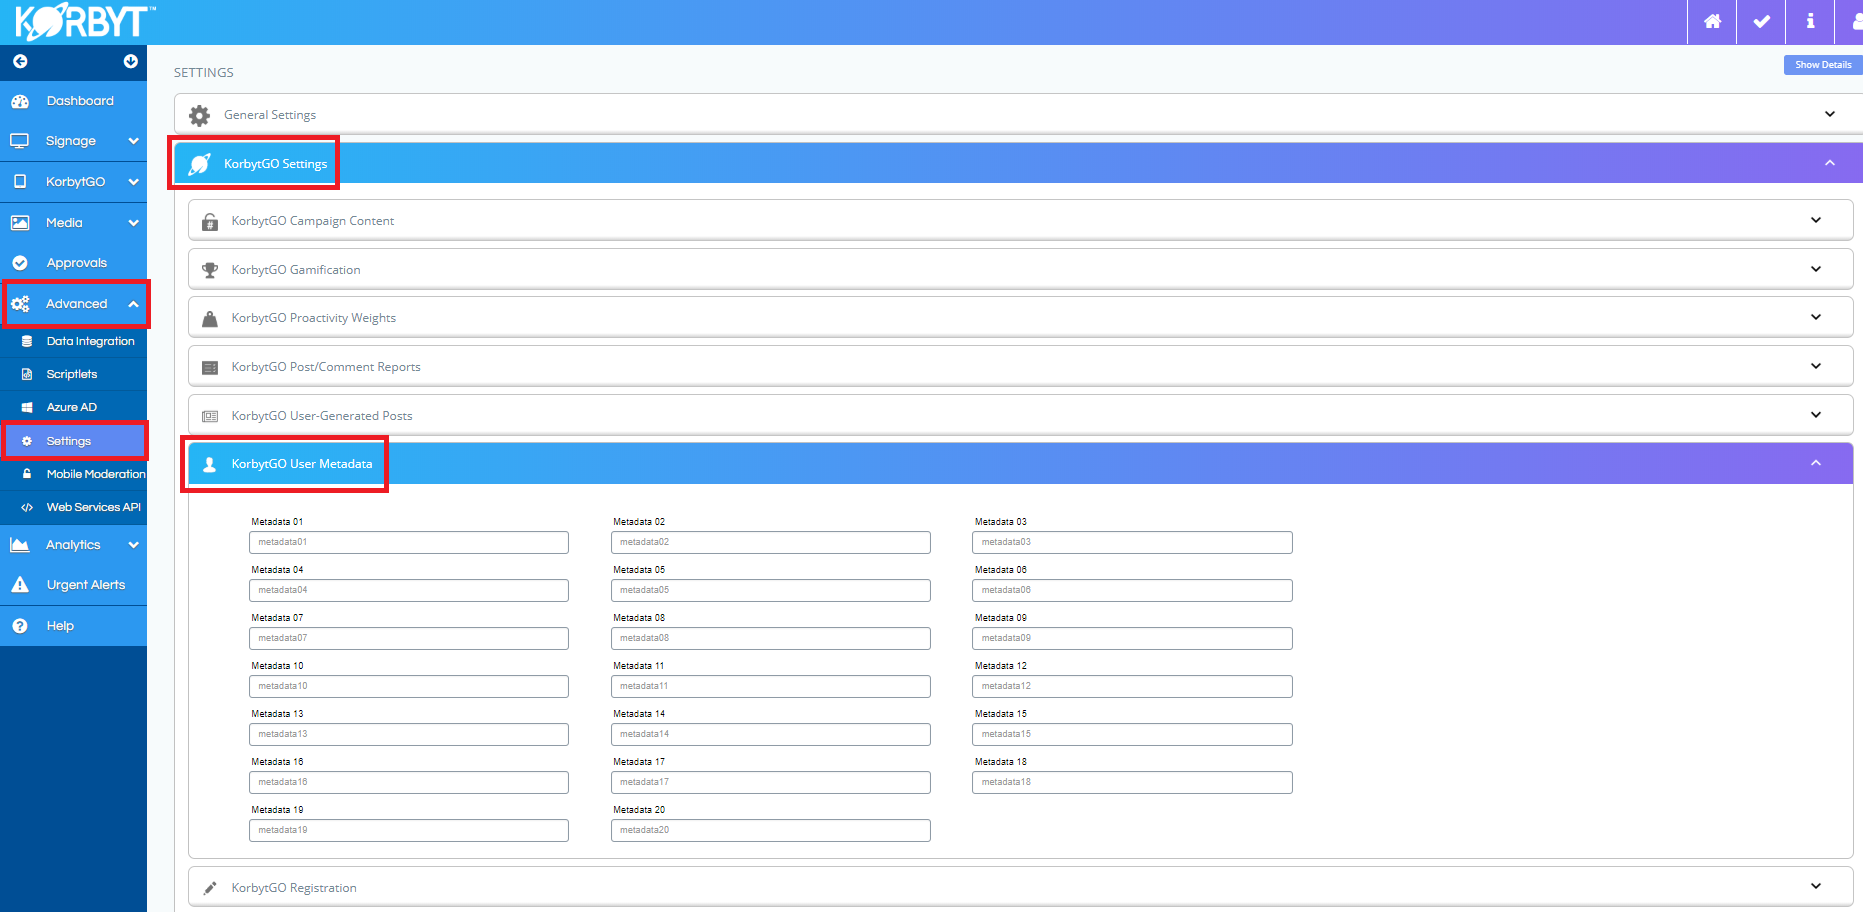
- An important thing to note is that if you adjust these Metadata Field Header names here, you will need to make sure they match in your CSV file otherwise the Import will fail.