Layouts allow you to arrange and modify a variety of elements. Elements come in many different forms, ranging from images and text to tables that contain subscription data. The result is a finished design that can be sent to a screen via a Playlist.
This article focused on Creating a New Layout and Managing Existing Layouts.
Creating a New Layout:
The following section reviews the options when creating a new layout and the steps involved.
- Click open the Mega Menu
in the upper left, and in the Content Section click on Layouts.
- On the Layout Screen you will see existing Layouts and be able to create new ones

- Click Create Layout to being the process of creating a new layout

- Enter a layout name.
- Add custom tags.
- Optional and If enabled for your tenant, select the Record Proof of Play checkbox to record how long and how often your layout is used when attached to a playlist.
If when you click Create you see a Dropdown menu allowing you to select options you are in an updated Layout Experience, please navigate to Creating and Managing Layouts – New Experience
For clients in this Classics Experience we are developing a roadmap to bring the New Experience to all tenants soon
- Select one of the following layout types and complete the corresponding steps:
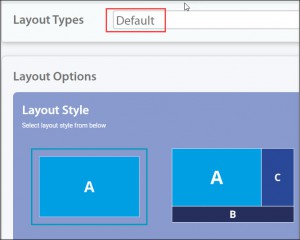
Element Type Description Steps Default Standard canvas with a selection of canvas styles and default resolution of 1920 x 1080. Select a layout style.
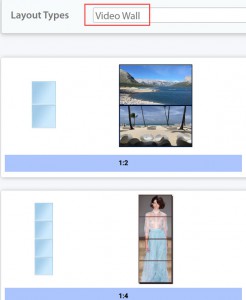
Video Wall Allows you to control how you want your layout to be displayed on multiple screens. The content in the layout can appear continuously from each screen or appear independently on different screens. Select a ratio.
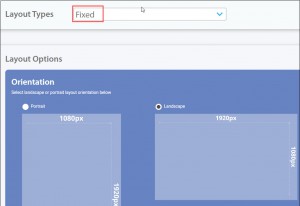
Fixed Offers custom dimensions that can be set in either a portrait or landscape orientation. Select an orientation and enter the necessary dimensions.
External Layout Allows you to import layouts that were created using an external HTML builder. Click Choose File and upload a zip file that contains the necessary HTML, CSS, JavaScript, and image files.

Import Layout Allows you to import a Korbyt layout that you exported previously and updated. Click Choose File and upload the zip file with the new HTML, CSS, JavaScript, and Image files.

Note: Be sure to retain the original zip file name. - Click Create.
The Layout Builder launches.
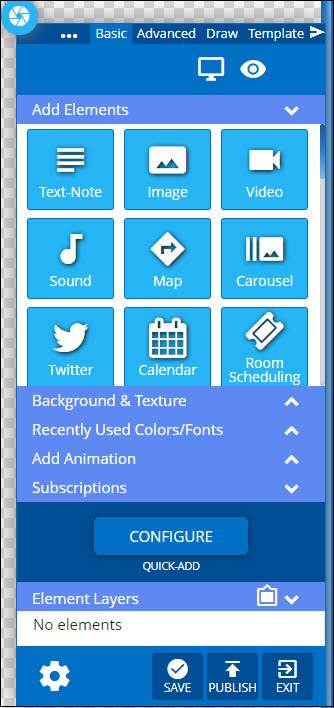
- Use the Layout Builder Control Panel to add the necessary customizations.
- For more information, refer to Using the builder Tool for Layouts and Messages.
- Once Done you can Save or Publish your work using the buttons at the bottom of the control panel
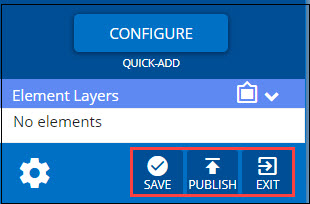
- Save: Allows the layout to be saved on the fly to ensure that no changes are lost.
- Publish: Allows the layout to be shared across Korbyt Anywhere so that it can be added to playlists. If you’re not an administrator, your layout must be approved by an administrator or designated approver. For more information, administrators and designated approvers should refer to Approving Layouts.
- Exit: Allows you to either save your changes and exit the Layout Builder, or exit without saving any of your changes.
Managing Existing Layouts
After layouts are saved and/or published, you can perform the following actions from the Layouts Dashboard:
The actions that are available for a Layout will vary slightly based on it being in Draft or Published status

| Action | Description |
|---|---|
| Allows you to edit the layout’s elements in the Builder Tool | |
| Allows you to download all associated HTML, CSS, JavaScript, and media files, which will be exported as one ZIP file.
NOTE: This action is only available for published layouts. |
|
| Allows you to preview the layout and all associated elements in a separate tab within your browser.
NOTE: This action is only available for published layouts. |
|
| Allows you to update the layout’s settings. (Name, Validity Dates, Tags) | |
| Allows you request approval from select users who have Approval rights for the design
NOTE: This action is only available for layout drafts. |
|
| Allows you to clone the layout so that you can reuse its settings and elements for new layouts. | |
| Allows you to permanently delete the layout from Korbyt Anywhere. |
