Layouts allow you to arrange and modify a variety of elements. Elements come in many different forms, ranging from images and text to tables that contain subscription data. The result is a finished design that can be sent to a screen via a Playlist.
This article focused on Creating a New Layout and Managing Existing Layouts.
Creating a New Layout:
The following section reviews the options when creating a new layout and the steps involved.
- Click open the Mega Menu
in the upper left, and in the Content Section click on Layouts.
- On the Layout Screen you will see existing Layouts and be able to create new ones

- To create a new Layout click the blue Create Layout button to drop down the list of creation options
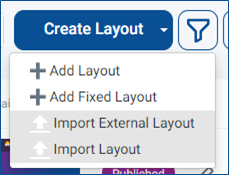
- Add Layout the most common option Creates a new layout that will adapt to standard screen proportions
- When adding a Layout in this way you will have the ability to select a blank canvas, or a templated starting point
- Add Fixed Layout Creates a new layout where you can define specific pixel dimensions of the screen
- When adding a fixed layout design the only option is to start from a blank canvas
- Import External Layout Lets you import a layout built in a 3rd party editor
- Will prompt you to use your file explorer to select a .zip package on your computer
- Import Layout Lets you import a layout that was built in a Korbyt Tenant and exported
- Will prompt you to use your file explorer to select a .zip package on your computer
- Add Layout the most common option Creates a new layout that will adapt to standard screen proportions
If your create menu looks different, having no drop down for the create button, your tenant is on a slightly different interface, please see Creating and Managing Layouts – Classic Interface
For clients in this Classics Experience we are developing a roadmap to bring the New Experience to all tenants soon
+Add Layout
The most common option for creating a new screen layout. You will have the option to select either a blank canvas or a template with some elements to get your started.
Designs built through this process will scale to different display ratios, making themselves as large as they can without distorting elements on the screen.
- After Clicking +Add Layout you will be shown available templates in your tenant
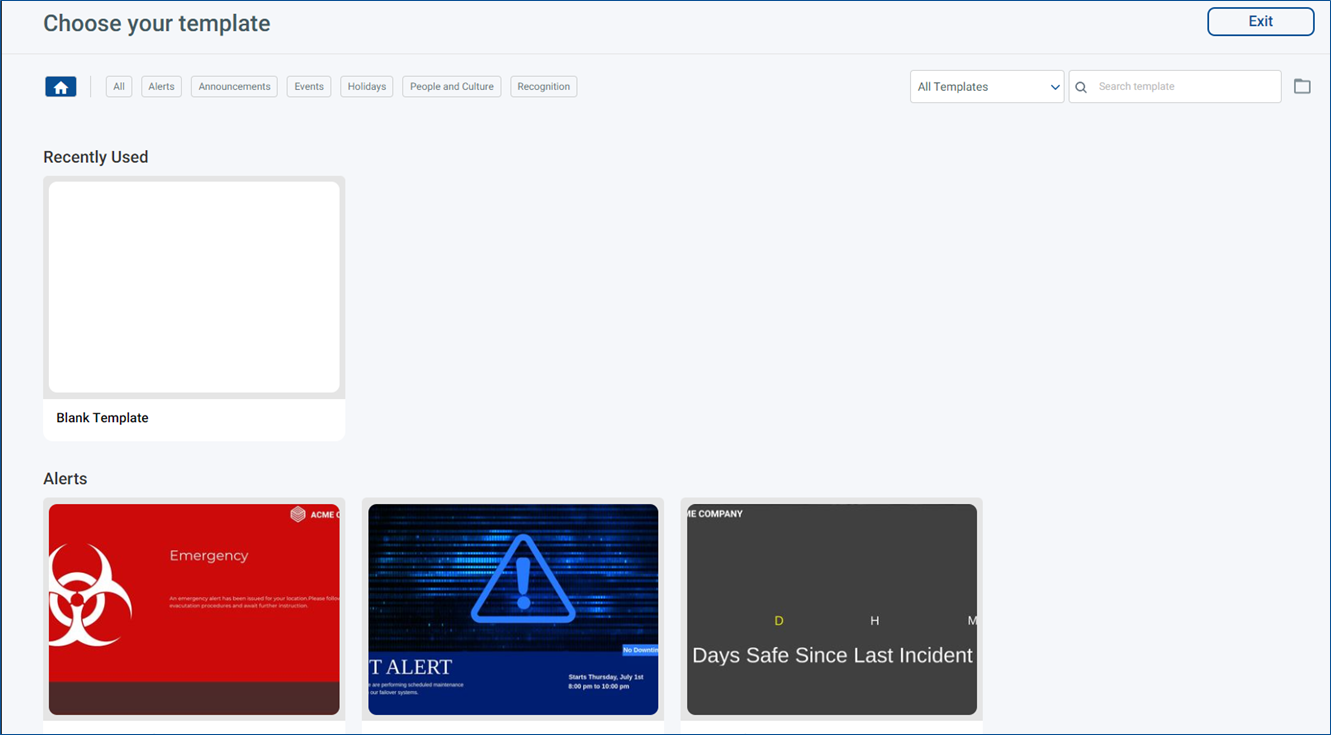
- These will include Korbyt provided templates, and ones created specifically for your tenant
- For templates other than the Blank Template you have the ability to preview what it includes before selecting
- Once you have found a template you want to use, click the Add button that is present when your mouse if over it
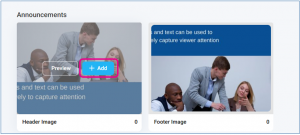
- After clicking the blue +Add button you will have a popup that asks for the Layout Settings
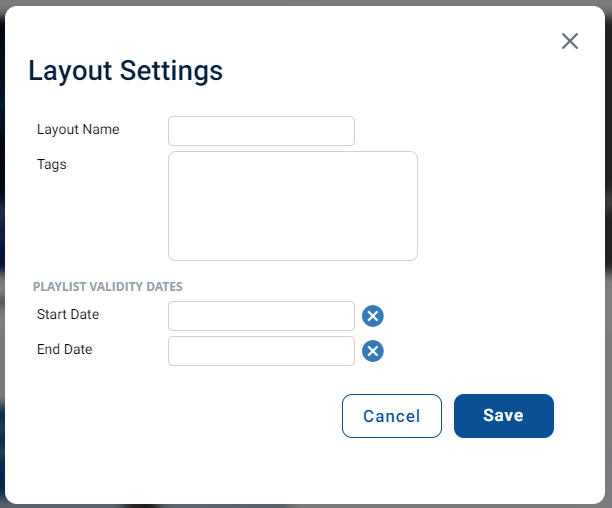
- After defining the Layout Name, Tags, and Validity dates, click Save to open the the builder tool with the elements from the template
- Optional and If enabled for your tenant, you will have a check box to select the Record Proof of Play in the layout settings
- You will then be able to customize the elements that were part of the template, or add new elements
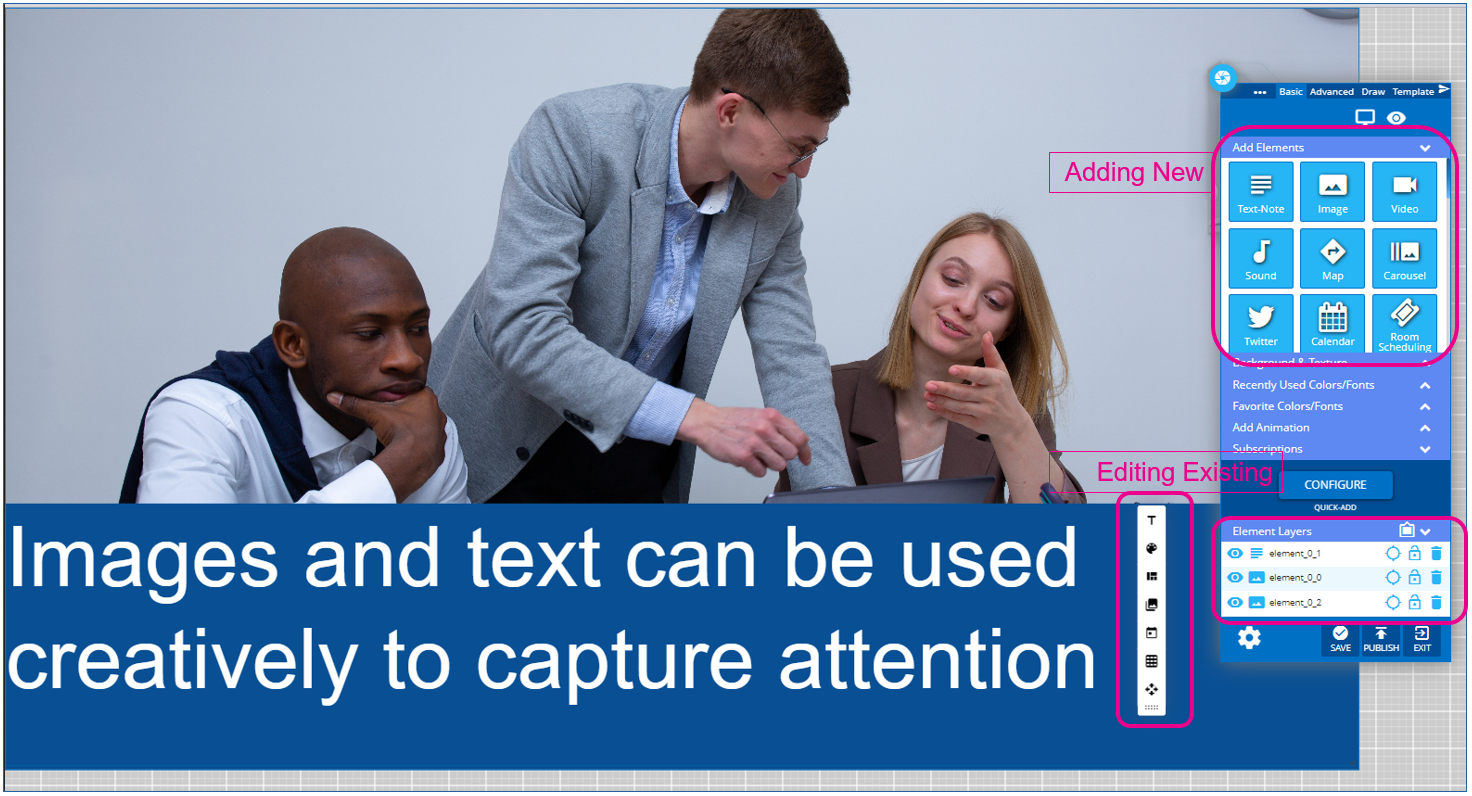
- If you selected a blank template or created with a fixed size the canvas will be blank
- Use the Layout Builder control pannel to add the necessary customizations.
- For more information, refer to Using the builder Tool for Layouts and Messages.
- Once done you can Save or Publish your work using the buttons at the bottom of the control panel
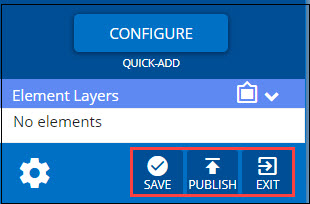
- Save: Allows the layout to be saved on the fly to ensure that no changes are lost.
- Publish: Allows the layout to be shared across Korbyt Anywhere so that it can be added to playlists. If you’re not an administrator, your layout must be approved by an administrator or designated approver. For more information, administrators and designated approvers should refer to Approving Layouts.
- Exit: Allows you to either save your changes and exit the Layout Builder, or exit without saving any of your changes.
Managing Existing Layouts
After layouts are saved and/or published, you can perform the following actions from the Layouts Dashboard:
The actions that are available for a Layout will vary slightly based on it being in Draft or Published status

| Action | Description |
|---|---|
| Allows you to edit the layout’s elements in the Builder Tool | |
| Allows you to download all associated HTML, CSS, JavaScript, and media files, which will be exported as one ZIP file.
NOTE: This action is only available for published layouts. |
|
| Allows you to preview the layout and all associated elements in a separate tab within your browser.
NOTE: This action is only available for published layouts. |
|
| Allows you to update the layout’s settings. (Name, Validity Dates, Tags) | |
| Allows you request approval from select users who have Approval rights for the design
NOTE: This action is only available for layout drafts. |
|
| Allows you to clone the layout so that you can reuse its settings and elements for new layouts. | |
| Allows you to permanently delete the layout from Korbyt Anywhere. |
