
Our Knowledge Base Has Moved
The New Page landing page for the Knowledge Base is https://product.korbyt.com/help
The new version of this specific article can be found at: https://product.korbyt.com/help/articles/2496522-adding-players-to-your-korbyt-tenant-provisioning
Please update any of your bookmarks to the new Knowledge Base
For assistance on using the new Knowledge Base, we have a Welcome to the New Korbyt Knowledge Base guide
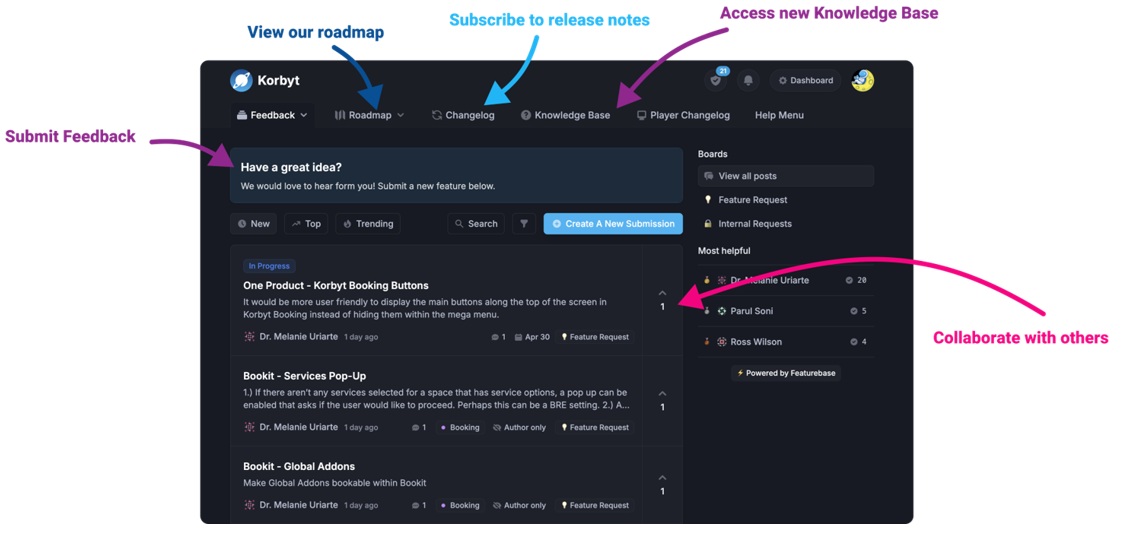
The new Korbyt Product Page also has sections for submitting feedback on system improvements, a view of our Roadmap of upcoming enhancements, and a change log of all updates.
Provisioning players is a simple process where you attach your player to your Korbyt environment. Once the device has power and is connected to a stable internet connection, connect it to the appropriate display device. Some models provide Wi-Fi capability and others require an ethernet connection. The media player also has to be allowed to reach Korbyt.com Port 443 so that it can freely communicate with the Korbyt.com Cloud. This may be different for fully on-premises installations
After the player is turned on for the first time, a provisioning screen will be shown similar to the following:
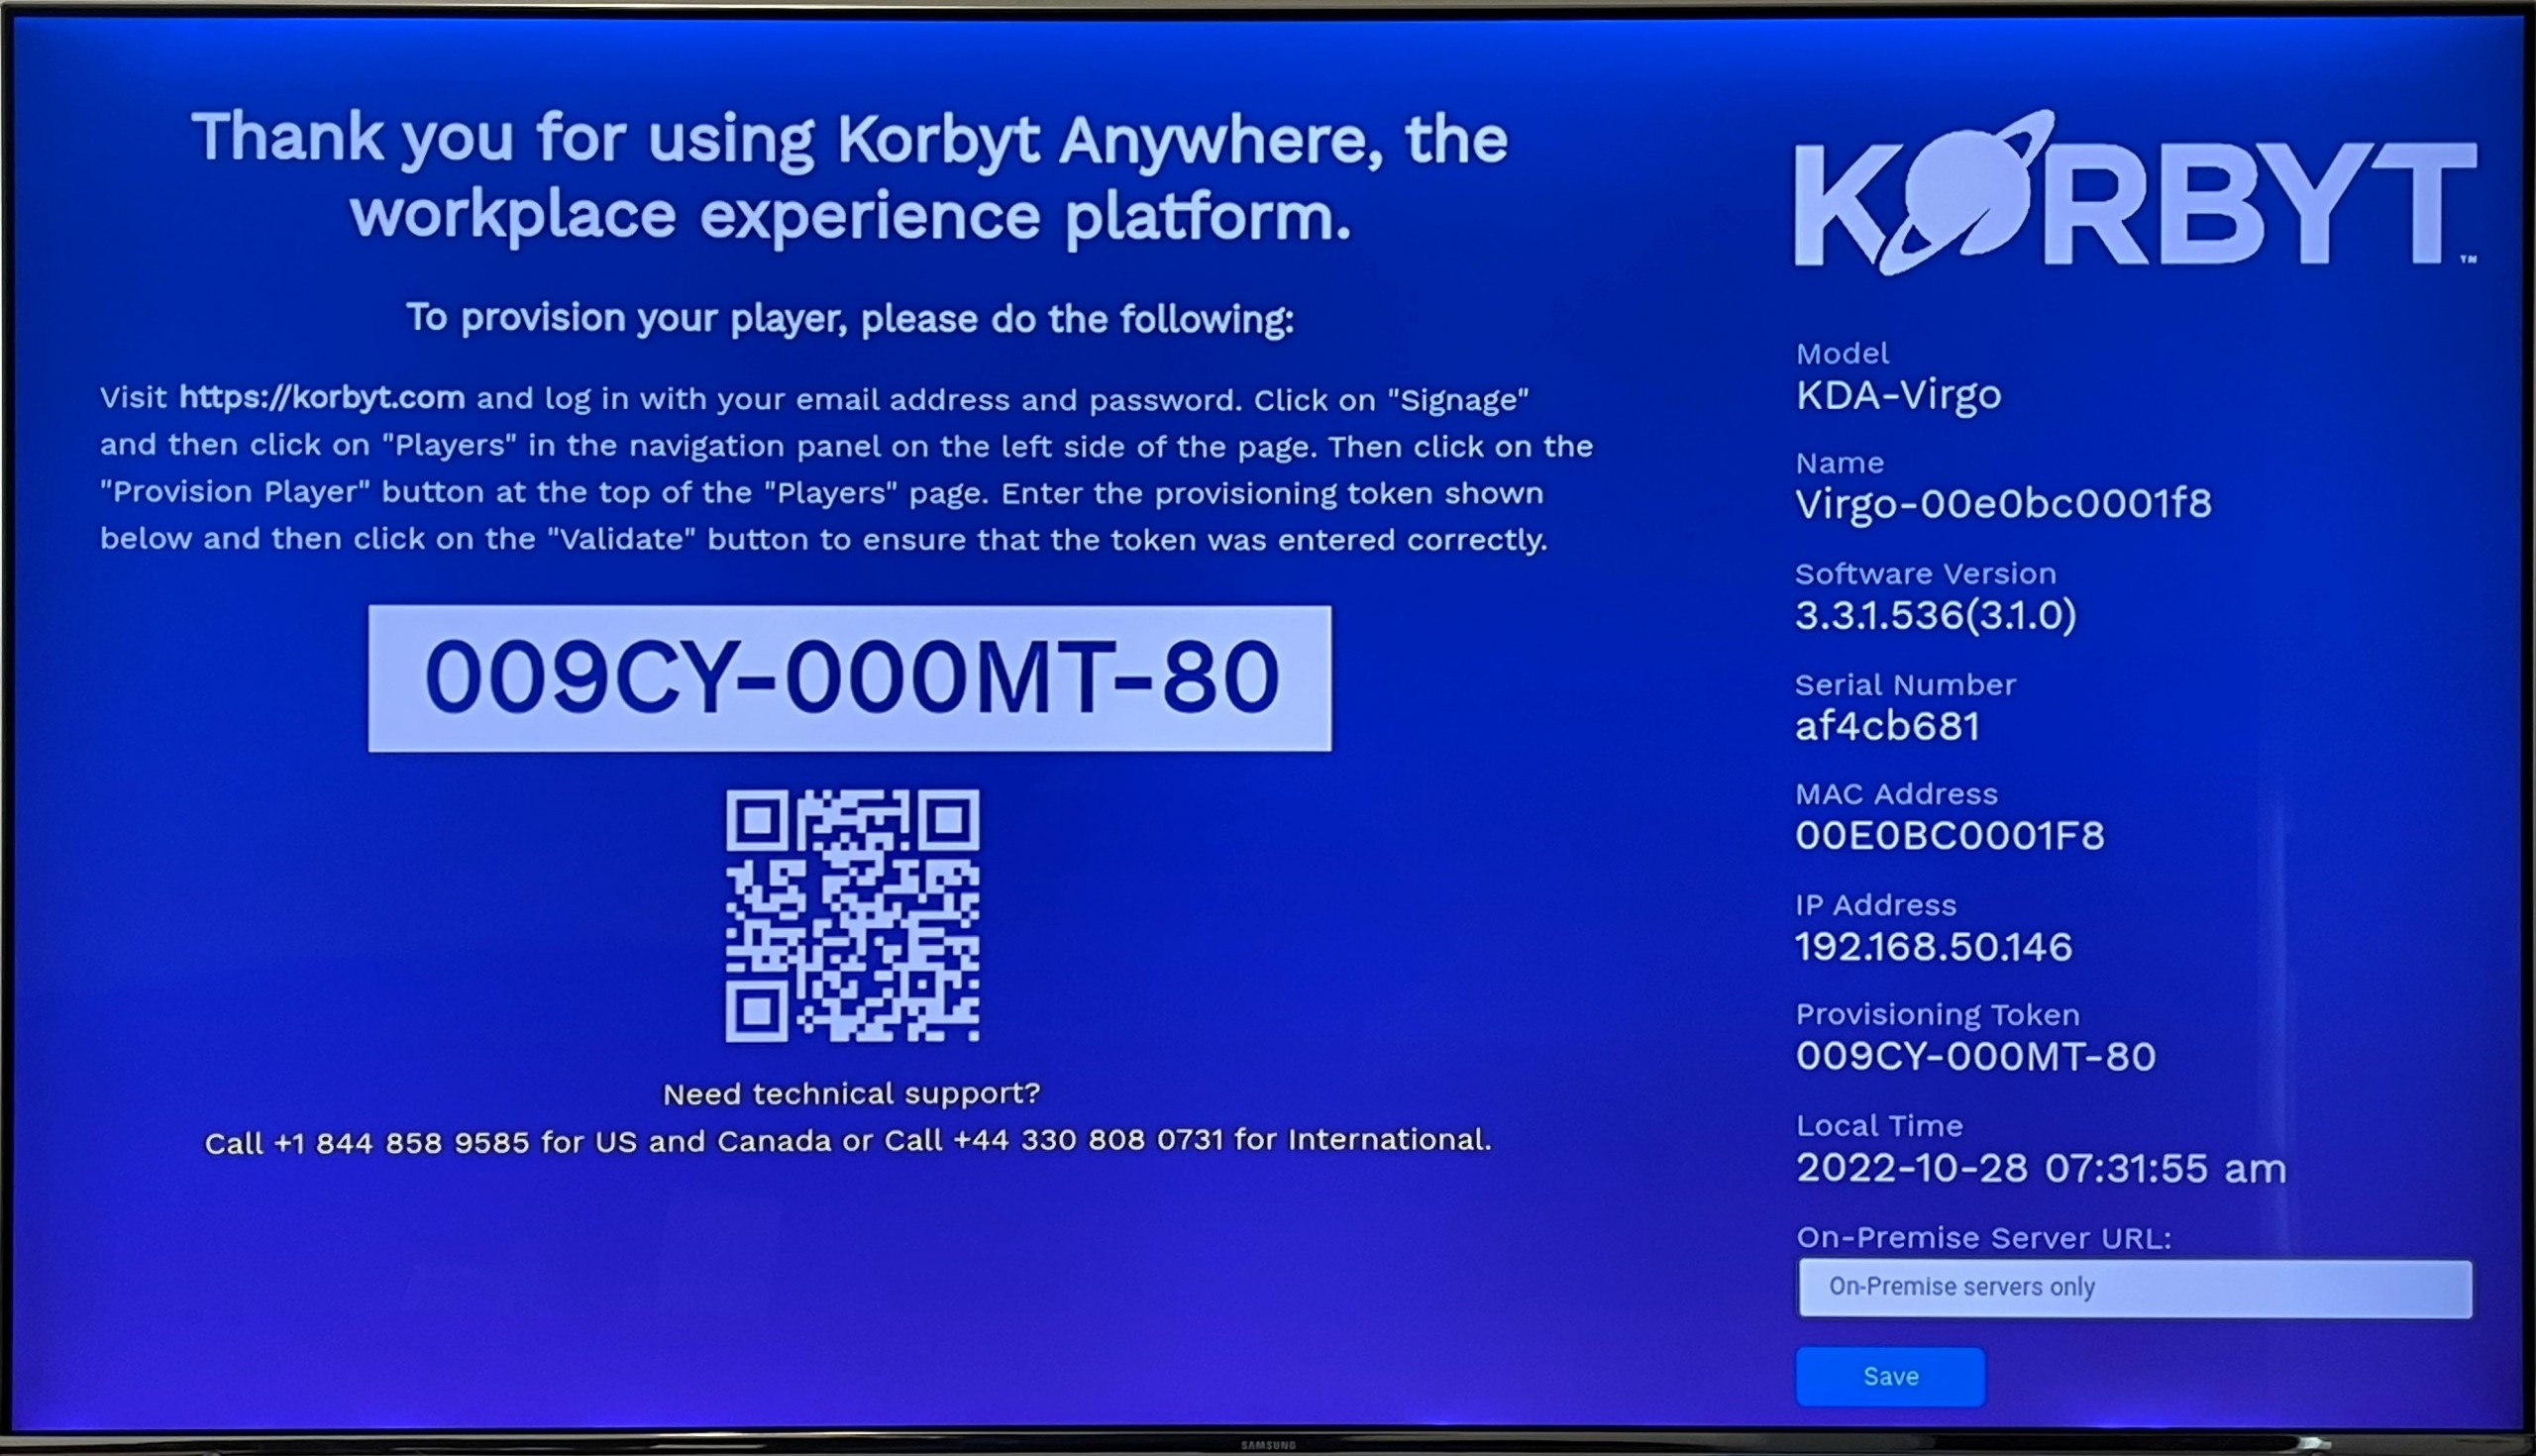
This screen displays the provisioning token, which is a unique key given to the player so that the Korbyt Platform can identify it. The name of the player is also displayed on this screen.
To provision a player:
- Navigate to Device Management > Players.
Alternatively, you can click the Provision Player from the Global Action on the Dashboard - Click Provision Player.

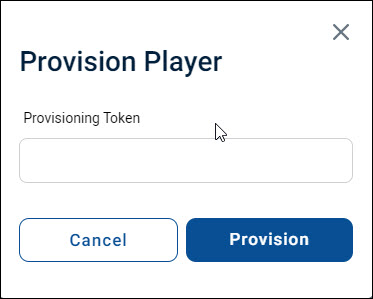
- From the Provision Player dialog, enter the provisioning token and click Provision.
- A confirmation message appears.
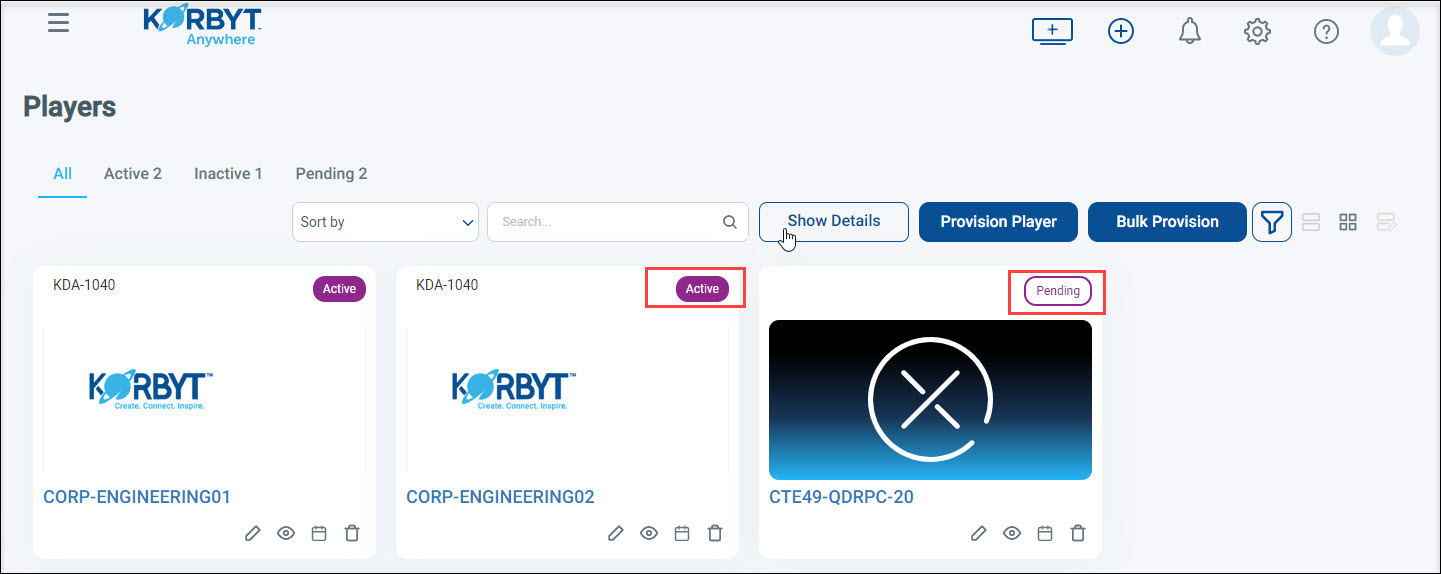
- Click OK. The new player will appear on the Players screen. The player will have a “Pending” status until the player is done provisioning. Once provisioning is completed and the player is able to reach Korbyt, the status will change to “Active”.
Related Articles you may want to view