
Our Knowledge Base Has Moved
The New Page landing page for the Knowledge Base is https://product.korbyt.com/help
The new version of this specific article can be found at: https://product.korbyt.com/help/articles/3697464-managing-end-users-for-desktopinview-mobileandweb#0pza4a571mz
Please update any of your bookmarks to the new Knowledge Base
For assistance on using the new Knowledge Base, we have a Welcome to the New Korbyt Knowledge Base guide
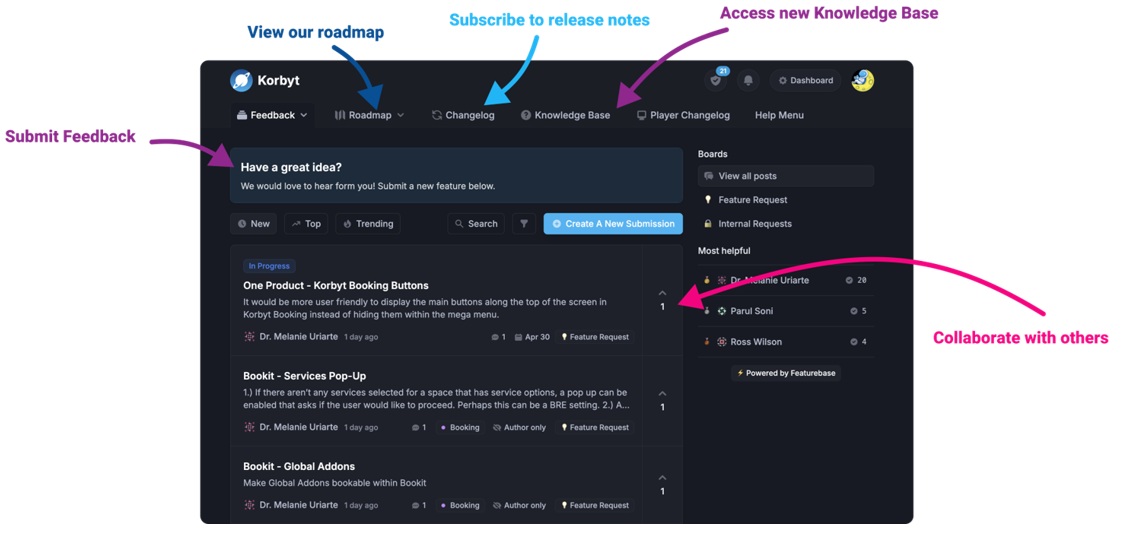
The new Korbyt Product Page also has sections for submitting feedback on system improvements, a view of our Roadmap of upcoming enhancements, and a change log of all updates.
A successful communication strategy ensures that the right message gets to the appropriate users at the perfect time.
You can use audiences to segment users into groups so that you can target various types of content to them. When audiences are used in this manner, they are considered static. These audiences are a set group of end users. Unless you decide to remove or add users to these audiences, they will always include the same end users.
Audiences can also be dynamic. These audiences are based on shared user attributes such as department and title or predefined behaviors (rules) such as Join Date or Engagement Level. Dynamic audiences are automatically updated each day as users may meet or no longer meet the established rules.
As a communicator, you can use audiences to target categories, posts, and resources. For more information, refer to the following:
- Targeting Categories to Specific Audiences
- Targeting Posts to Specific Audiences
- Targeting Resources to Specific Audiences
To create audiences:
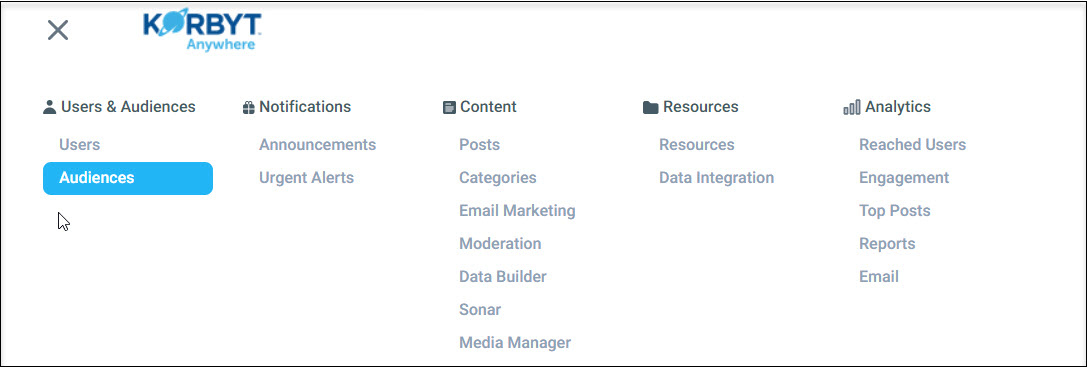
- Click the hamburger icon and navigate to Users & Audiences > Audiences.
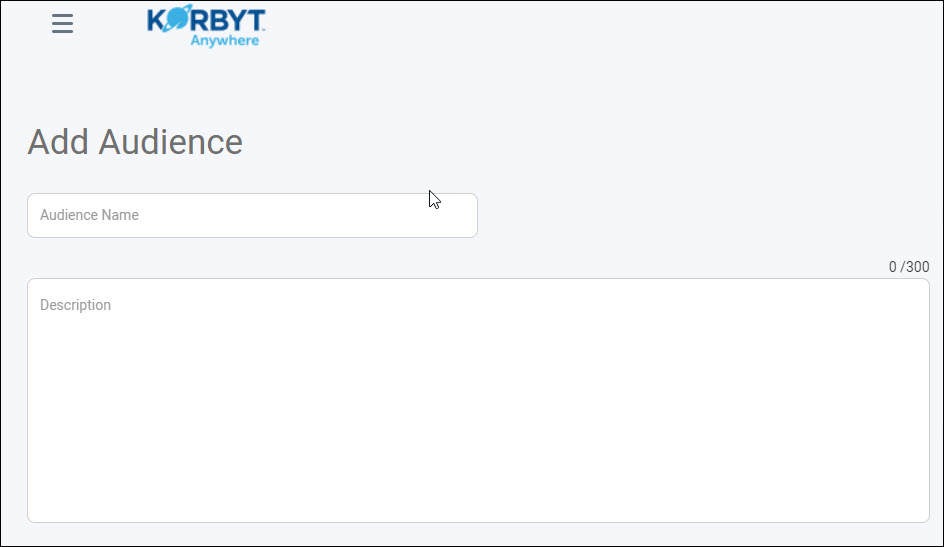
- From the Audiences screen, click Create Audience.
- Enter an Audience Name and Description.
- To create a dynamic audience, do the following:
- Leave the Rules radio button selected under the Audience Defined by section.
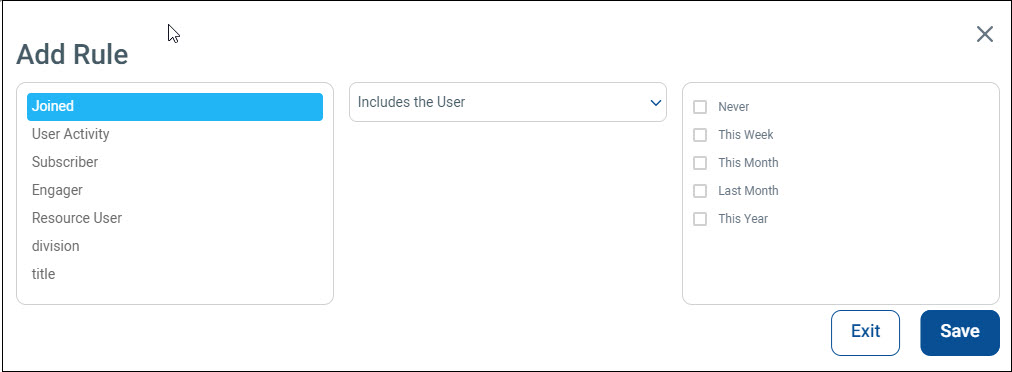
- Click Add Rule.
- Select an attribute (Joined, User Activity, Subscriber, Engager, Resource User, or any user attribute defined in the CMS).
- Select Includes the User or Does not include the user from the drop-down.
- Set additional parameters based on the attribute selected.
For example, you can target users who logged in to Korbyt Anywhere for the first time in the current week. Another example may involve targeting highly engaged users who have at least 15 engagement activities. If users no longer meet the defined criteria, the system will automatically update the audience accordingly. - Click Save.
For more information about how to use rules to segment an audience, refer to Using Rules to Segment an Audience.
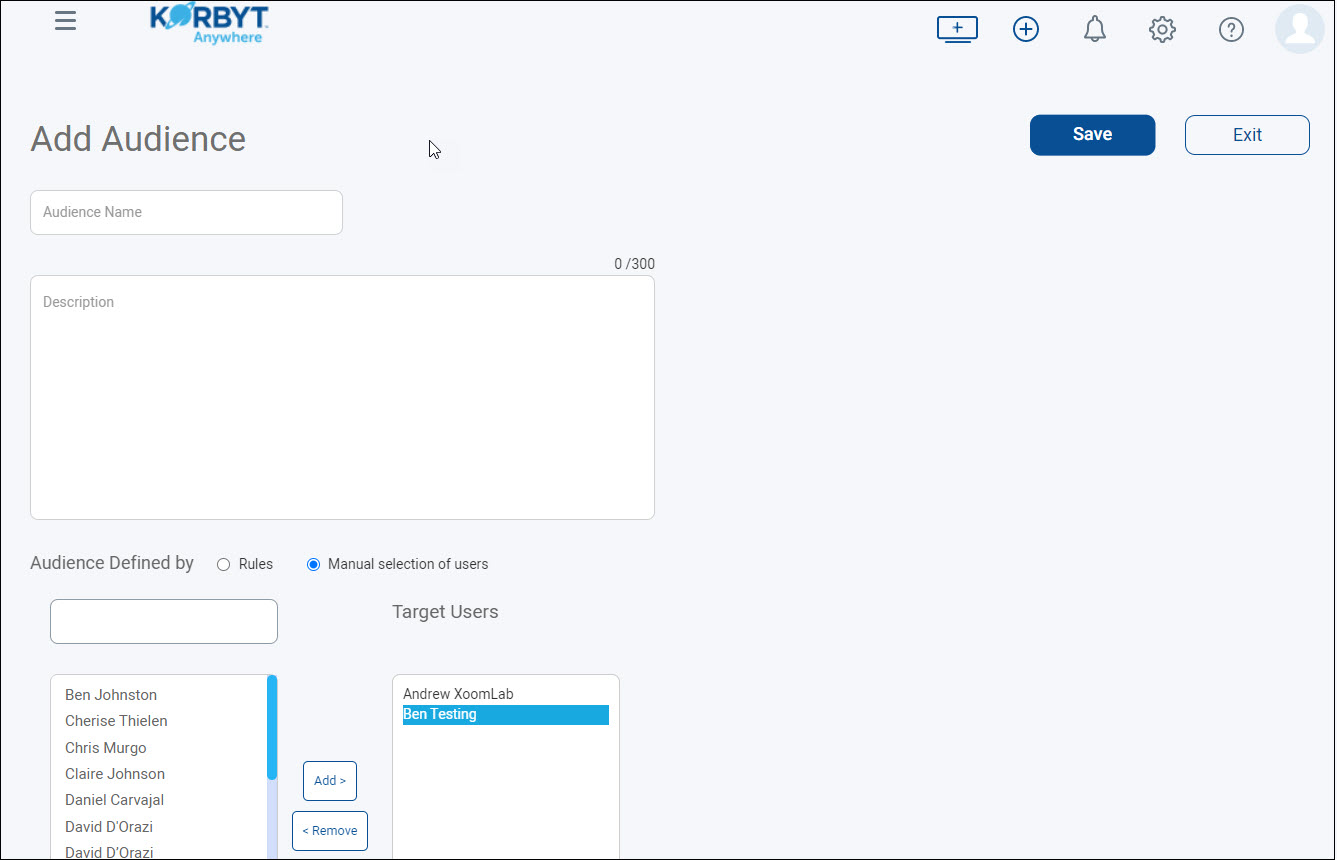
- To create a static audience, do the following:
- Select the Manual selection of users radio button under the Audience Defined by section.
- Select the appropriate users.
- Click Add to add them to the Target Users column.
- Click Save.
Newly-created dynamic audiences will appear on the Dynamic tab within the Audiences screen. Newly-created static audiences will appear on the Static tab within the Audiences screen.