
Our Knowledge Base Has Moved
The New Page landing page for the Knowledge Base is https://product.korbyt.com/help
The new version of this specific article can be found at: https://product.korbyt.com/help/articles/0612249-korbyt-booking-creating-and-editing-bookings
Please update any of your bookmarks to the new Knowledge Base
For assistance on using the new Knowledge Base, we have a Welcome to the New Korbyt Knowledge Base guide
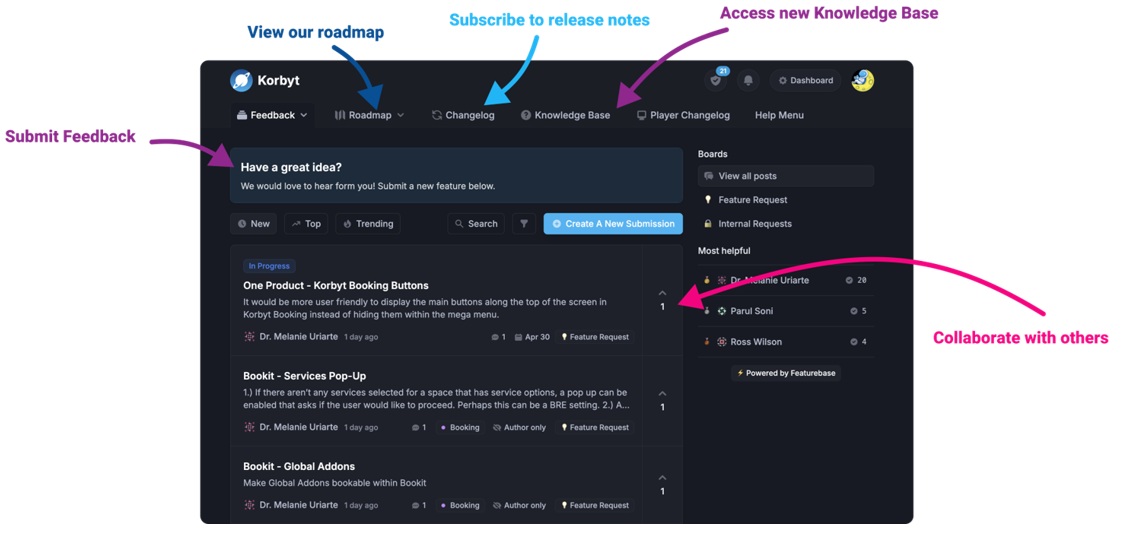
The new Korbyt Product Page also has sections for submitting feedback on system improvements, a view of our Roadmap of upcoming enhancements, and a change log of all updates.
This guide reviews the basics of using the Korbyt Booking system through the CMS interface to create and edit bookings.
![]()
Viewing Korbyt Booking and the Calendar Dashboard
- Log into your Korbyt CMS
- If you have multiple Korbyt products
- open the Mega Menu

- Select Korbyt Booking

- open the Mega Menu
- You should now be seeing your Calendar Home Screen
- You can also select the Calendar Home Screen by clicking on
 in the Mega Menu
- You can also select the Calendar Home Screen by clicking on
Index
- Navigation and using the Calendar Home Screen
- Creating a New Meeting in the Booking Menu
- Searching for and Editing a Booking
- Canceling a Booking
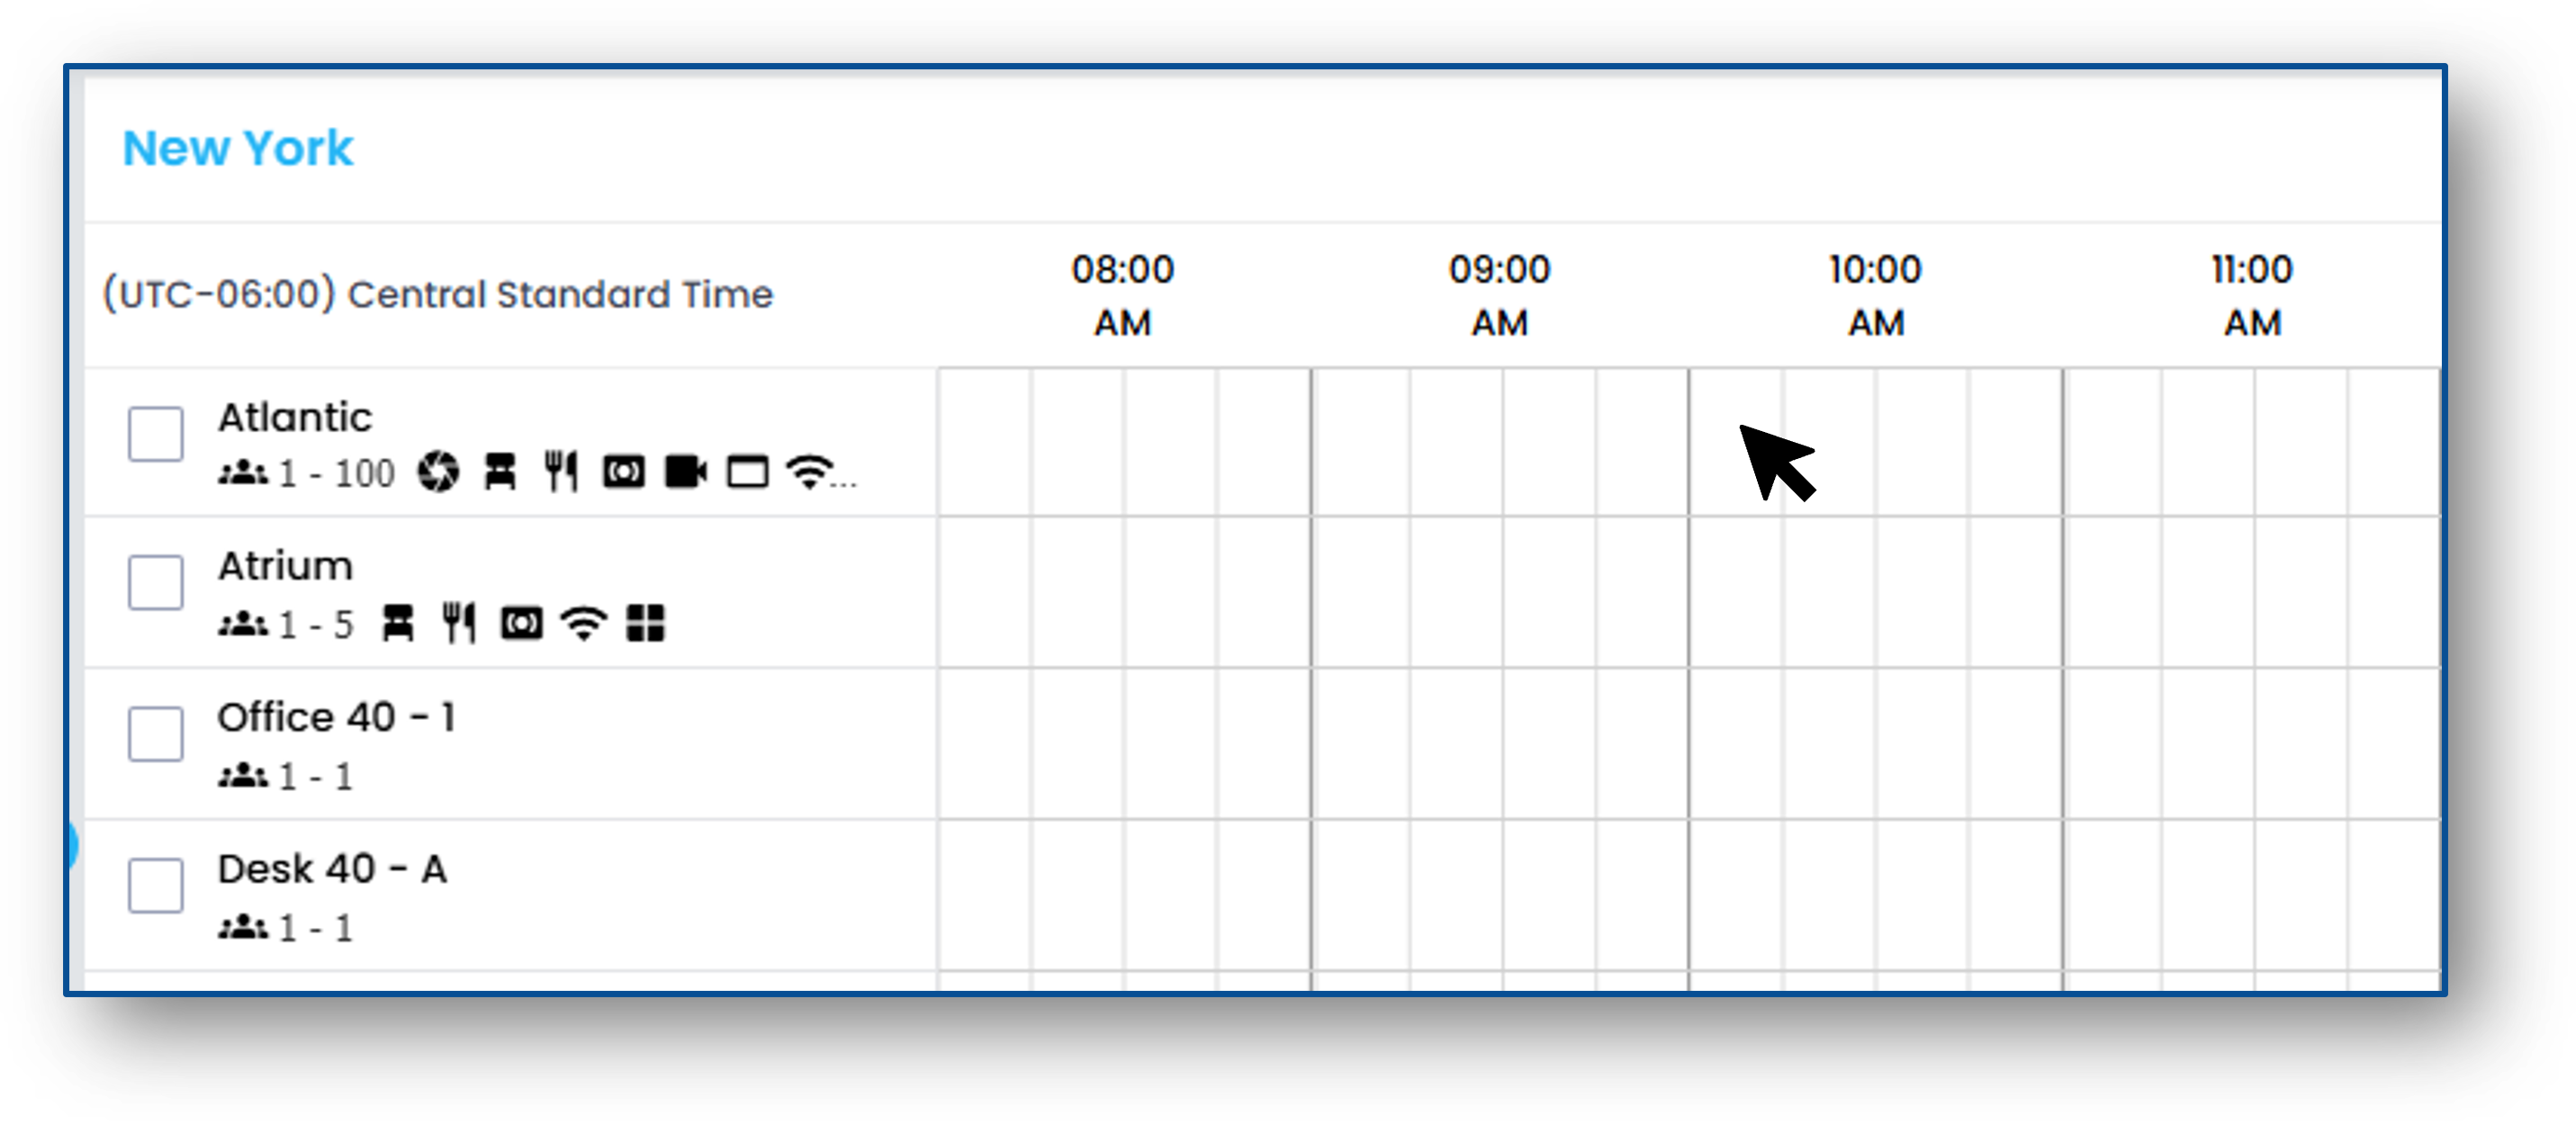
Navigating the Calendar Home Screen
Your calendar serves as a dynamic dashboard and scheduling tool.
It shows the status of bookings, room availability, services, and more all in real time.

Quick Booking via the Calendar
You can create new bookings from the homepage calendar view
- Double-click the time block for the resource you would like to book
- Enter the Title and Booking Details
- Click Save to schedule the meeting
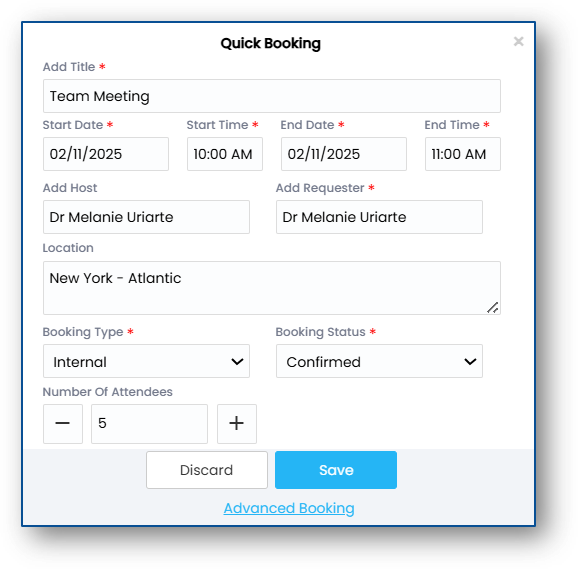
- Or click Advanced Options to continue the booking in the full Booking Menu
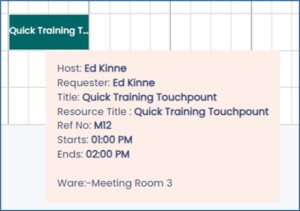
Editing Bookings via the Calendar
You can modify your booking right from the calendar.
Simple changes can be made without opening your booking.
- Hover your mouse over the event to see more event details
- Right-click on the event to open the quick action list
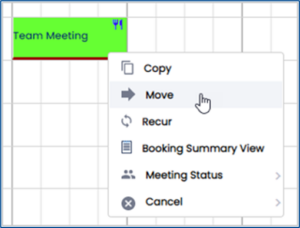
- Double-click to open the event in the Booking Menu to make complex changes
Creating a New Booking via Bookings Menu
- Open the Mega Menu
- In the Bookings column click New Booking
- You will see the full New Booking screen
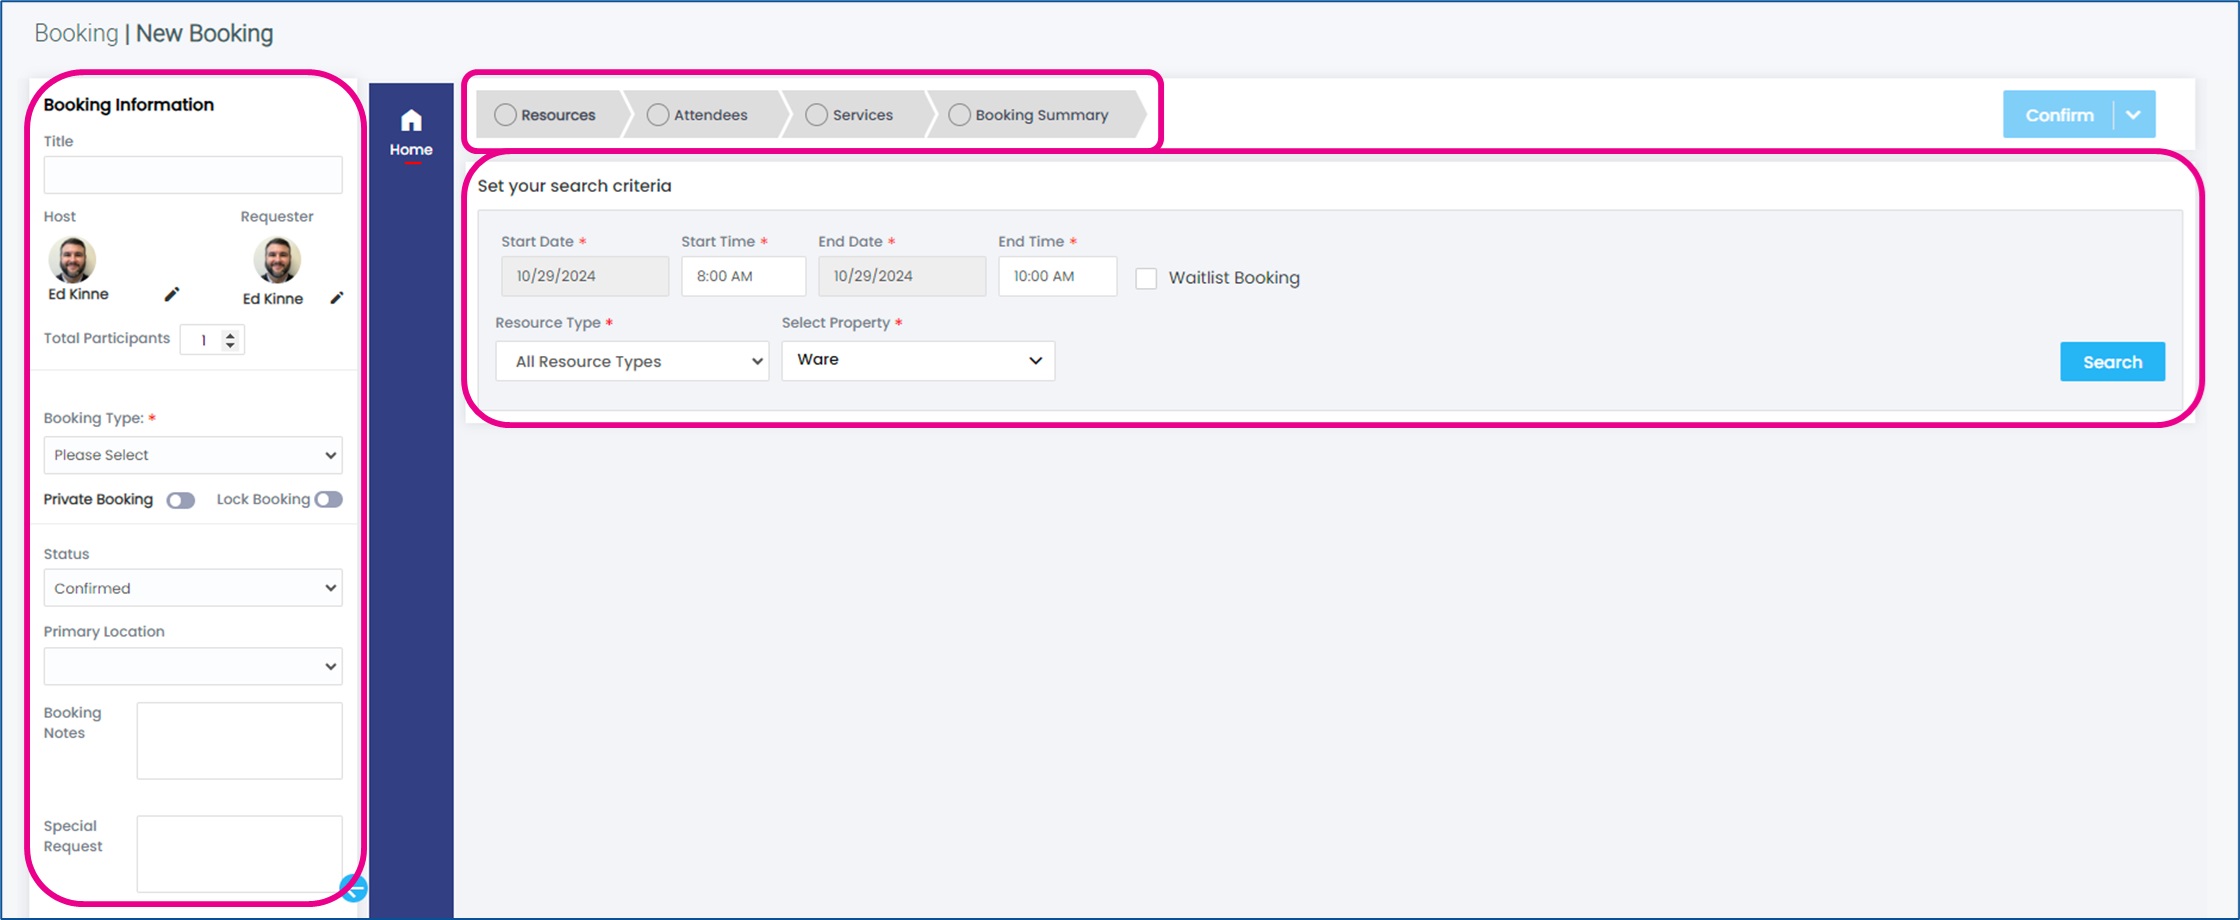
- Booking Information (Title, Host, etc.) is to the left
- Specific meeting detail sections are listed across the top of the working area
- Fill in the details of the type of space you require then and click Search
- You will then see available spaces that match your requirements
- Click +Add to select the resources needed

- A single booking can include multiple rooms
- Click Continue in the lower right to confirm your resource selections

- You can now move through the other sections of the booking details by clicking the section at the top
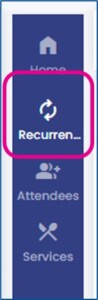
- Meeting recurrence can be selected using the blue navigation bar
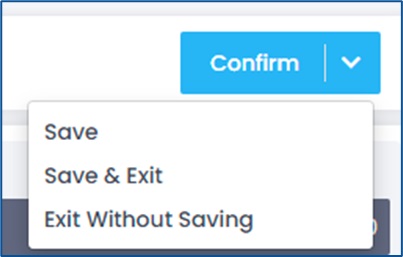
- At any time, you can use the Confirm button dropdown in the upper right

- Save will save your selections up to that point and leave you in the editing screen
- Save & Exit will save your selections and return you to the Calendar Homepage
- Exit without saving will abandon your selections
- Attendees can be internal or external to the organization
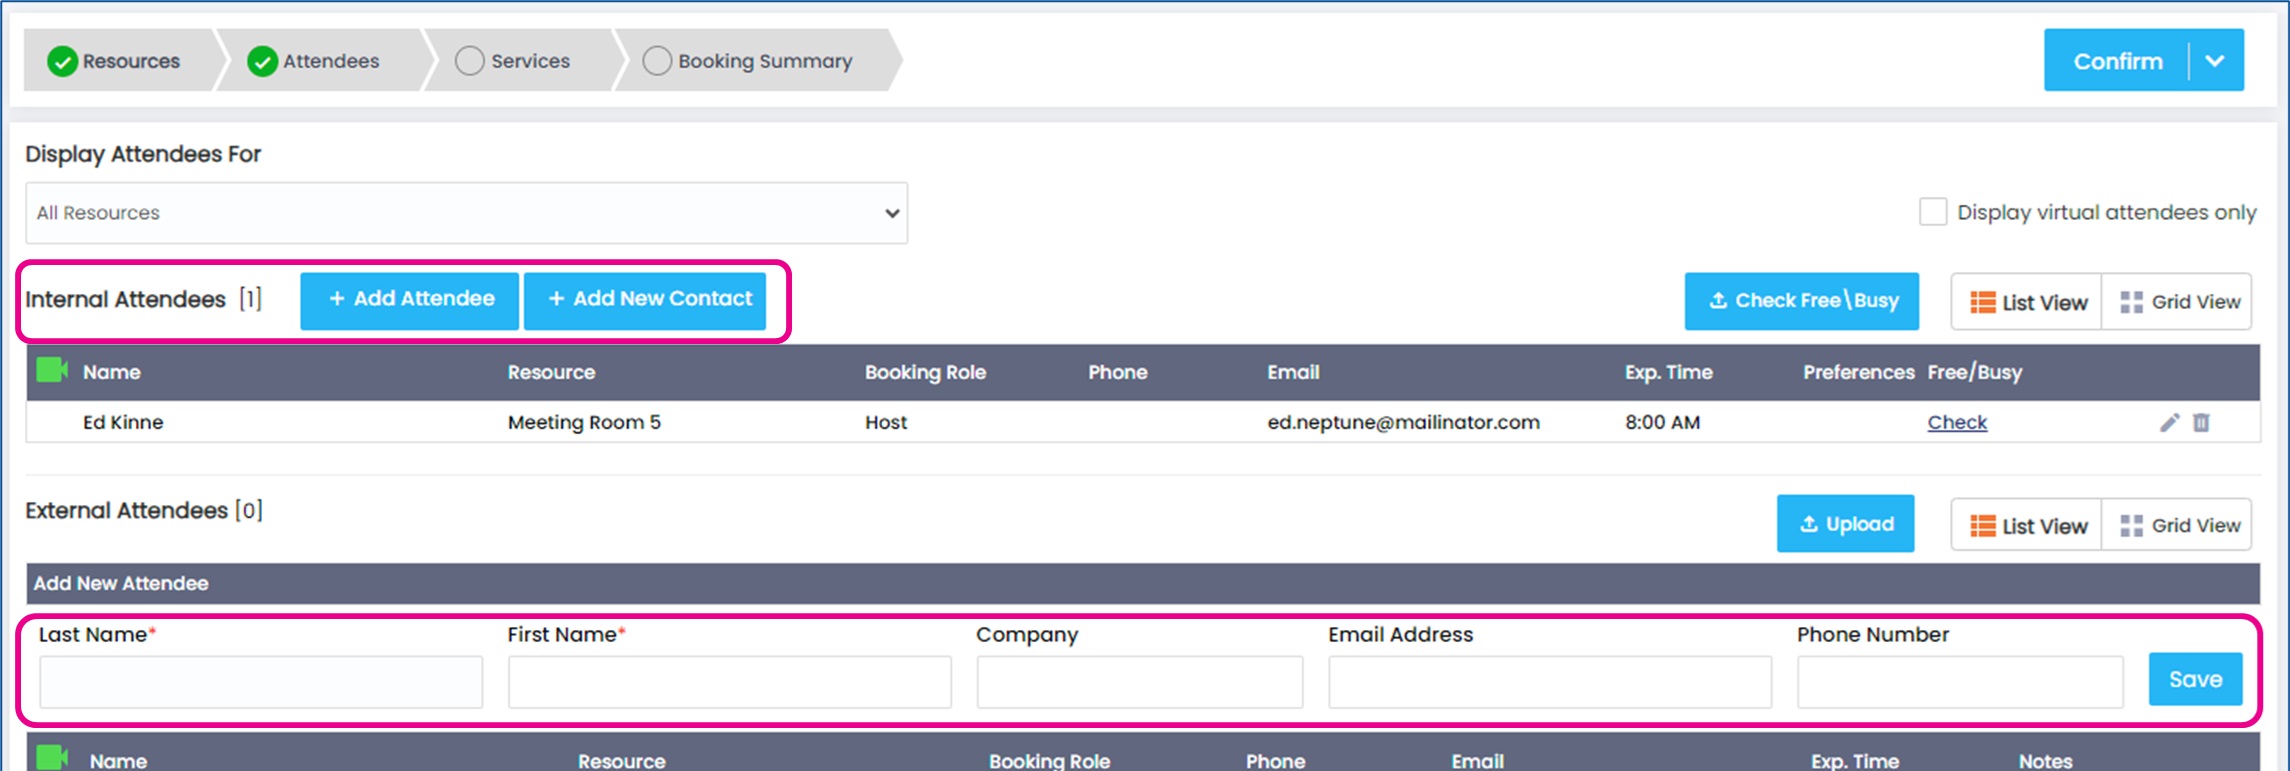
- For Internal click the +Add Attendees button
- Use the popup to search for the internal resource and set their booking role
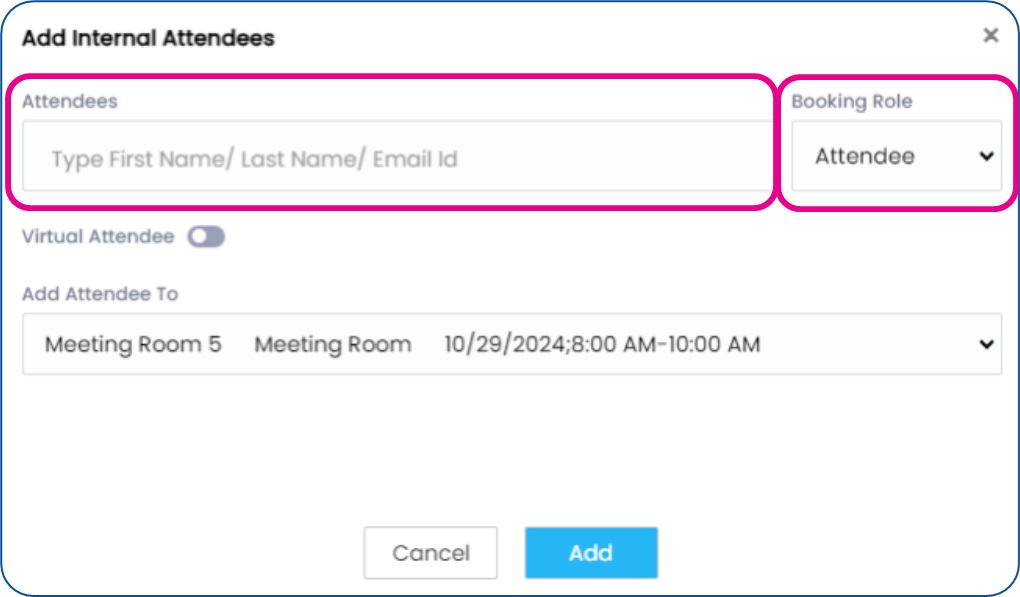
- Click Add to finalize
- Use the popup to search for the internal resource and set their booking role
- For External Attendees fill in their info and click save
- Either use the Confirm drop down to save or move on to the Services section
- For Internal click the +Add Attendees button
- Services that have been defined within your system (AV/IT, Catering, etc.) can be added to your booking
- Click the Services button in the top ribbon
- Navigate to the Department tab of the service(s) you would like to add (or search all services)
- Edit the quantity as needed, click Add
- Your service item(s) will be added to your booking on the right
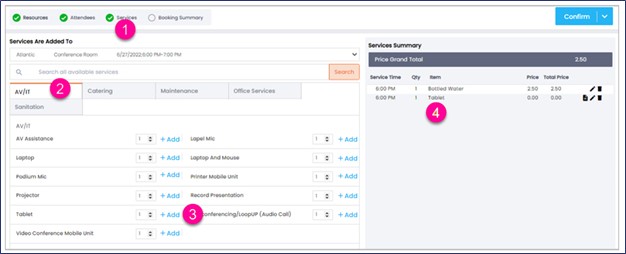
- Booking Summary shows all the details for the meeting that have been selected

- Remember to use the Confirm button dropdown in the upper right to save your meeting details
Searching For and Editing Bookings
- Open the Mega Menu
- In the Bookings column select click Booking Search
- You will then see the Booking Search screen
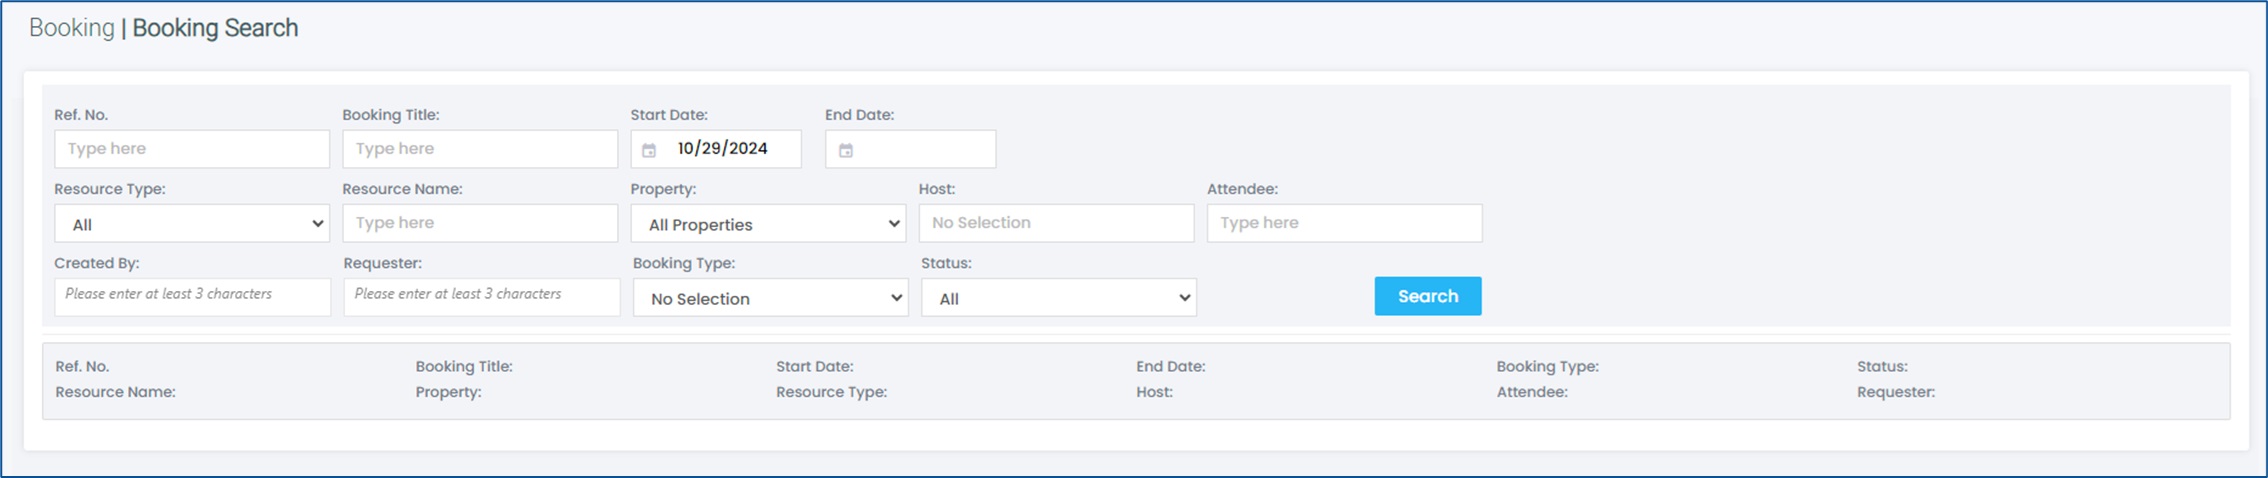
- Enter your search parameters and click Search
- Bookings that match your criteria will show in the list

- Click on the Booking Title to open the meeting in the full editor
- Use the Copy / Move / Recur buttons to take those actions
Canceling a Booking
A booking can be canceled from the Calendar Homepage
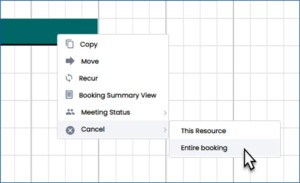
- Right-click on the event in the Calendar
- Hover over Cancel at the bottom of the list
- Select the type of cancelation you want
Bookings can also be canceled from within the full editing menu
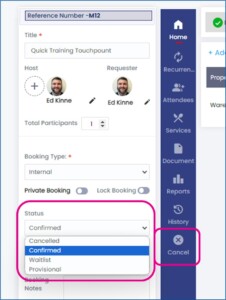
- Search for and open your booking for editing
- In the left configuration panel, switch the status to Cancelled
- OR click Cancel in the blue navigation bar