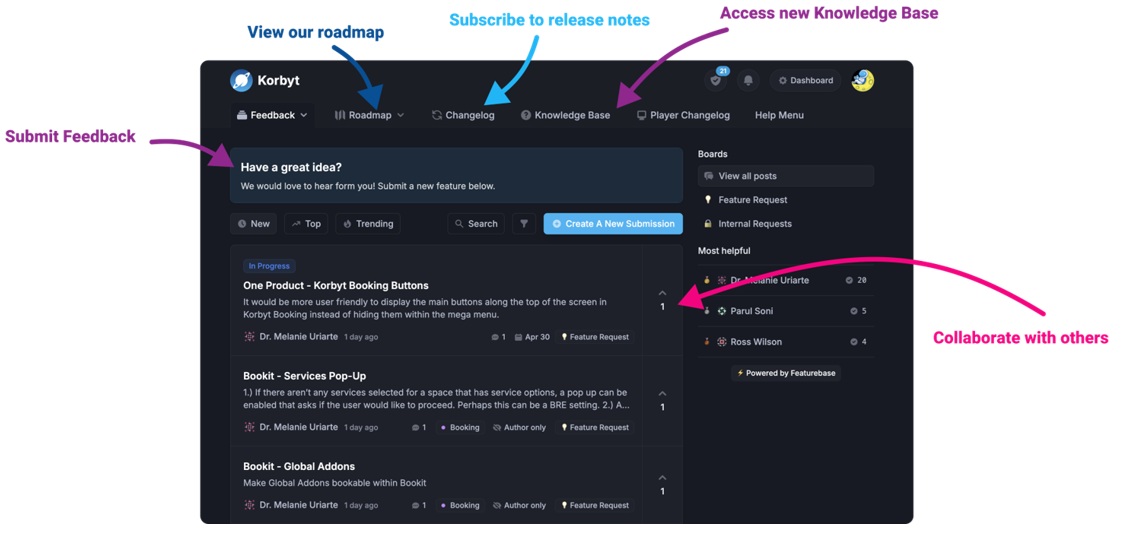
Our Knowledge Base Has Moved
The New Page landing page for the Knowledge Base is https://product.korbyt.com/help
The new version of this specific article can be found at: https://product.korbyt.com/help/articles/5775959-create-manage-and-assign-desktop-messagesinviews
Please update any of your bookmarks to the new Knowledge Base
For assistance on using the new Knowledge Base, we have a Welcome to the New Korbyt Knowledge Base guide
The new Korbyt Product Page also has sections for submitting feedback on system improvements, a view of our Roadmap of upcoming enhancements, and a change log of all updates.
After reading this article the user will comfortably be able to create and configure the Desktop for Korbyt InView content and learn the value of its many configurable widgets.
Please NOTE: the steps to install KorbytInView are listed in the InView Installation article:
InView Installation
There are four critical steps needed to get Desktop for KorbytInView configured to display content.
- Add Users
- Create an Audience
- Add a Message
- Configure Inview Assignments
Without all of these these steps the InView content will not display correctly.
The links below will list the steps to create each:
User
Audience
Message
Assignments
Users
Add Users
To add a user follow the steps below:
- Click on the Hamburger Menu

- Select Desktop –> Users

- Click on the “Add Users” button
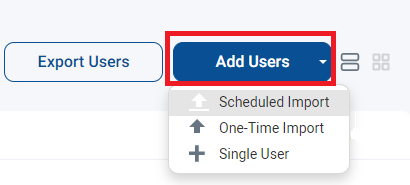
- When adding a user there are three options (Schedule Import, One-Time Import, and Single User)
- Select Single User
- Fill the required information (*)

- Click on the button to Select the Audience. The Audience section is where all the available audiences can be found. NOTE: An audience must first be created to be available in the list of options. The steps to create an audience are listed in the next section below. In this example the audience has already been created.

- Click on the Done button to complete selecting the Audience(s)
- Then Click on the Save Button to complete the action of adding a User

- The employee contact is created. The Edit, Export User, Impersonate Desktop View, Send Notification and Archive Actions are available.

One-Time Import
To import an employee follow the steps below:
-
- Click on the Hamburger Menu

- Select Desktop –> Users

- Click on the Hamburger Menu
- Click on the “Add Users” button

- When adding a user there are three options (Schedule Import, One-Time Import, and Single User)
- Select One-Time Import
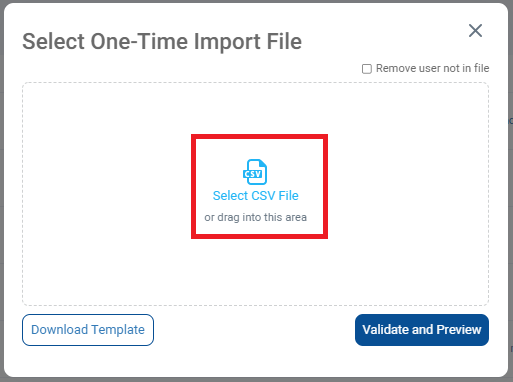
- Click on Select CSV file link to select the file.
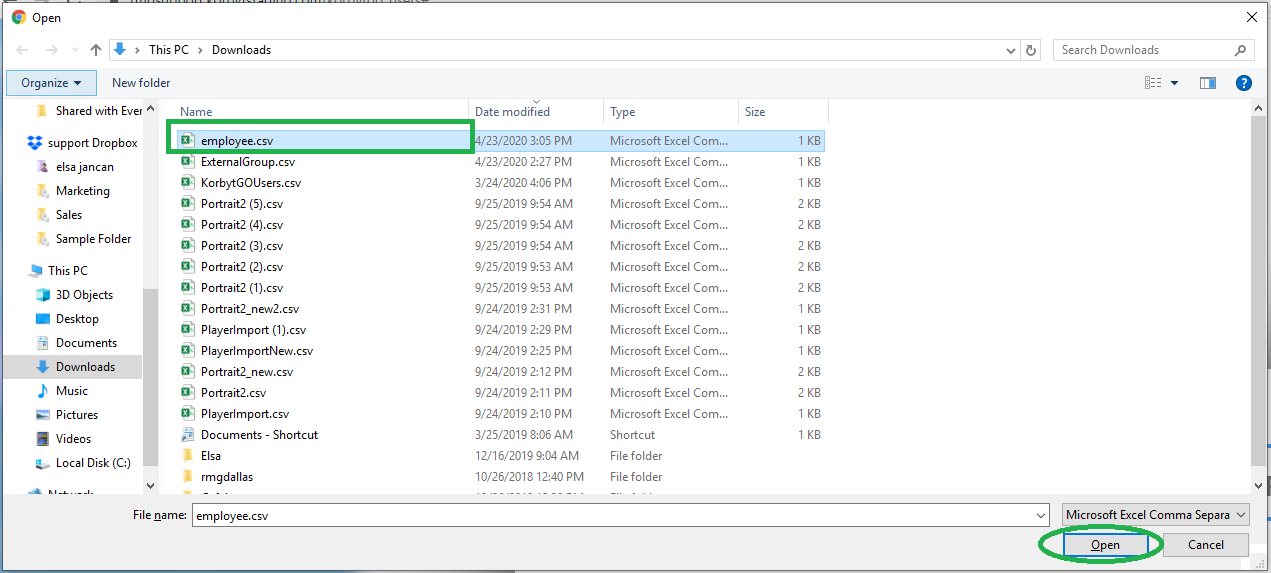
- Navigate to the directory where the CSV (click on the link for steps on how to create one) file resides.
- Select the file, and click on the Open button.
- Once the file is selected, click on the “Validate and Preview” button.
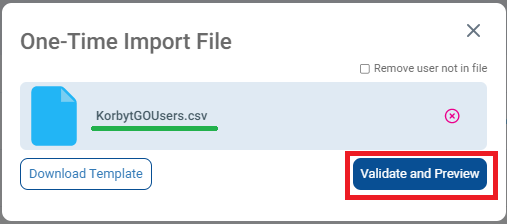
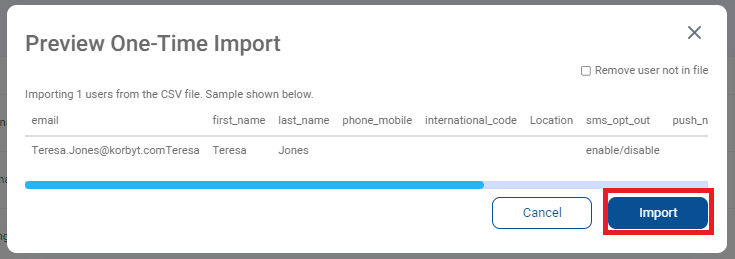
- The Validate and Preview will show the employees on the file. Review that all info is correct and click on the Import or Cancel button.
- The user(s) is imported. The Edit, Export User, Impersonate Desktop View, Send Notification and Archive Actions are available.
CSV
Many users might already have a CSV file. For those who do not have one or know how to create one. Korbyt Anywhere offers a sample CSV file that can be downloaded. The user can build his file from that sample file. Importing via CSV is very useful specially if there is a large number of users to be added. The large amount of users to be imported can be done all at once via the CSV file.
Follow the steps below on how to download and use the CSV file
- From Add Users dropdown, select the One-Time Import option.
- Click on the Download Template
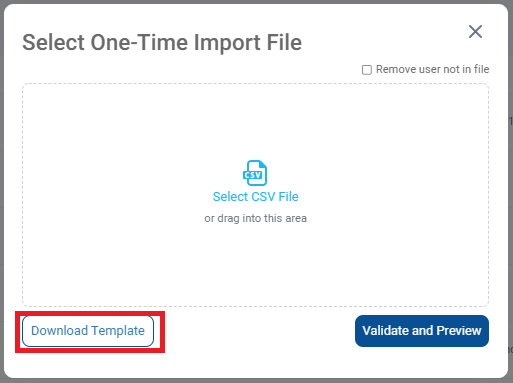
- An excel sheet will open
- From the Excel sheet, delete the sample row, then populate the blank rows with the new employee information.
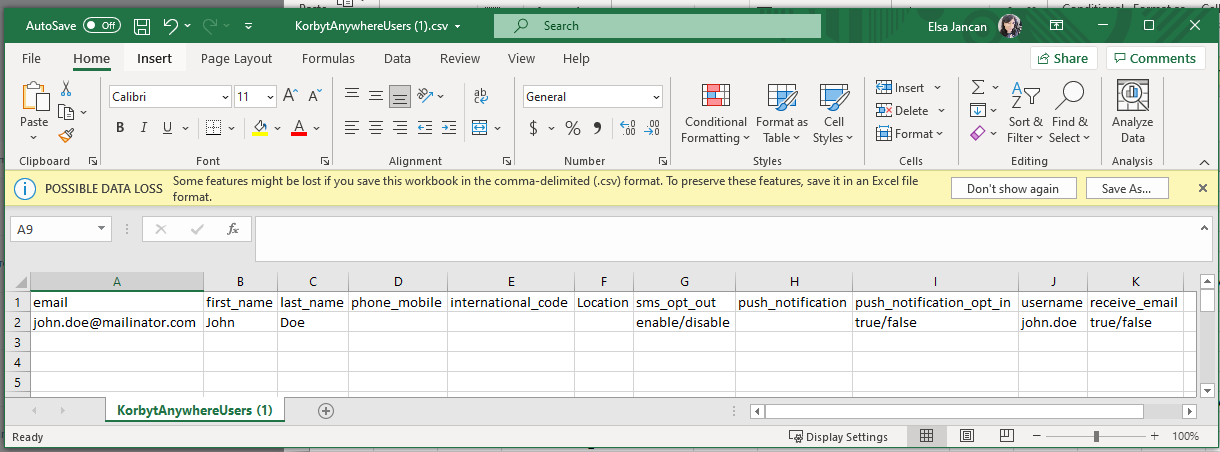
- Save the File containing the new employee information.
- Navigate to the directory where the CSV file resides.
- Select the file, and click on the Open button.

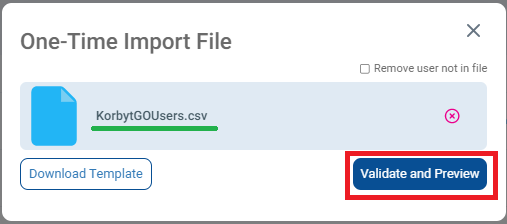
- Once the file is selected, click on the “Validate and Preview” button.
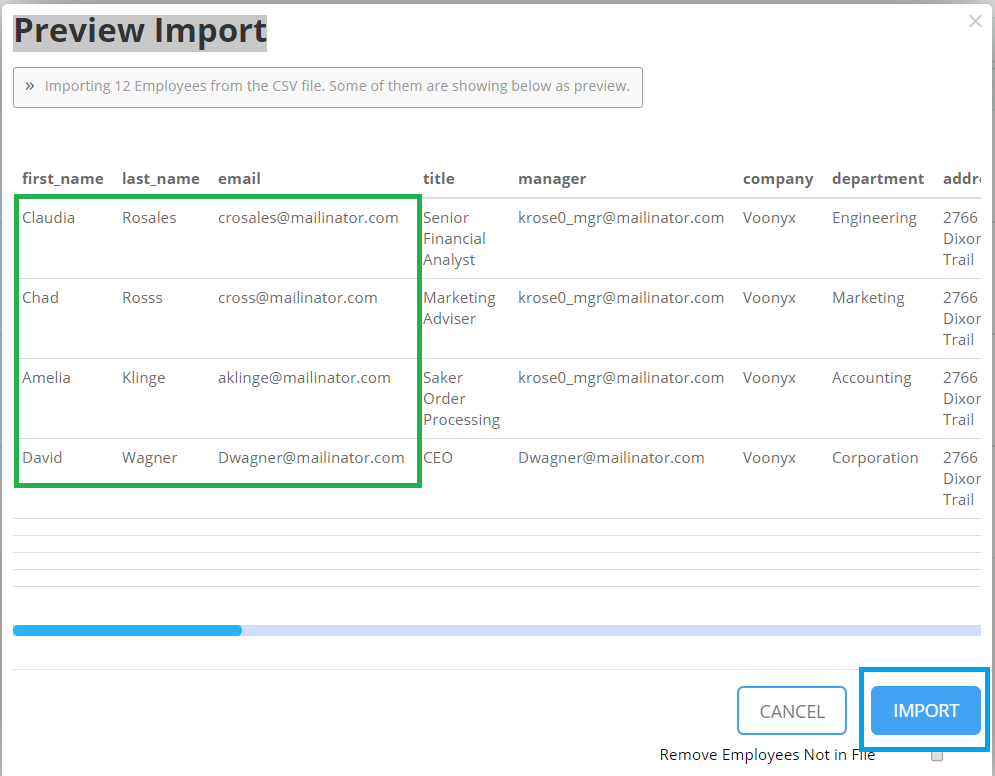
- The Validate and Preview will show the employees on the file. Review that all info is correct and click on the Import button.
- The employee(s) is imported. The Edit, Send Notification and Delete options are available.
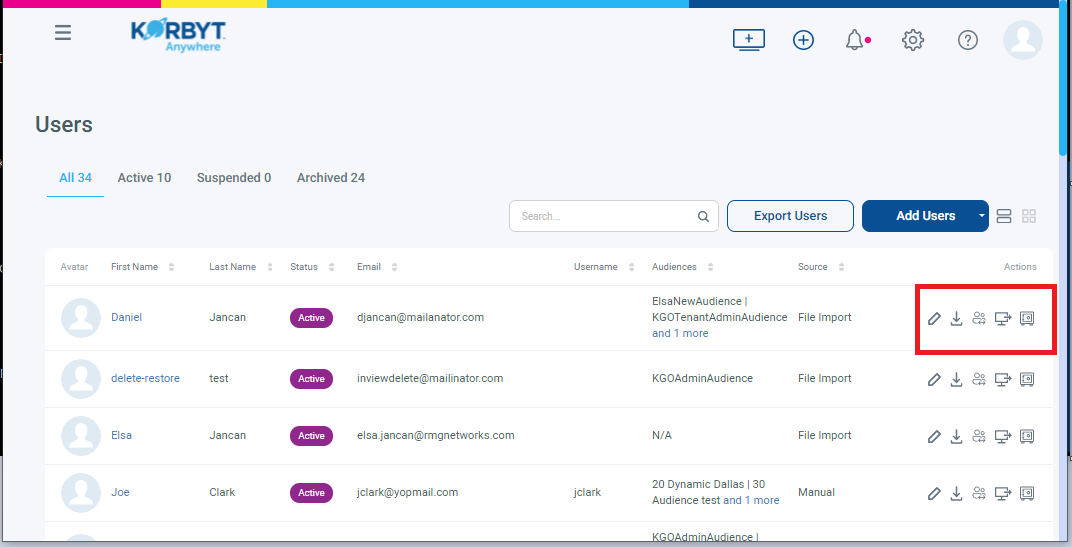
- The user(s) is imported. The Edit, Export User, Impersonate Desktop View, Send Notification and Archive Actions are available.
Top
Audience
To create an audience follow the steps below:
- Click on the Hamburger Menu

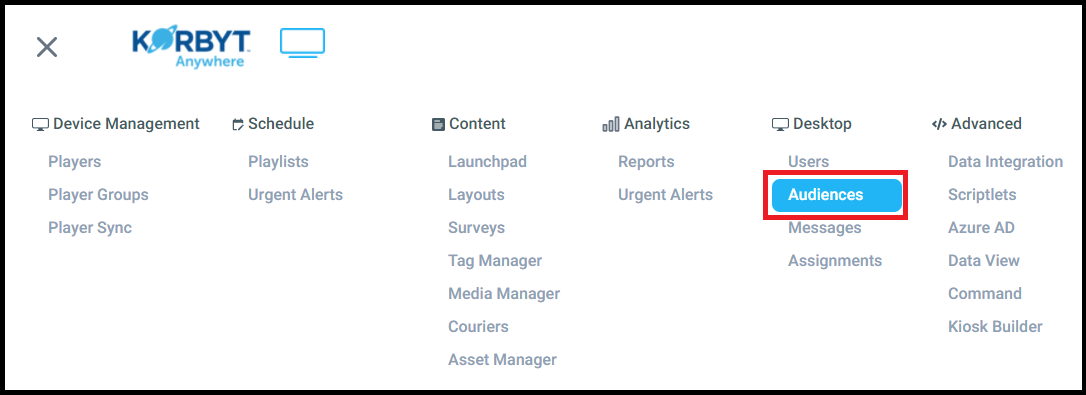
- Select Desktop –> Audiences
- .Click on the Create Audience button
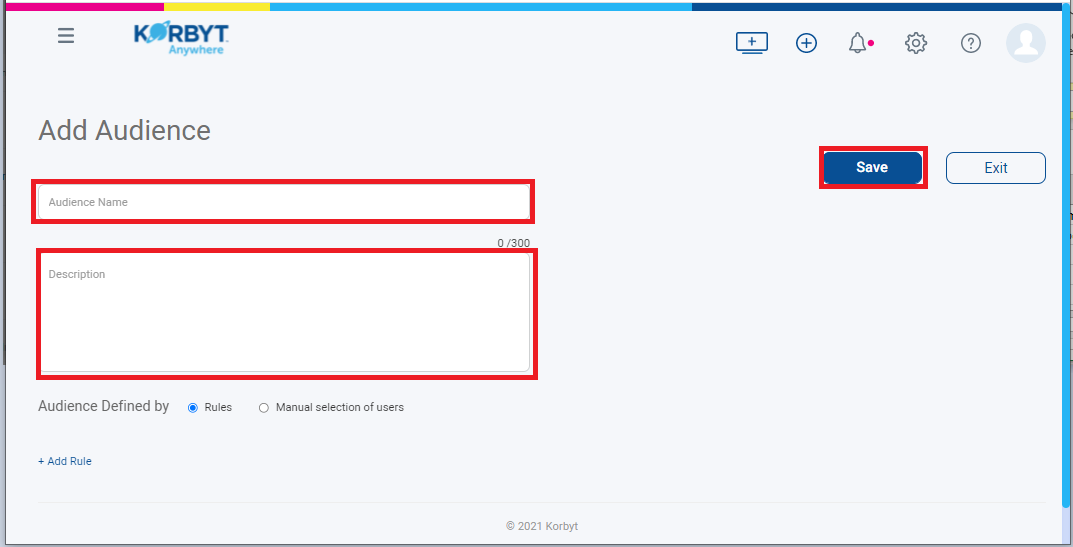
- The Add Audience window will open.
- Add the Audience Name
- Add the Description – this is optional.
- Select Rules or Manual Selection of Users
- Save
- Once the Audience is created it will be listed under All, or depending on what option was created under Static or Dynamic as well.
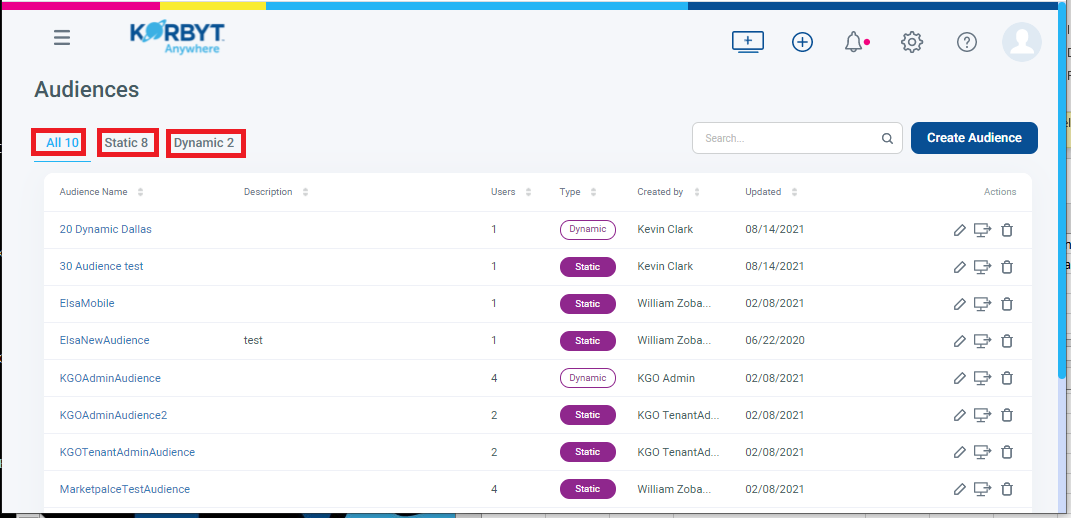
- At this point the new Audience has been created
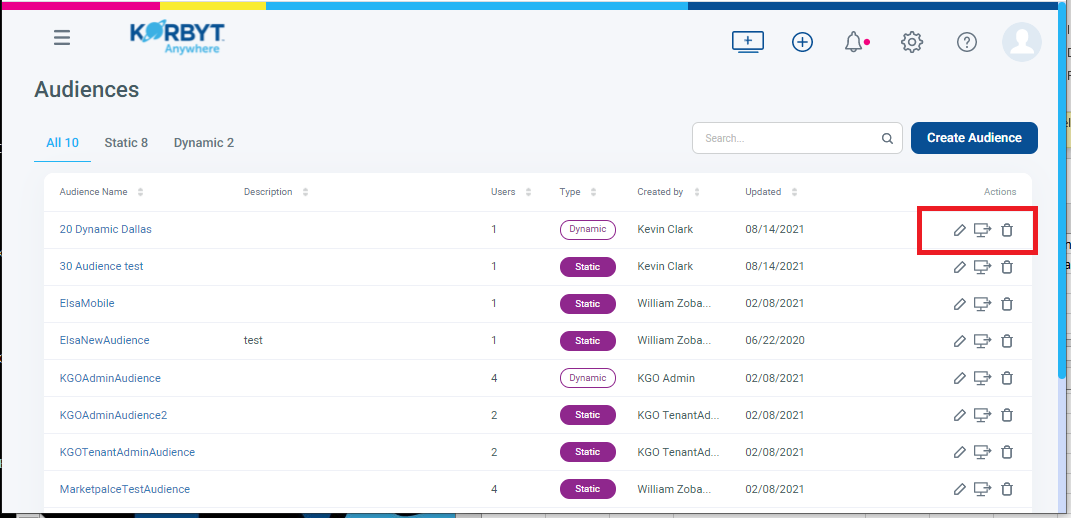
- From the list of available audiences displaying on a List view you can see which audiences are Dynamic and which ones are Static. The Actions allow the user to Edit, Send Notification or Delete.
Top
How to Add a Message
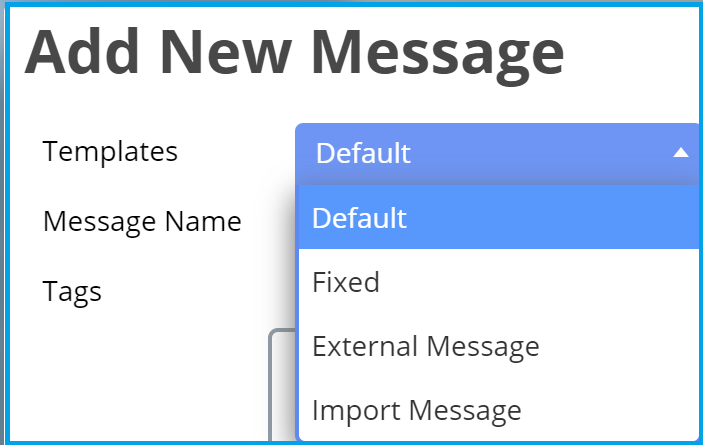
To create a message use the following templates: Default, Fixed, External Message, and Import Message.
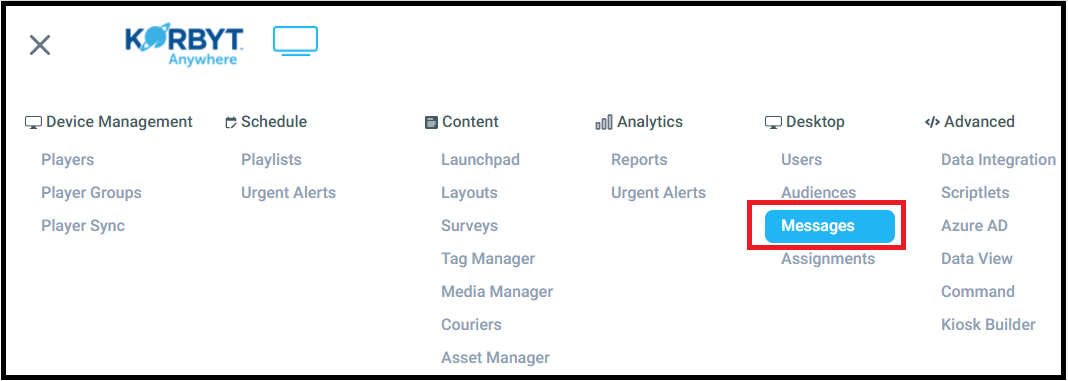
- Click on the Hamburger Menu

- Select Desktop –> Messages
How to use Templates
- These are the available templates; Default, Fixed, External Message, and Import Message.
Default Layout
- Select the Default template – choose the template from the available options.
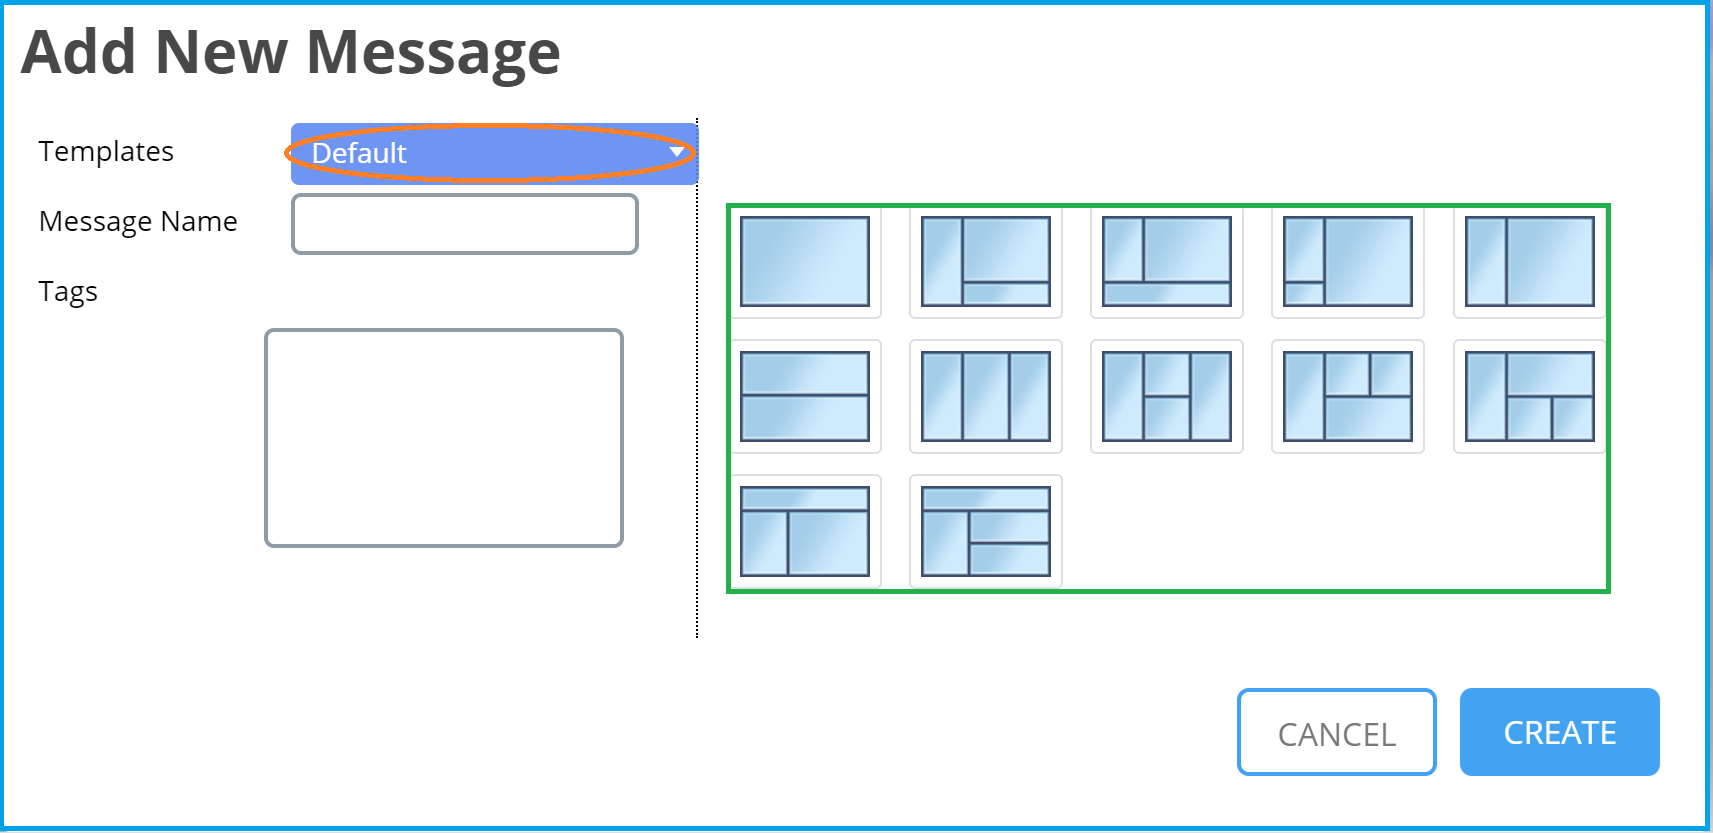
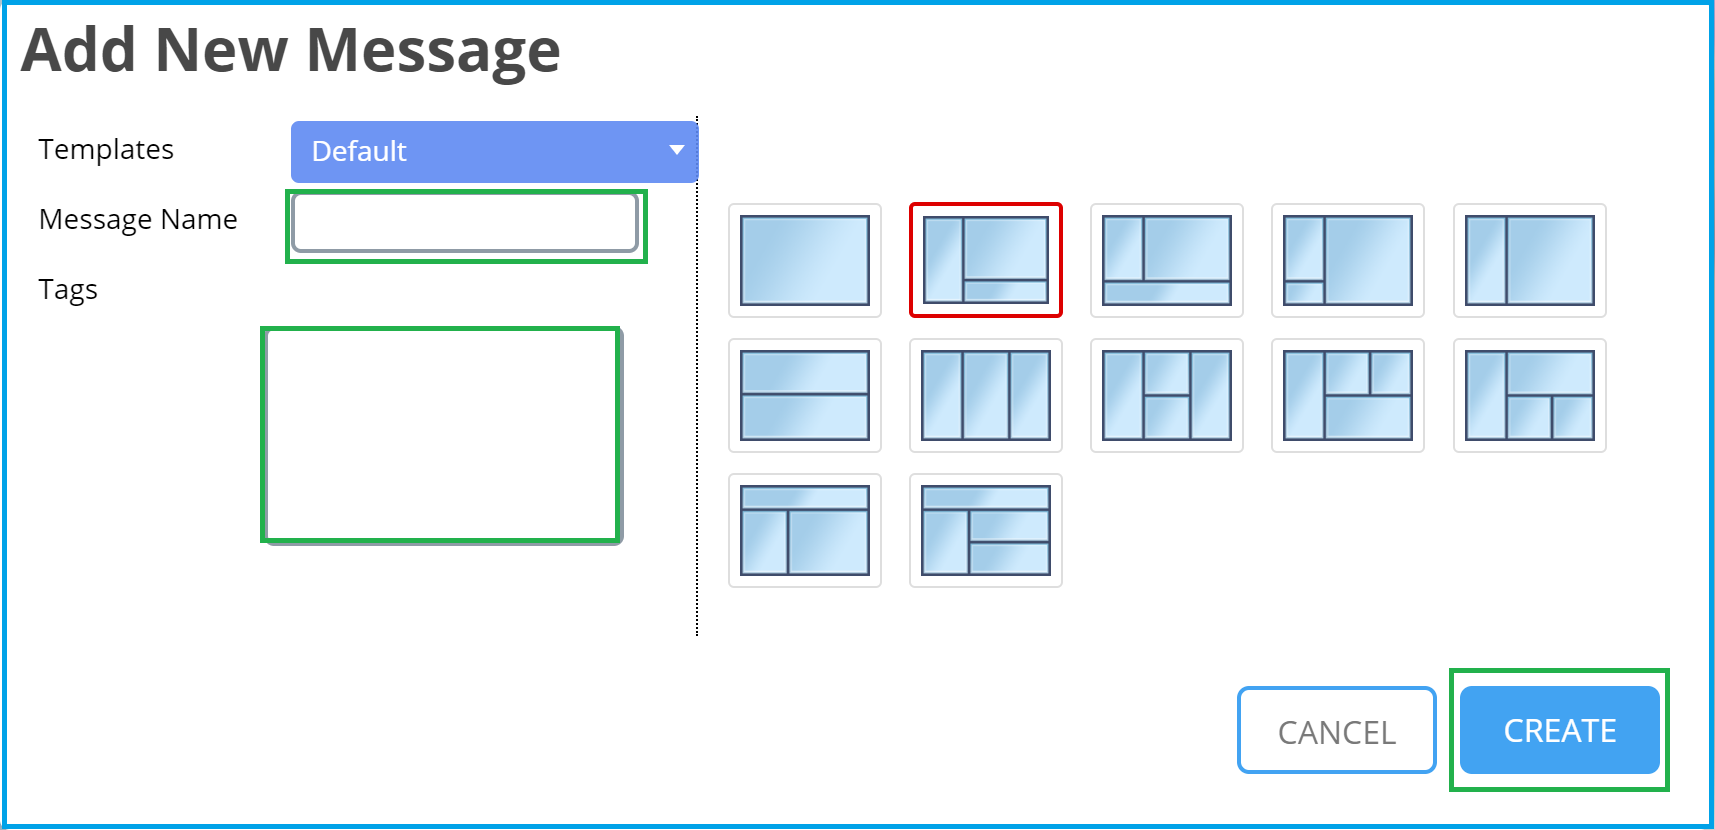
- Enter the Message Name. This is how the user can identify the newly created Message from the list of available messages.
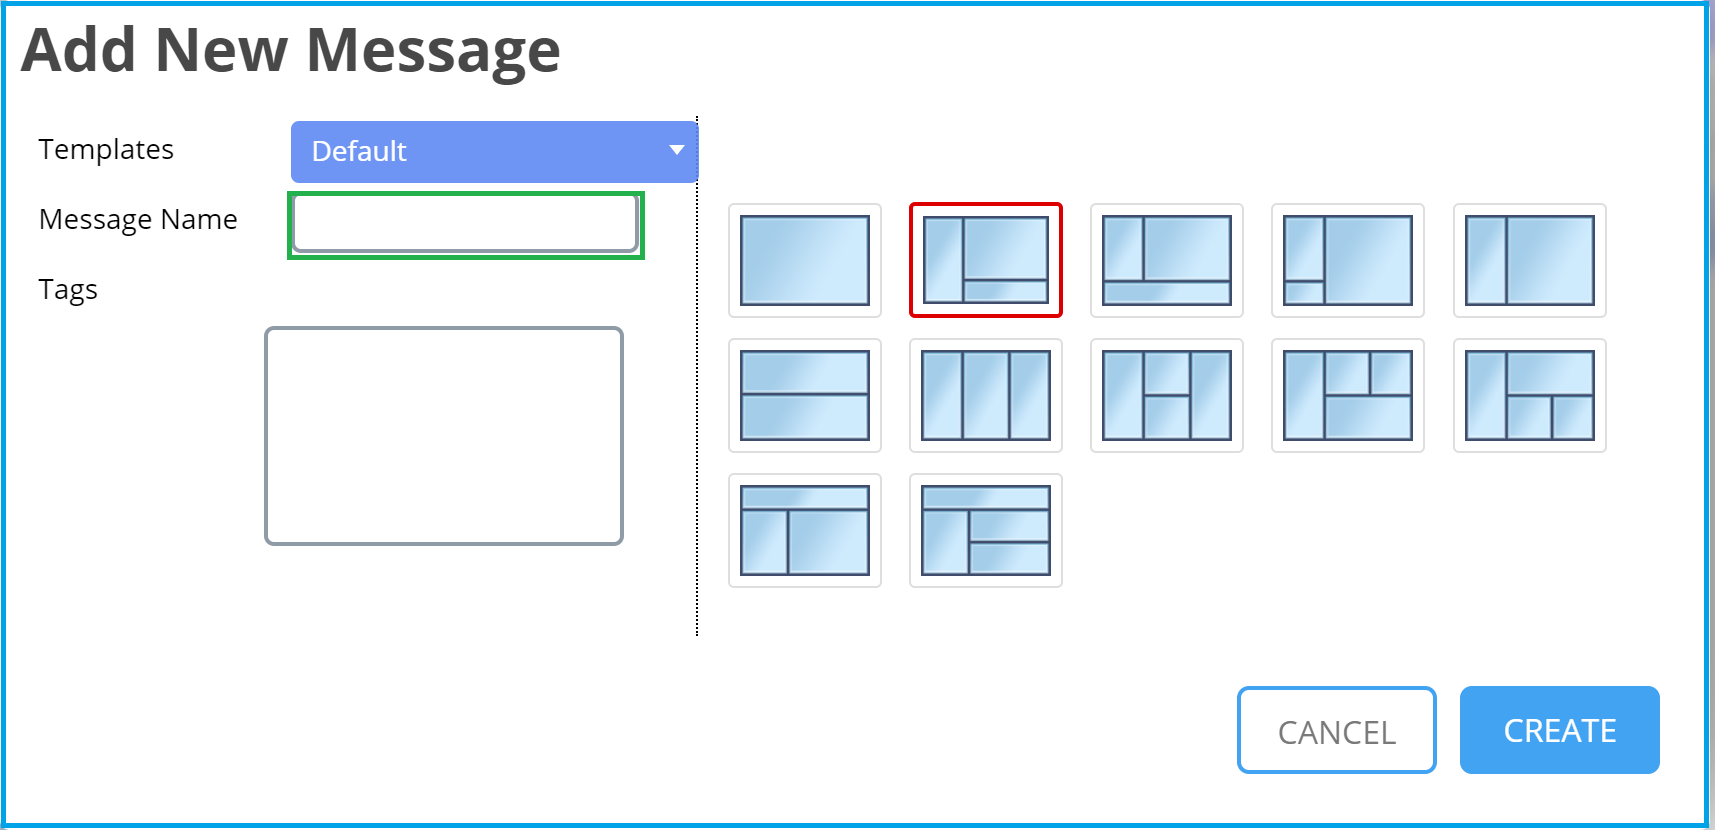
- On the Tags section enter the tag, if desired. Using tags is highly recommended, this allows the customer to easily manage their content.
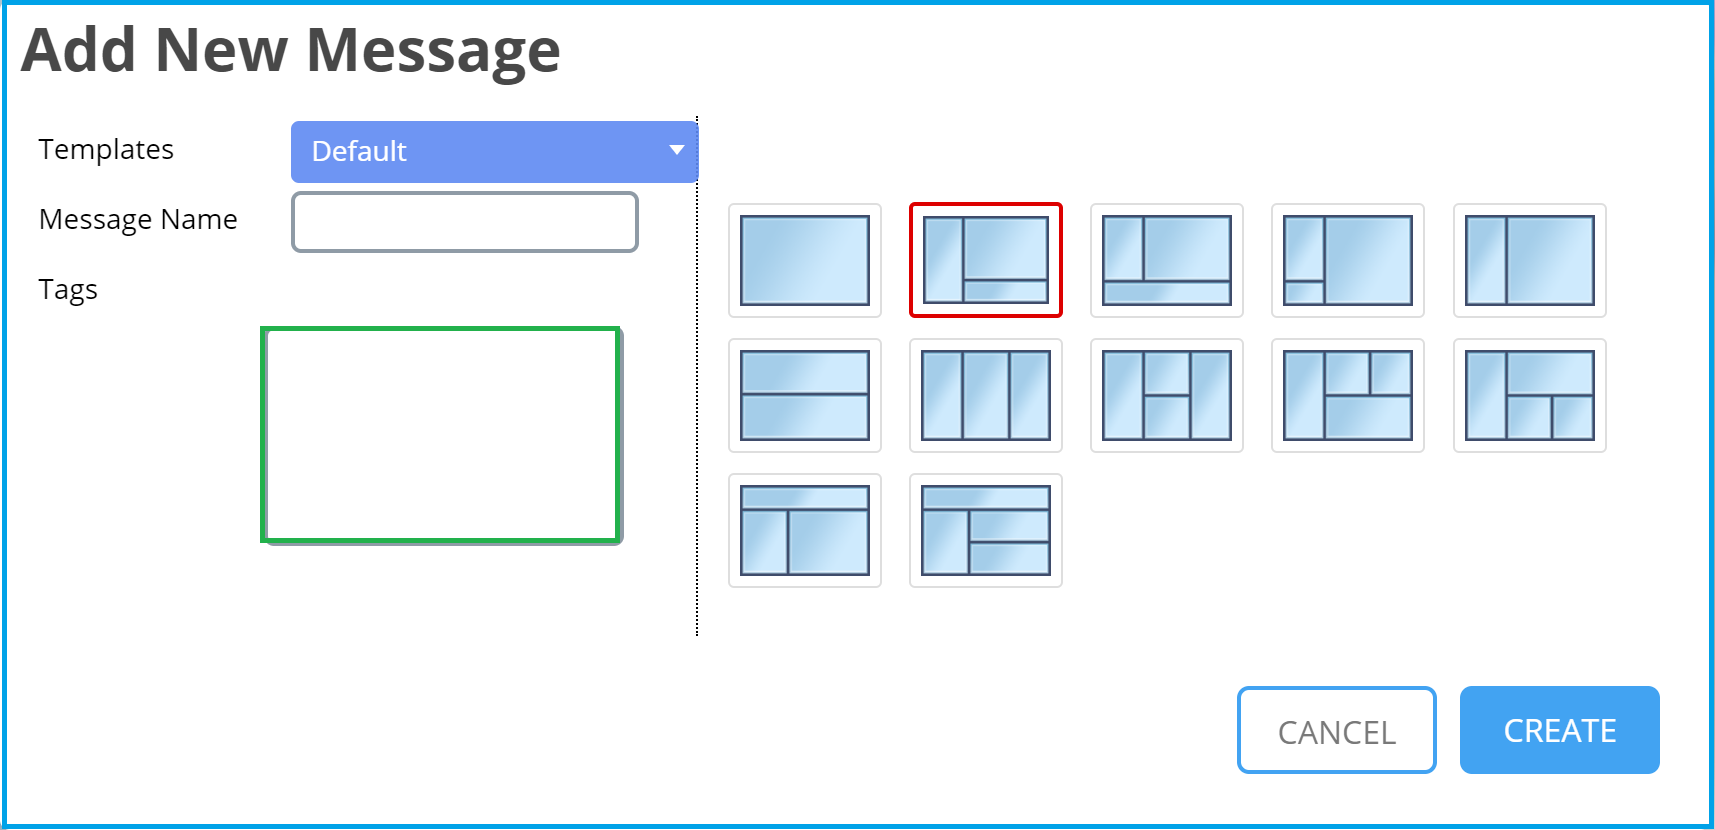
- Click on the Cancel button to cancel the action – no message will be created.
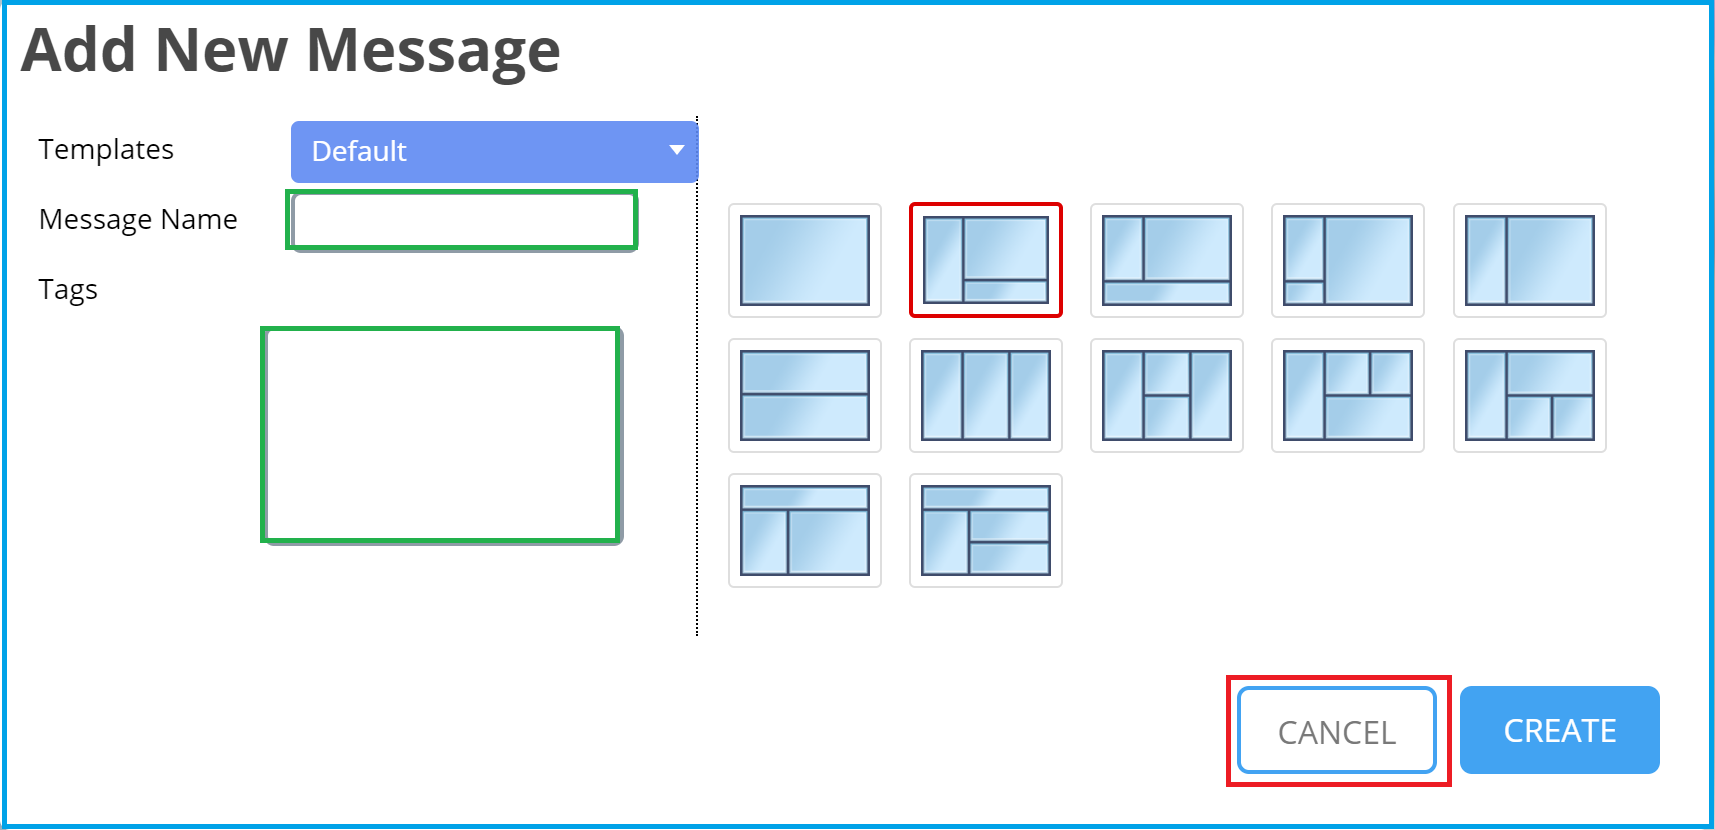
- Click on the Create button – The New Message will be created.
Fixed
- Selecting a Fixed template, with this template, the user can only create a fixed message with specific dimensions. Please NOTE: Using this template is “Not recommended for Mobile“. The dimensions available are listed on the drop-down box and are available for the user to choose from.
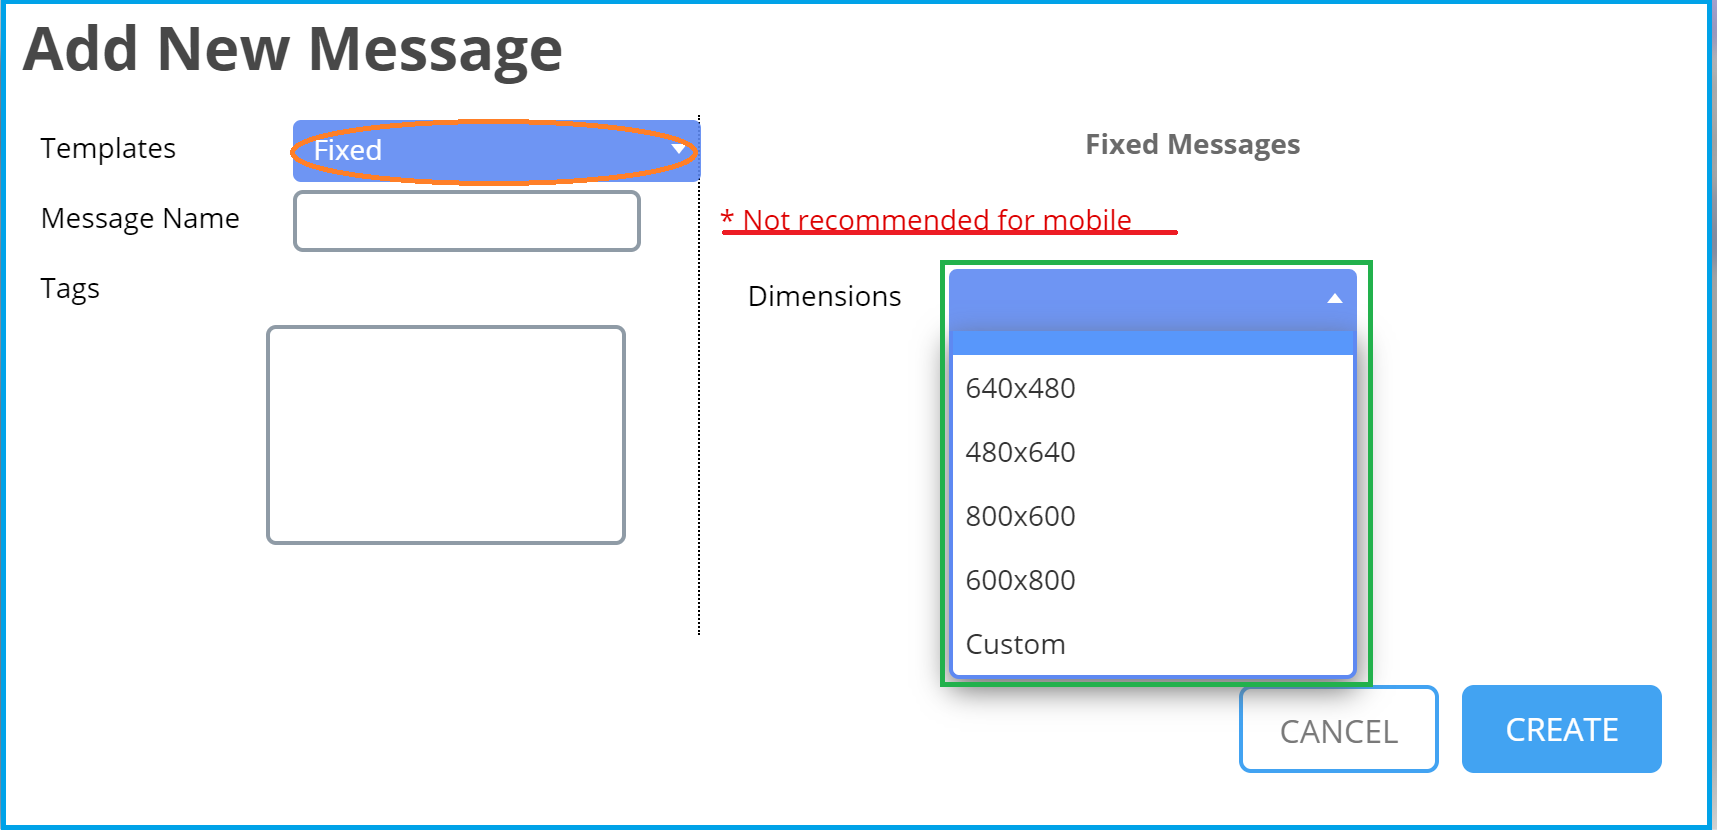
- After Selecting the Fixed Template, enter the Message Name. This is how the user can identify the newly created Message from the list of available messages.
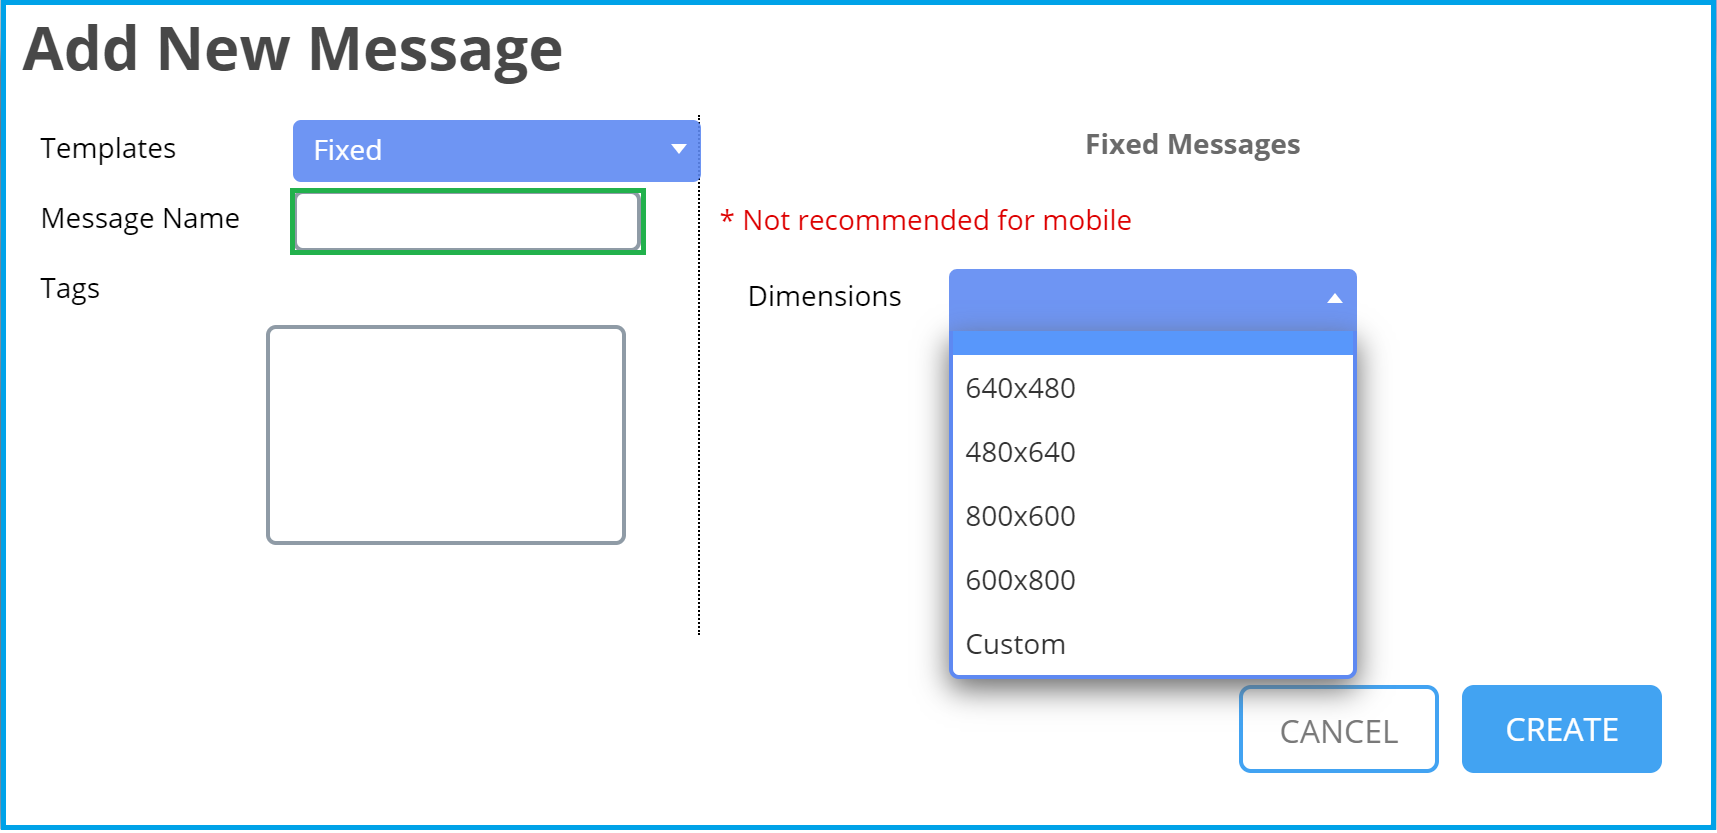
- On the Tags section enter the Tag, if desired. Using tags is highly recommended, this allows the customer to easily manage their content.
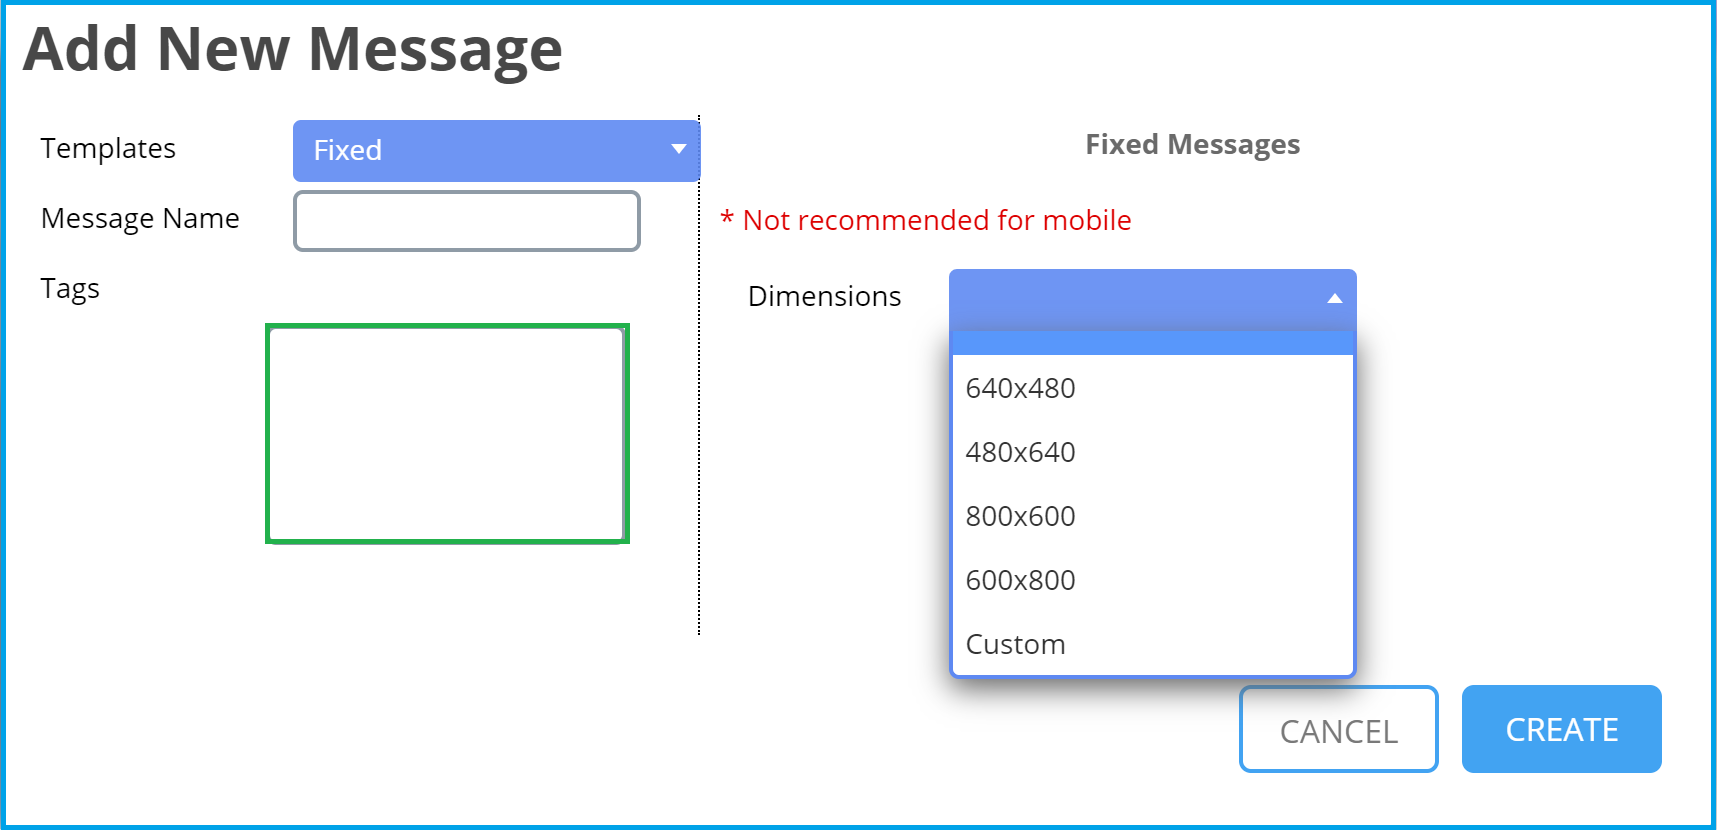
- Click on the Cancel button to cancel the action – no message will be created.
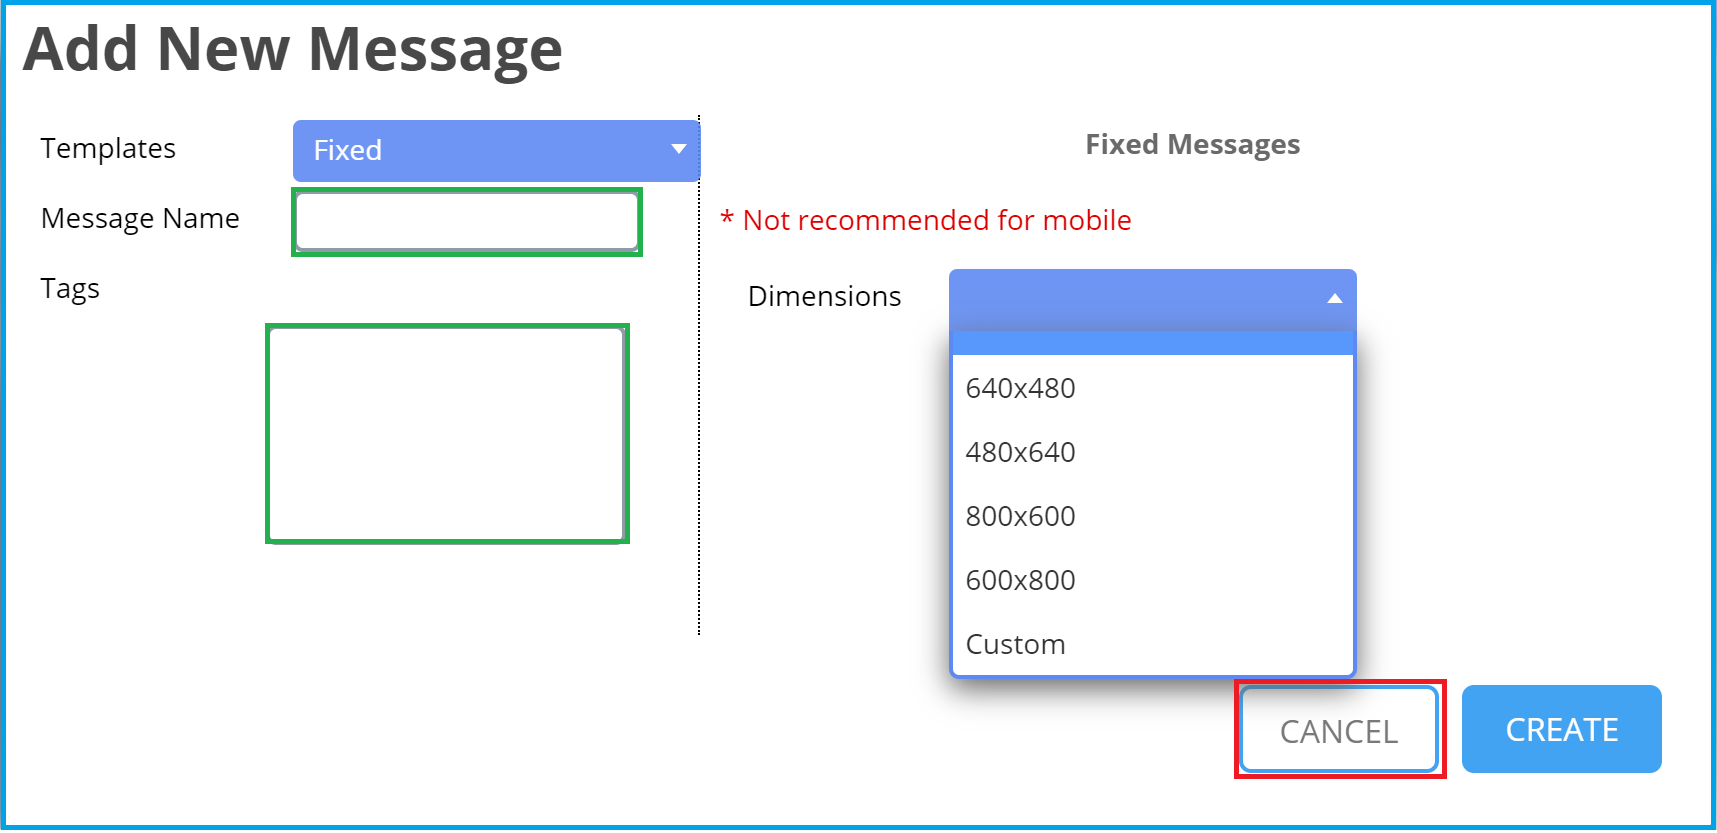
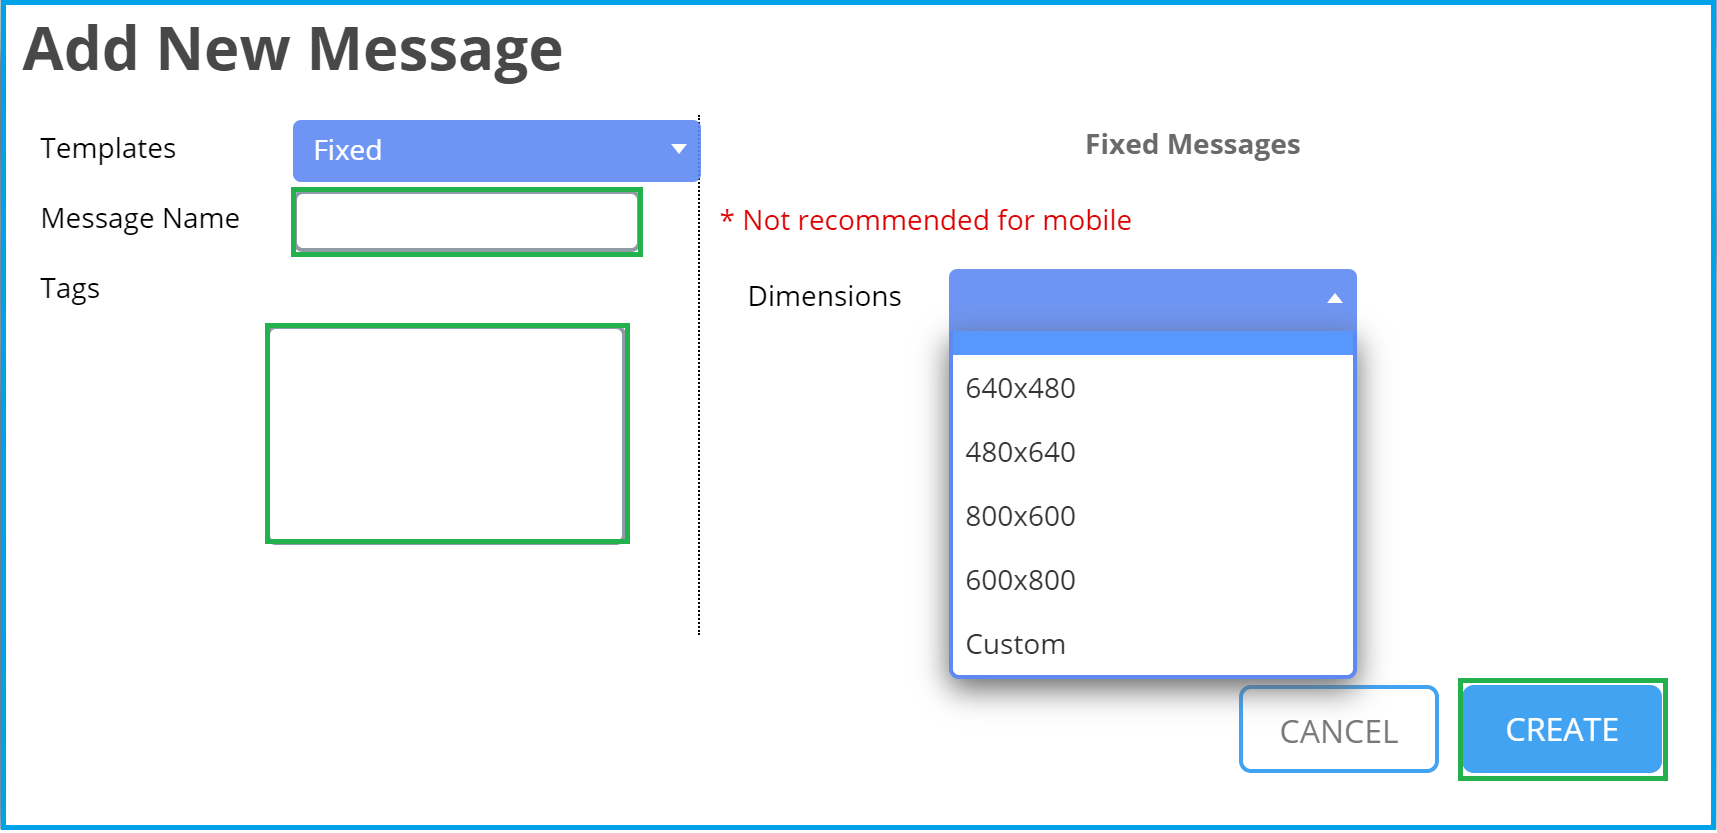
- Click on the Create button – The New Fixed Message will be created.
External Message
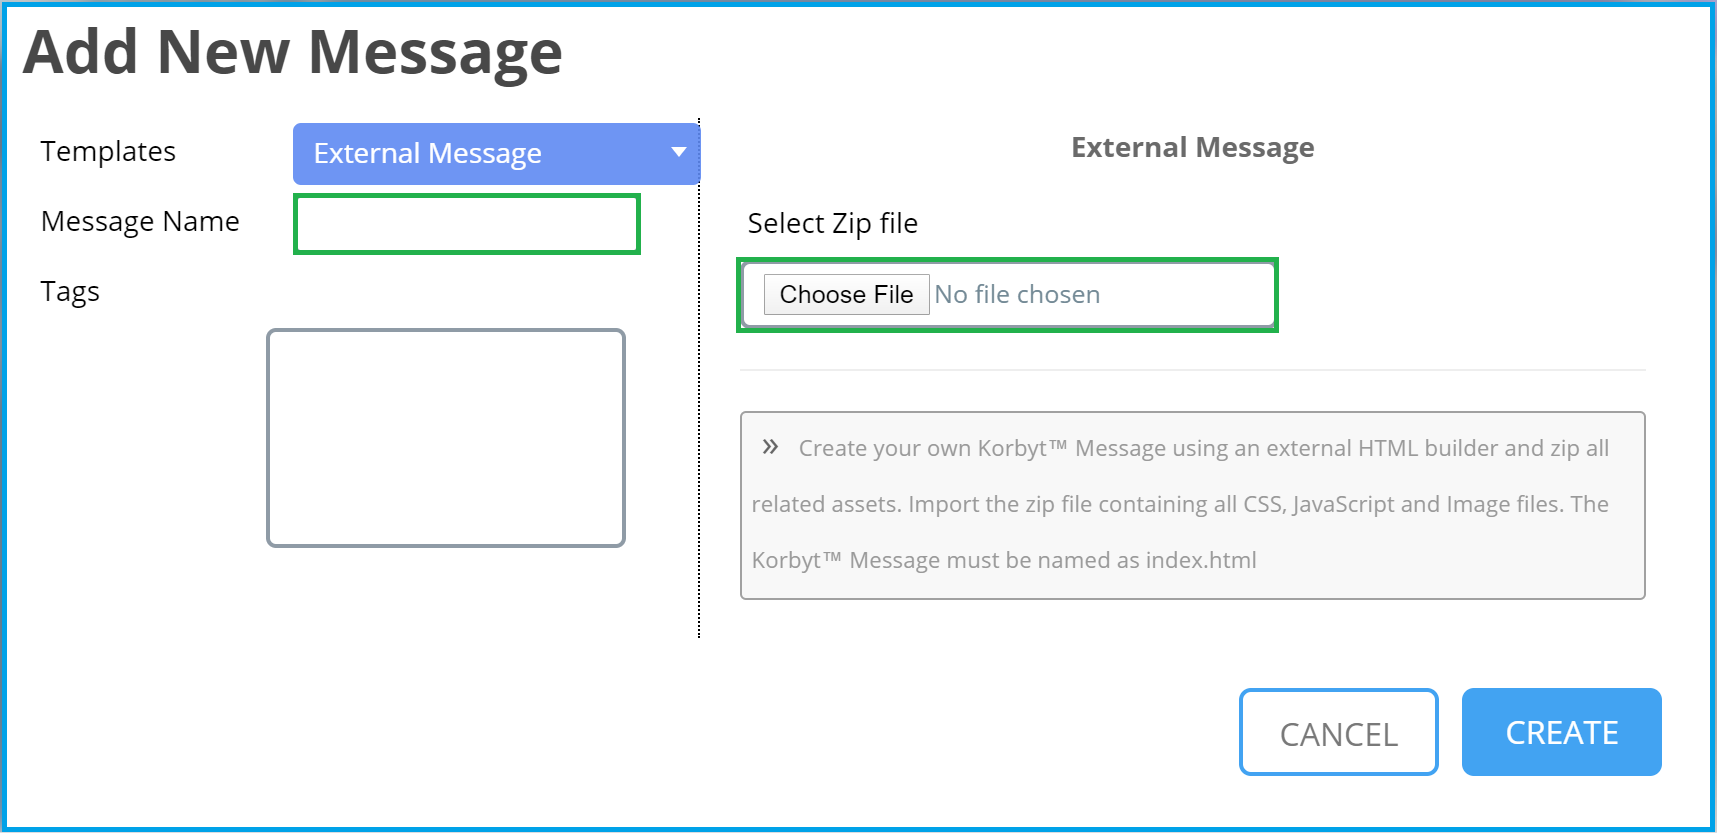
- Selecting External Message template, a zip file that is created by the user can be imported. With this option the customer is allowed to import a message created on their own. The user can create their own Korbyt Message using an external HTML builder and zip all related assets. Import the zip file containing all CSS, JavaScript and Image files. The Korbyt Message must be named as index.html
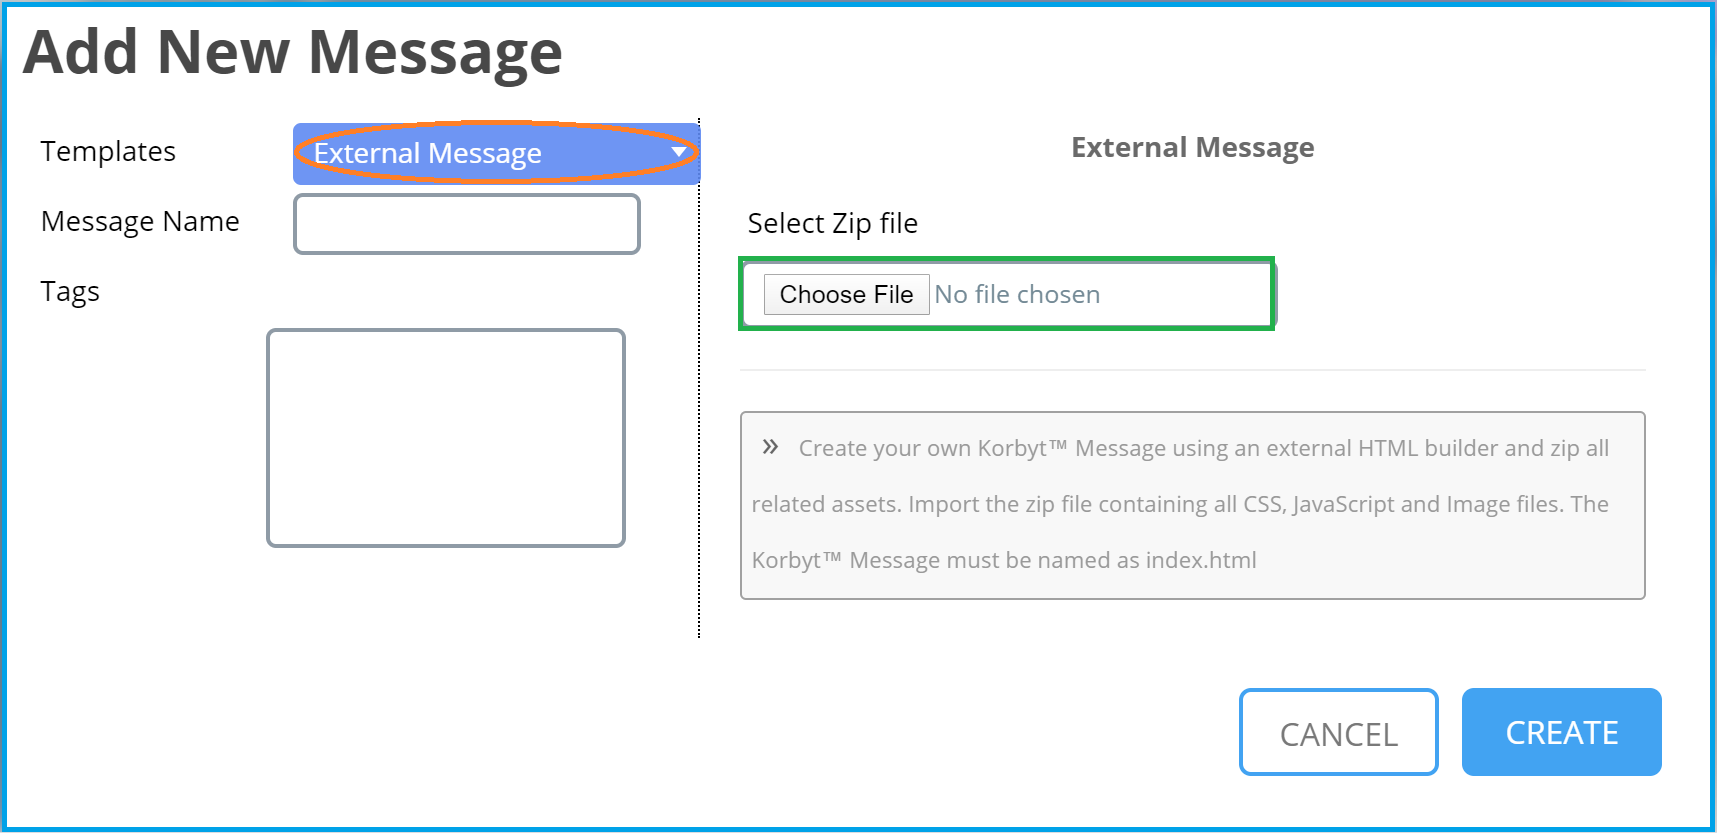
- After Selecting the External Message template, enter the Message Name. This is how the user can identify the newly created Message from the list of available messages.
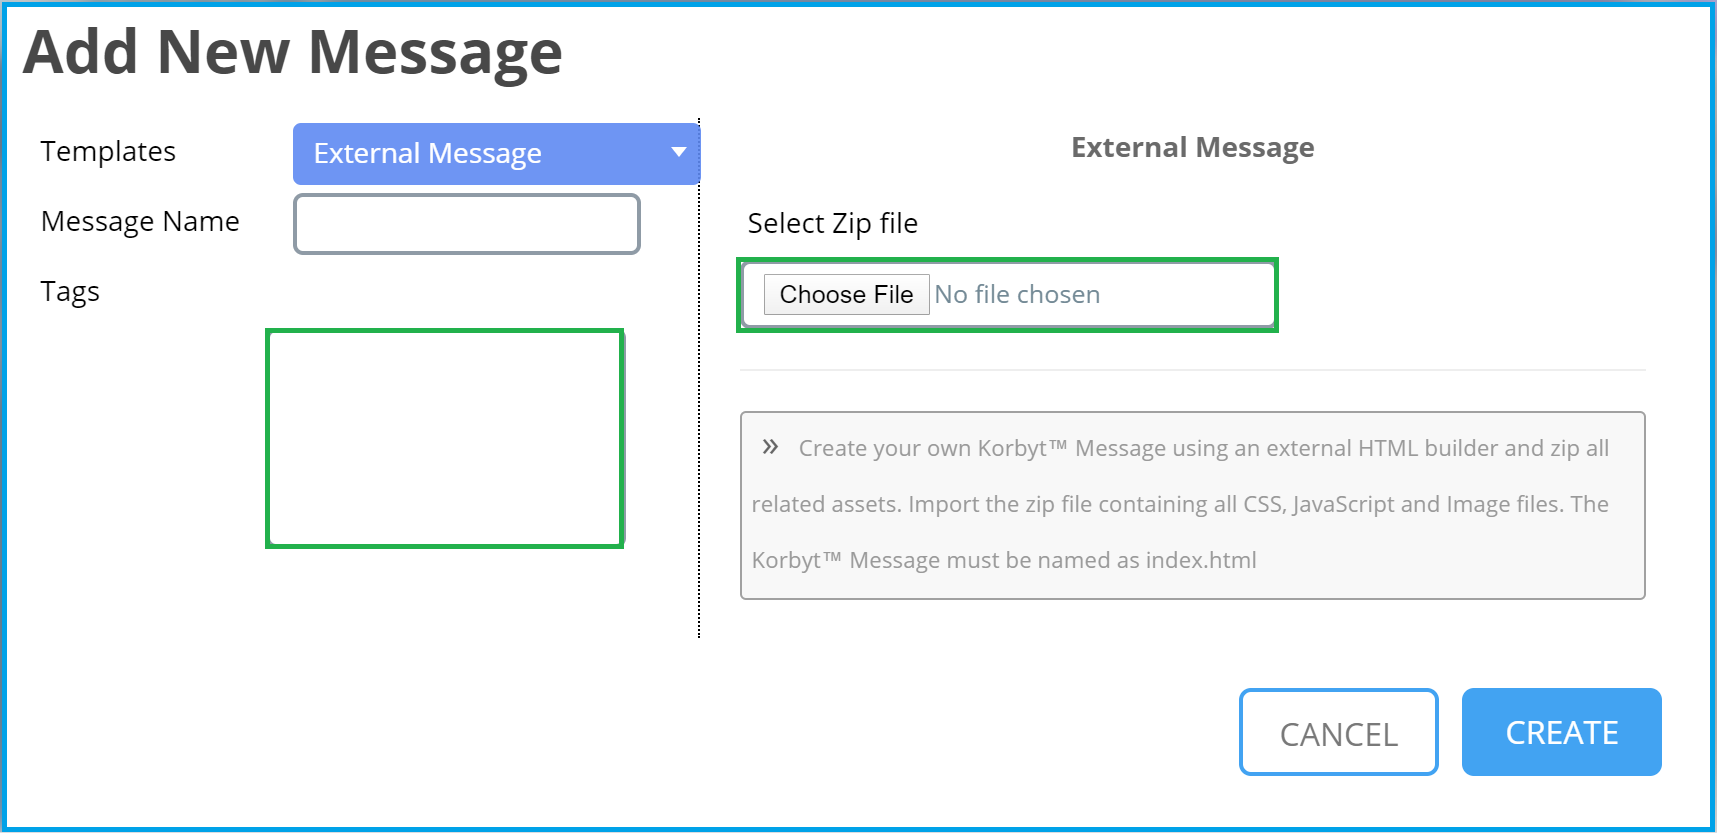
- On the Tags section enter the Tag, if desired. Using tags is highly recommended, this allows the customer to easily manage their content.
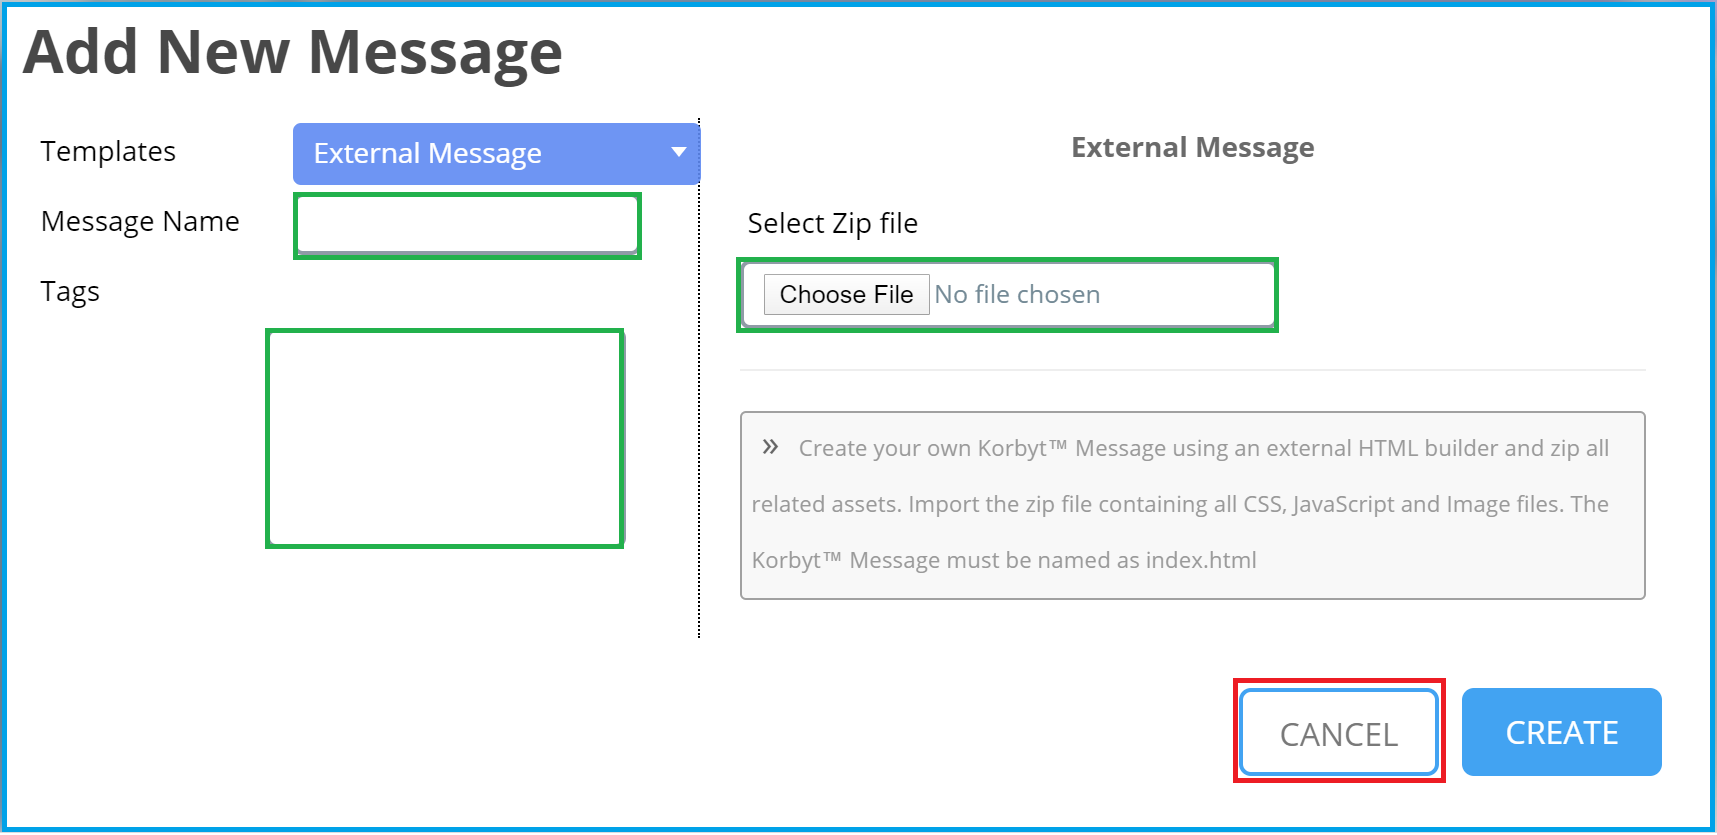
- Click on the Cancel button to cancel the action – no message will be created.
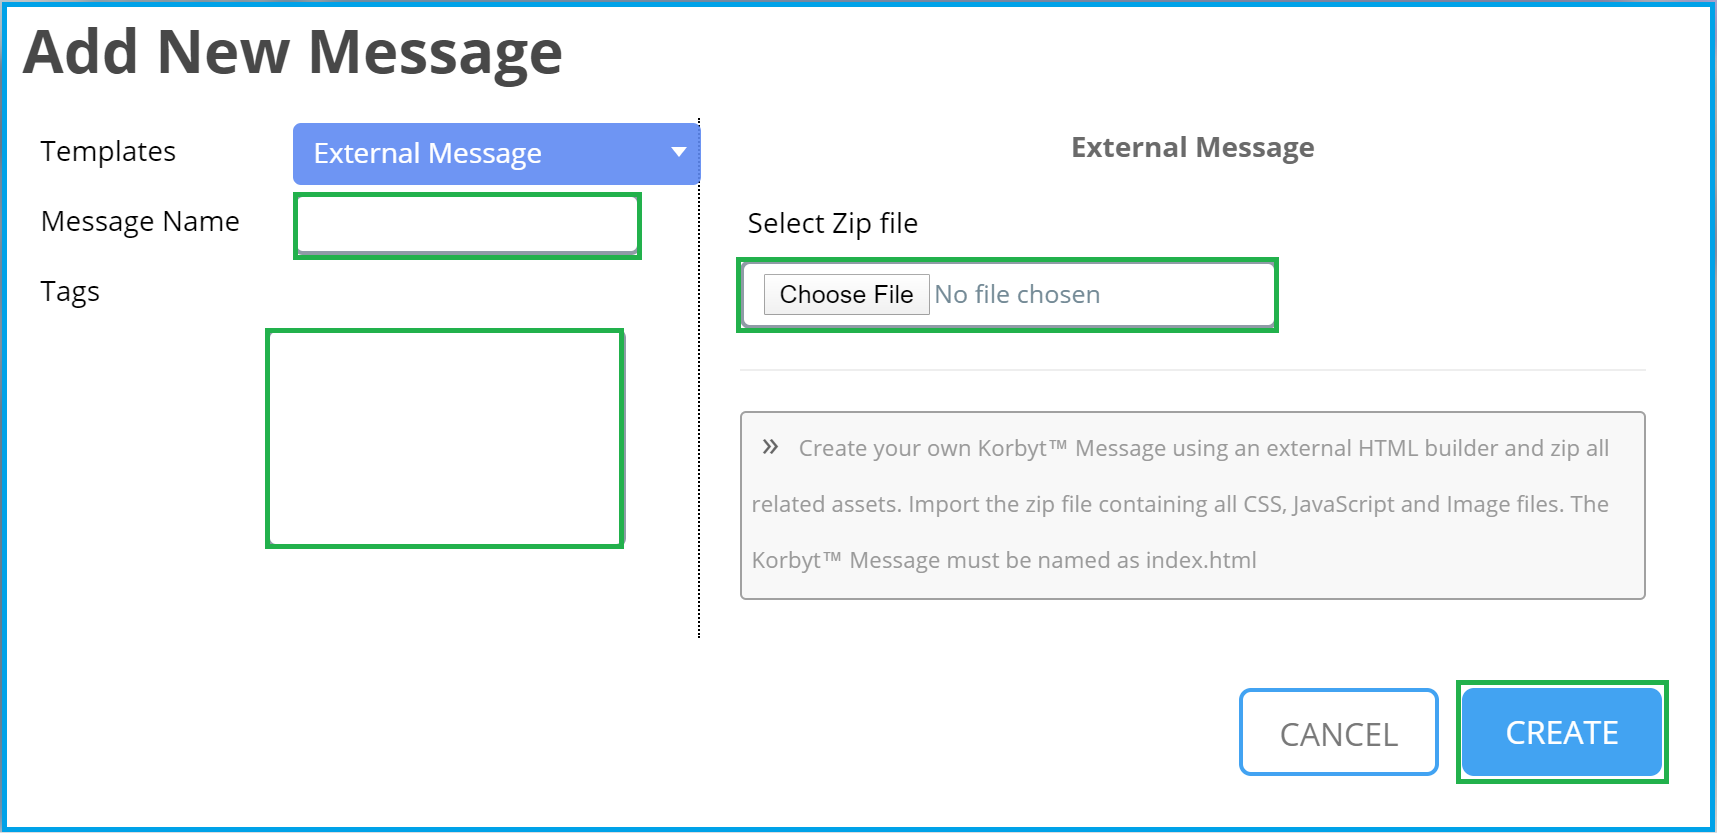
- Click on the Create button – The New Fixed Message will be created.
Import Message
- Selecting Import Message template, with this feature the user is able to import a Message that was previously exported within Korbyt. When importing a Korbyt Message, please be sure to keep the original filename the zip had when exported and do not rename the zip archive. One of the reasons user might want to use the import is if he has multiple tenants and would want to import a message from a different tenant.
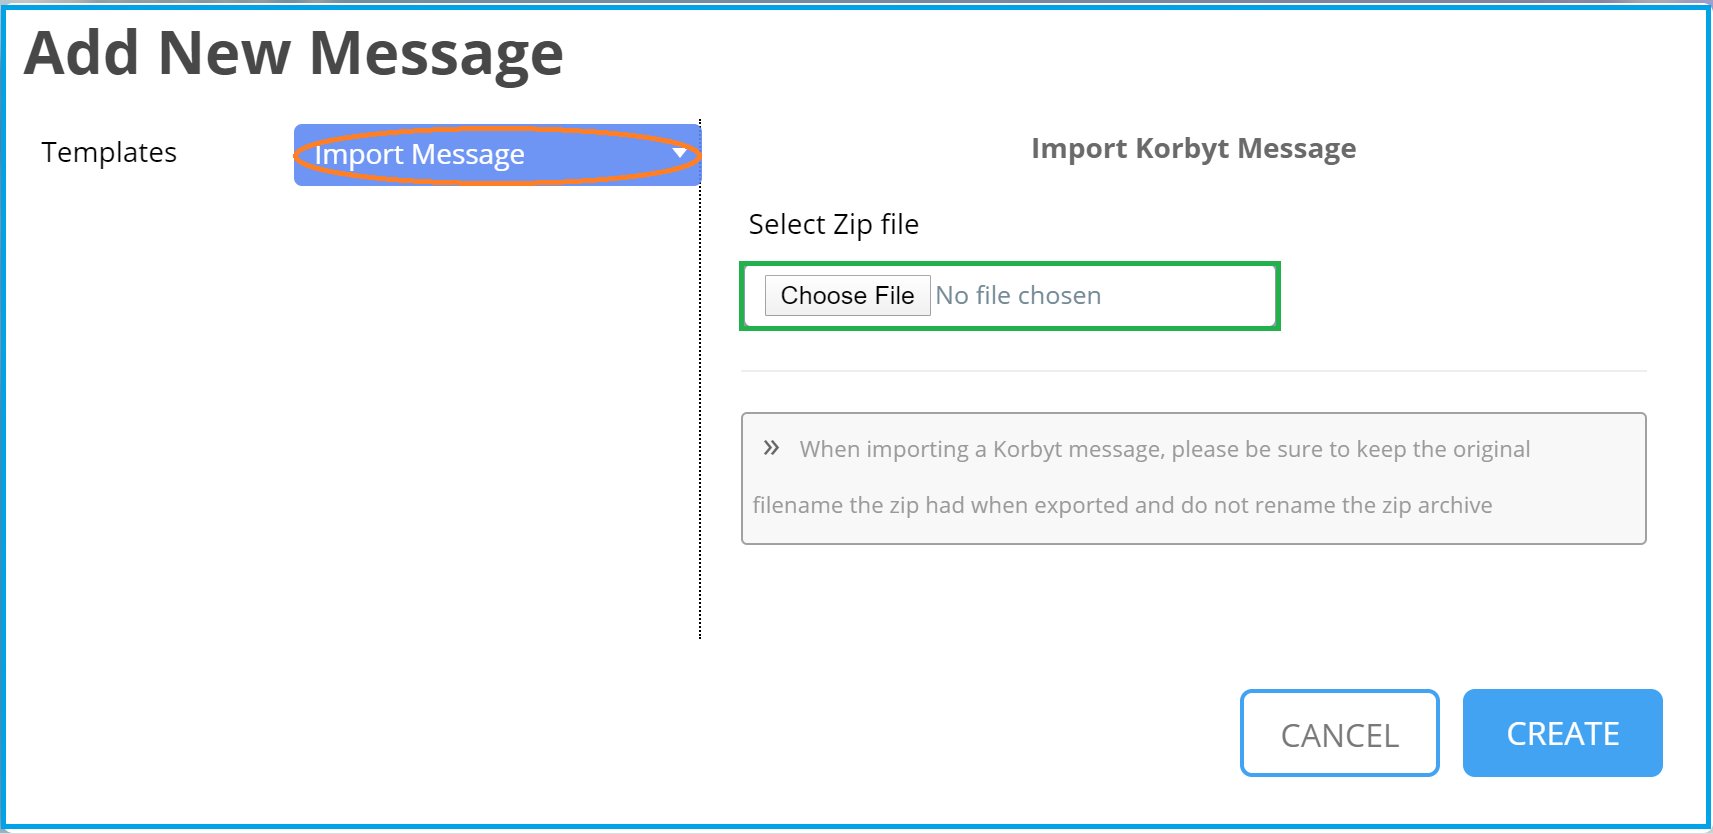
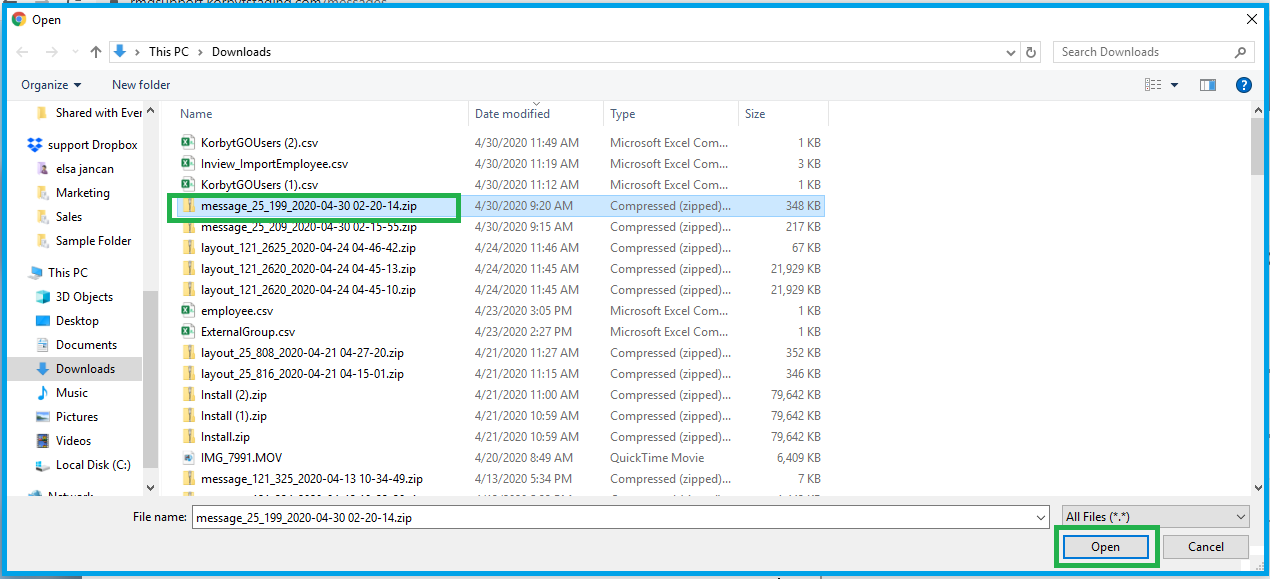
- Click on the Choose File button to select the zip file to be imported. Browse to the directory where the zip file resides. Select the file. Then click on the Open button
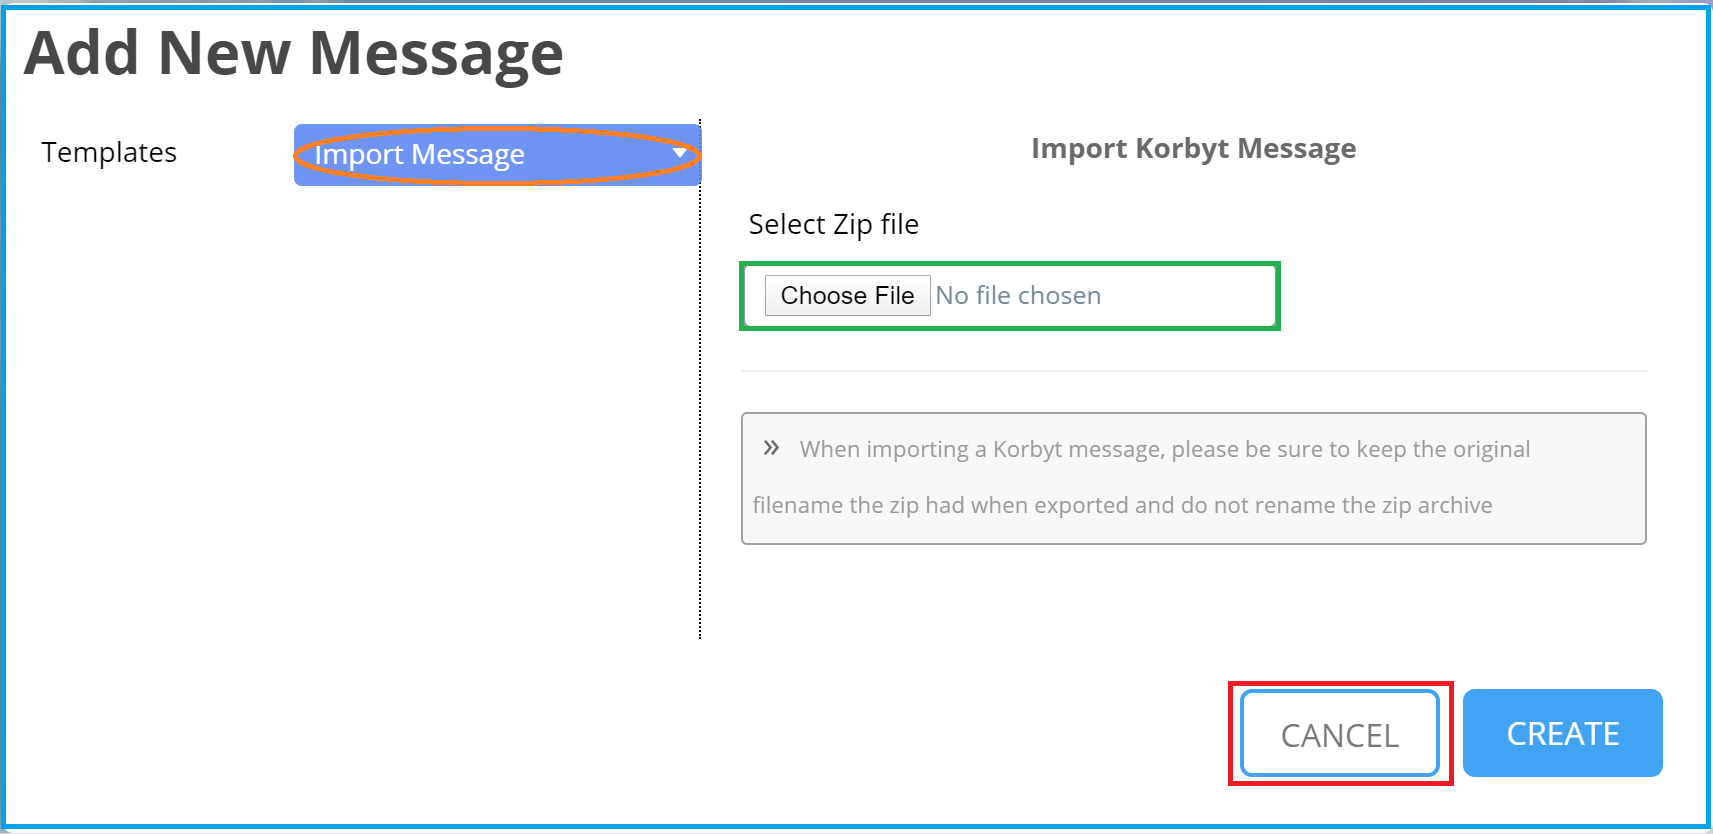
- Click on the Cancel button to cancel the action – no message will be created.
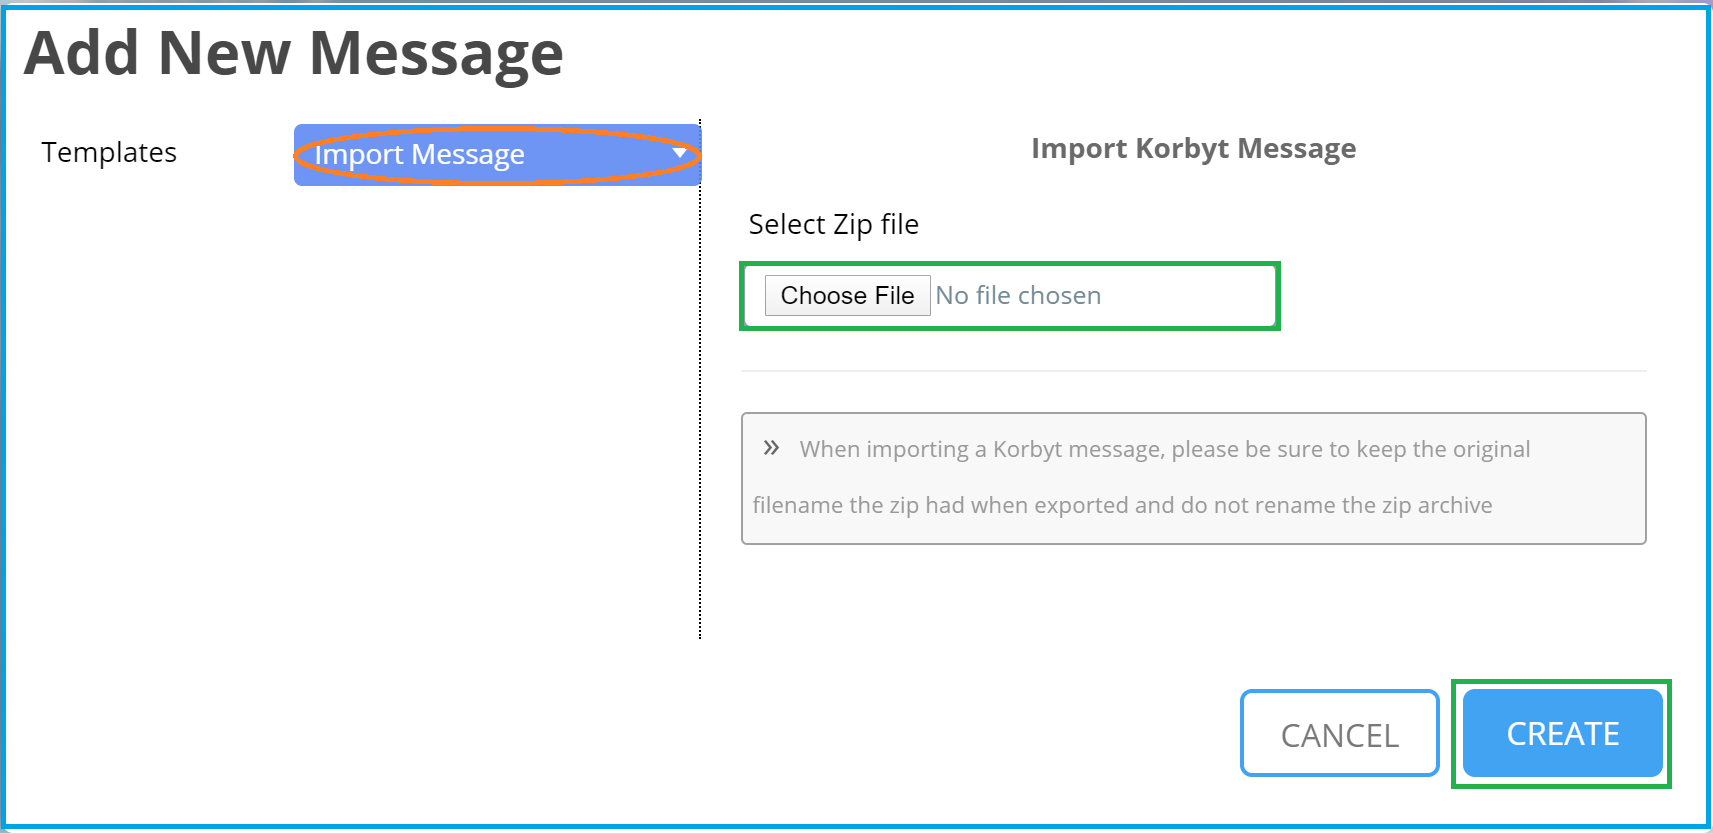
- Click on the Create button – The New Import Message will be created.
- If the Message already exist the user will be notified after clicking on create and will not be replaced. It will display the message ID that it currently has.
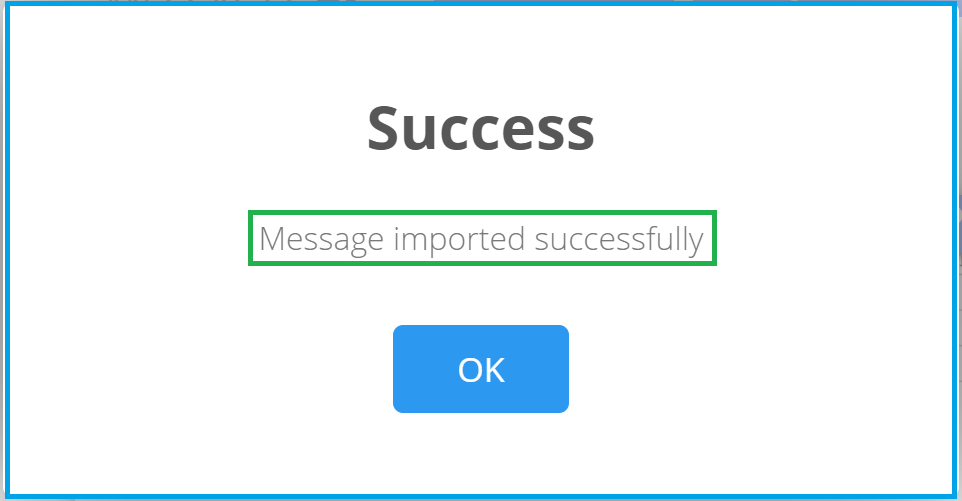
- If the message successful imports the following notification should appear.
Message Actions
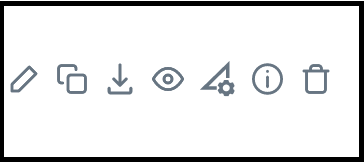
Now That a message has been created, It can be Edit, Clone, Export, Preview, Request Approval, Edit Metadata, Delete.
Edit
 The Edit button allows the user to edit the Message
- Click on the Edit button to Edit the message. The Message Builder will appear.
- The Builder (for more details click on the link) allows you to edit the existing elements or even to add new elements from the available elements list. Simply Select the desired Element and drag and drop that element to the Message.
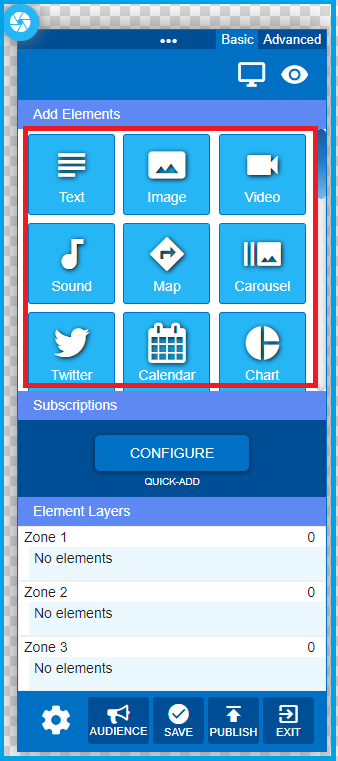
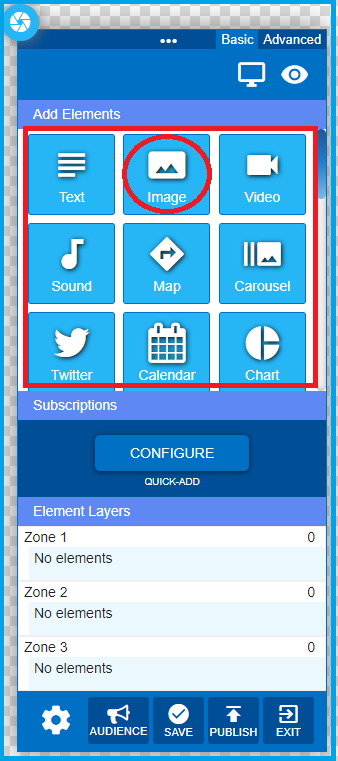
- In this example an image element is being selected.
- To select the Desired Image navigate to the directory from the Media Library.
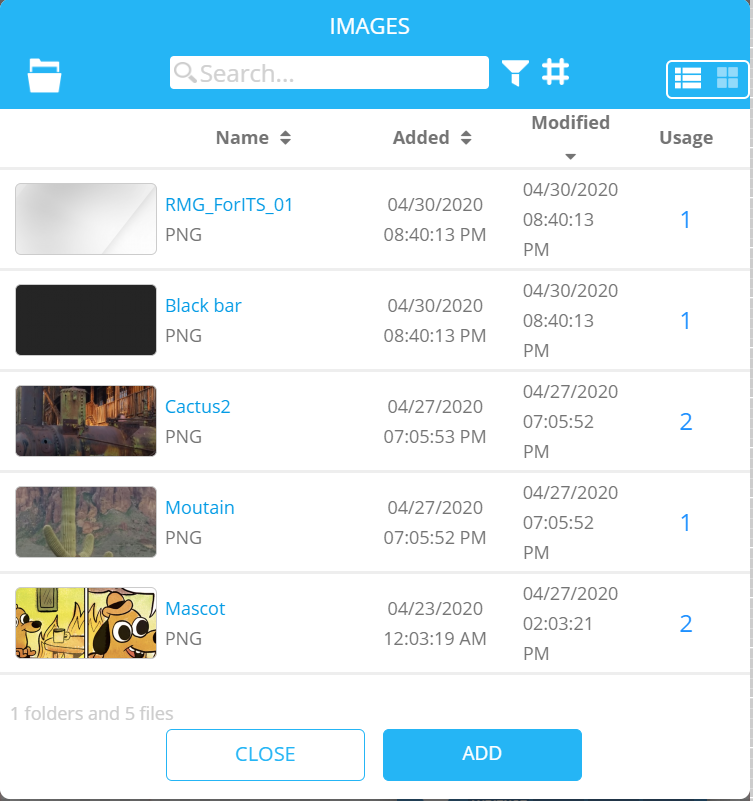
- Find the image, select is and click on the Add button.
- The element with the image selected will display.
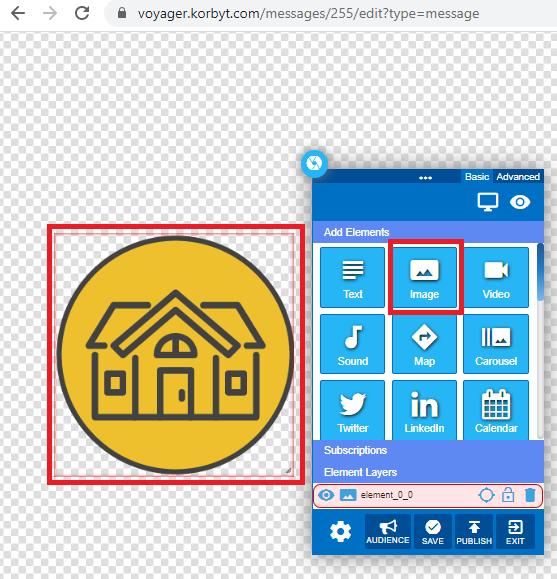
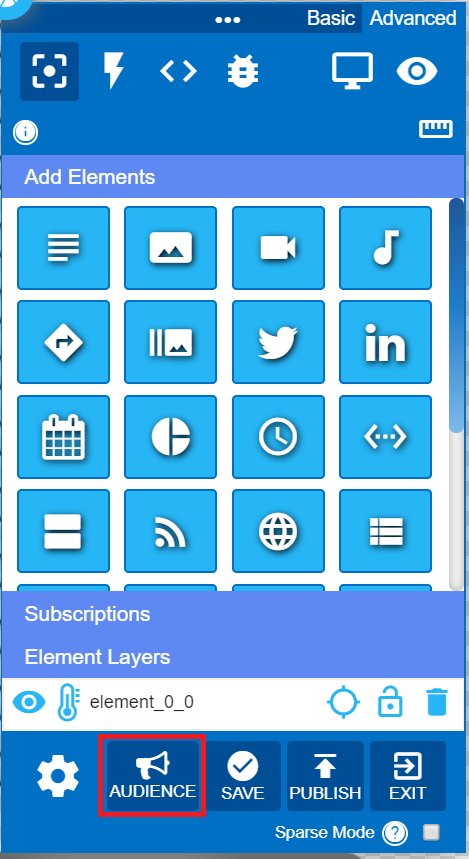
- The Message has to be linked to an Audience before is display on any of the selected Chanels.
- To select the Audience click on the Audience button.
- After clicking on Audience the available Audience window will display. A search option is available to make it easier to find the intended audience(s). Select the Audience and then click Add.
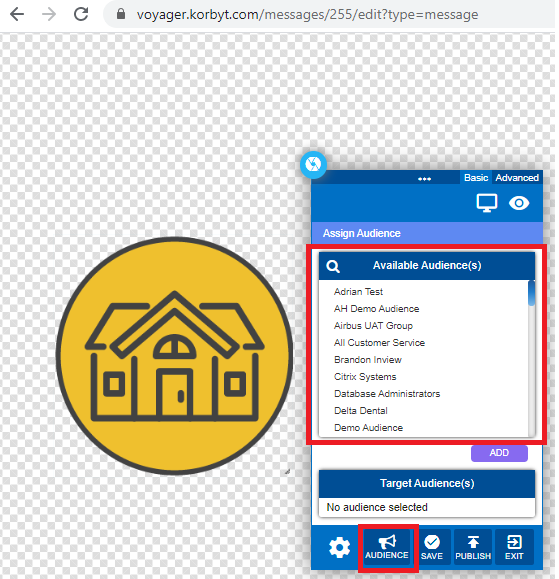
- Confirm the selected audience(s) are displaying under the “Target Audience” section.
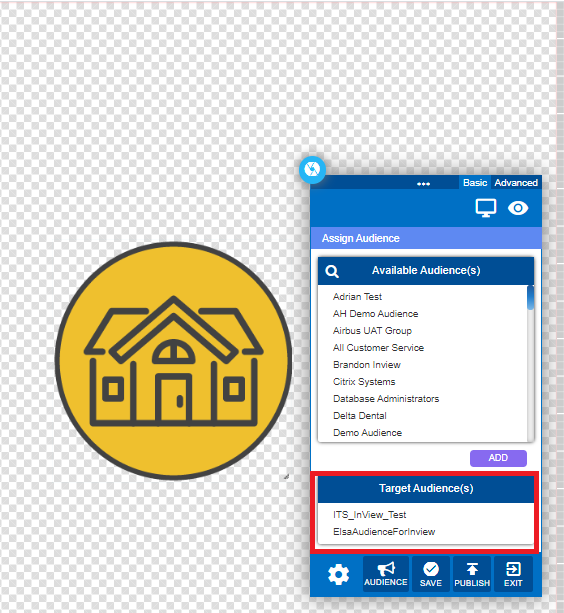
- Publish, Save, then Exit the message. At this point the message has been created. User has the option to edit and make different selections.
Clone Message
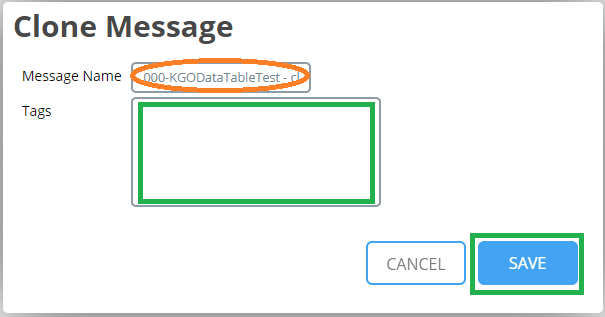
 The Clone Message allows the user to clone the message.
- To clone a message click on the Clone Message button
- Enter the Message Name
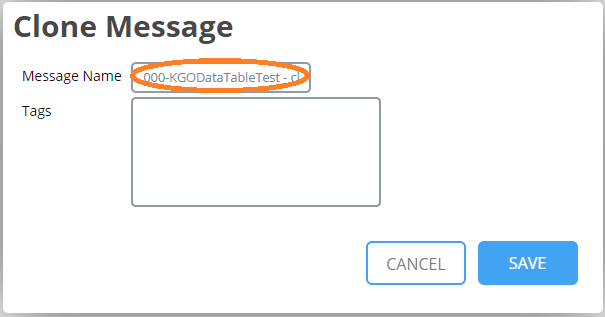
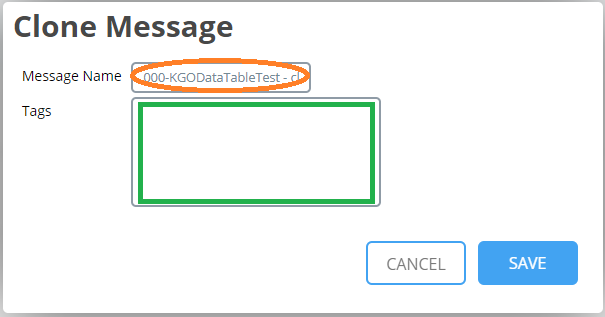
- On the Tags section enter the Tag, if desired. Using tags is highly recommended, this allows the customer to easily manage their content.
- Click on the Cancel button to cancel the action – no clone message will be created.
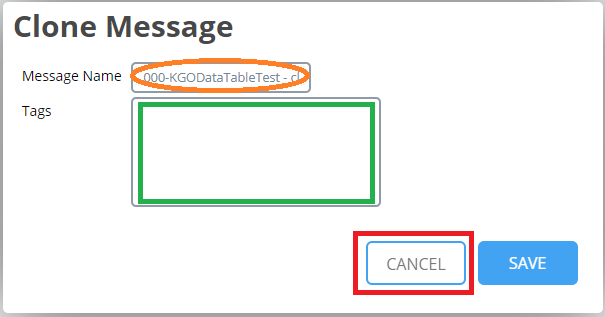
- Click on the Save button to Save the new clone message – The new Clone message message will be created.
Export Message
 The Export Message allows the user to export the message
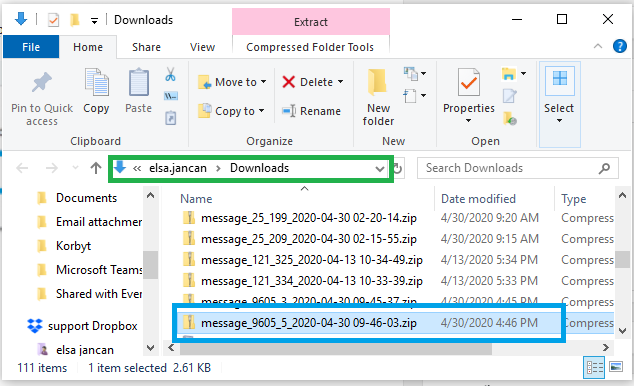
- Click on the Export Message button to export the message
- The Message will be downloaded to Downloads folder
- The file by default is being exported to the Downloads directory on the desktop. The zip file can be moved to different directory should you choose to do so.
Preview
 The Preview allows the user preview the content of the message
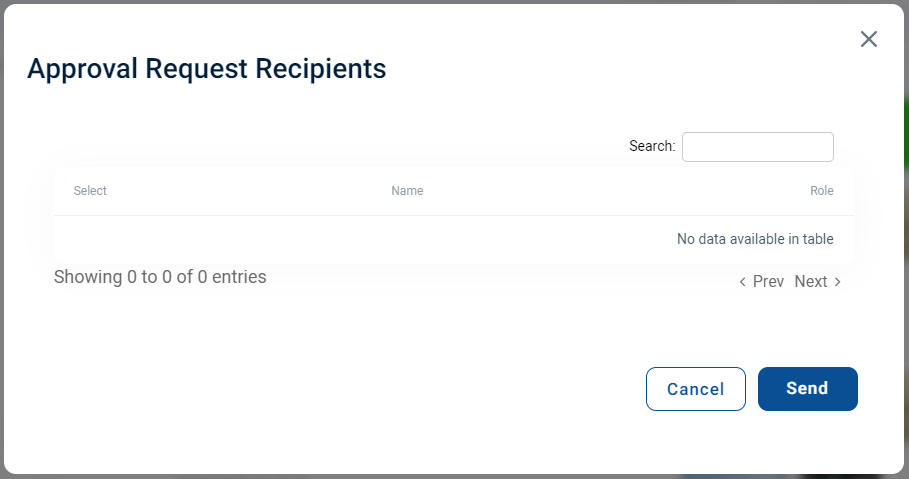
Request Approval
 The Request Approval allows the Content Manager to approve content once is created from another user with less permissions. The user has to request approval before that message is usable.
Edit Metadata
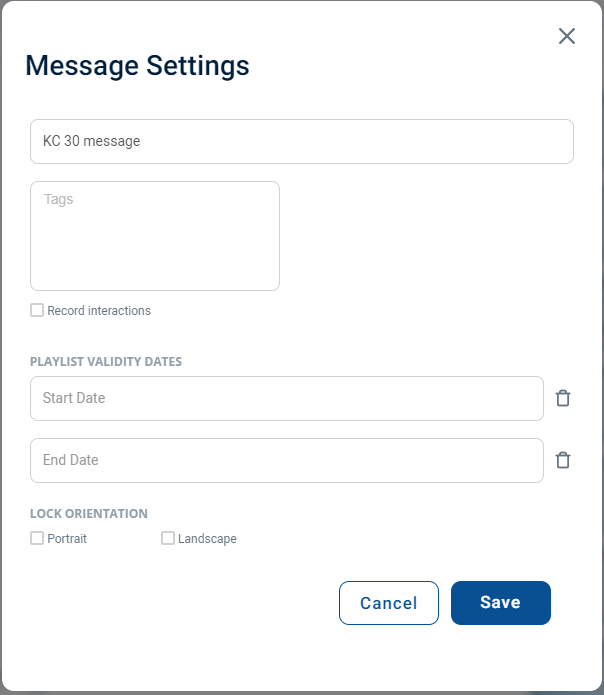
 The Edit Metadata allows user to edit the message settings
Delete
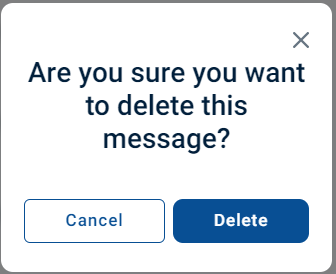
 The Delete allows the user to delete that message but it gives a warning to make sure the user is certain that the message needs to be deleted.
*****
Assignments
To manage the assignments, click on the Hamburger Menu –> Select Desktop –> Assignments,
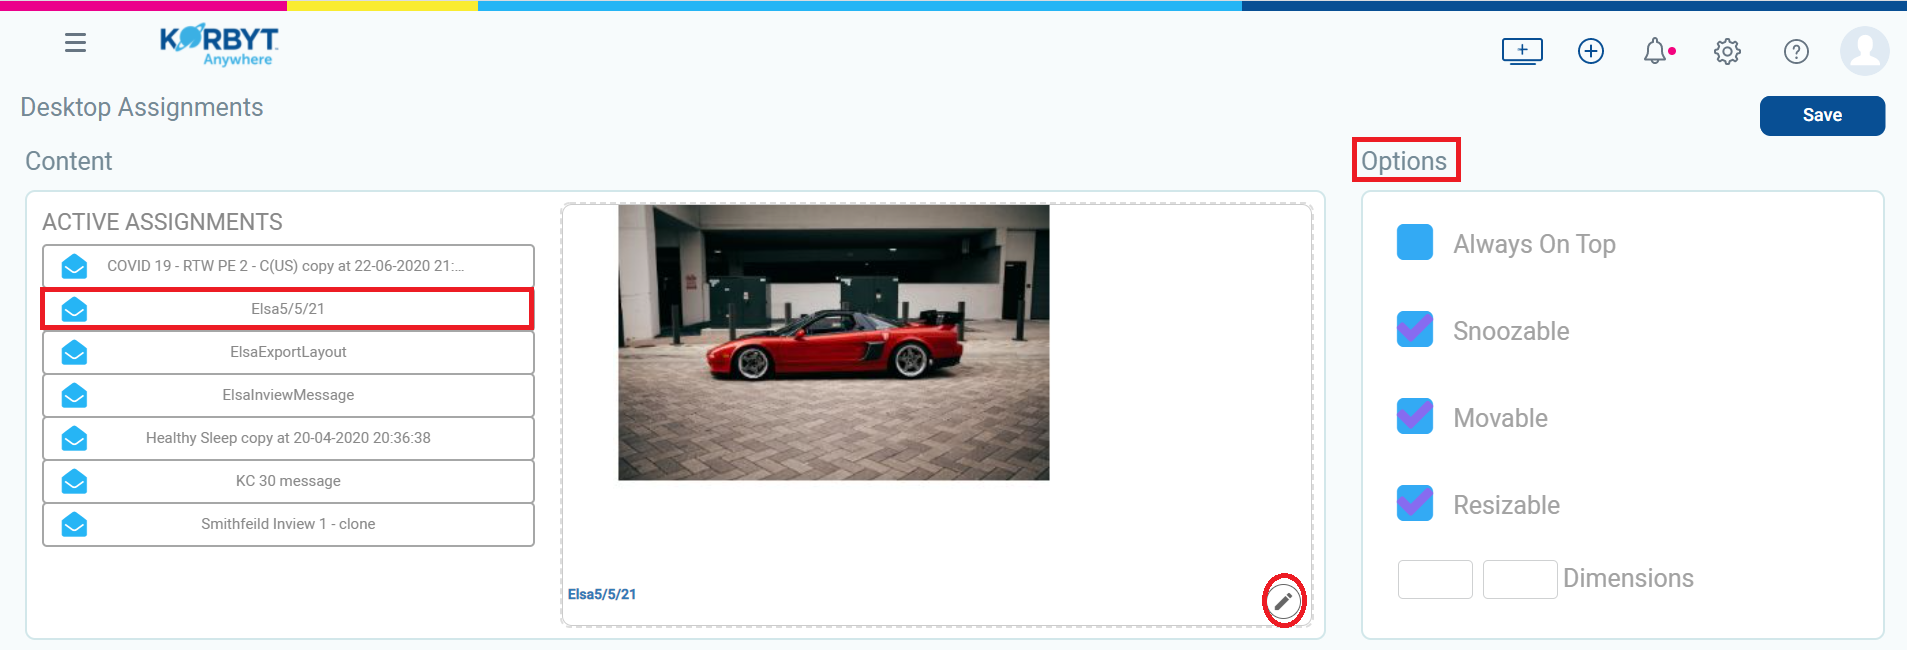
- On the Desktop Assignemements all the messages that are active should display
- Select the Desired one, and make the appropriate selections like adding a picture, selection options like Always On Top, Snoozable, Movable, Resizable
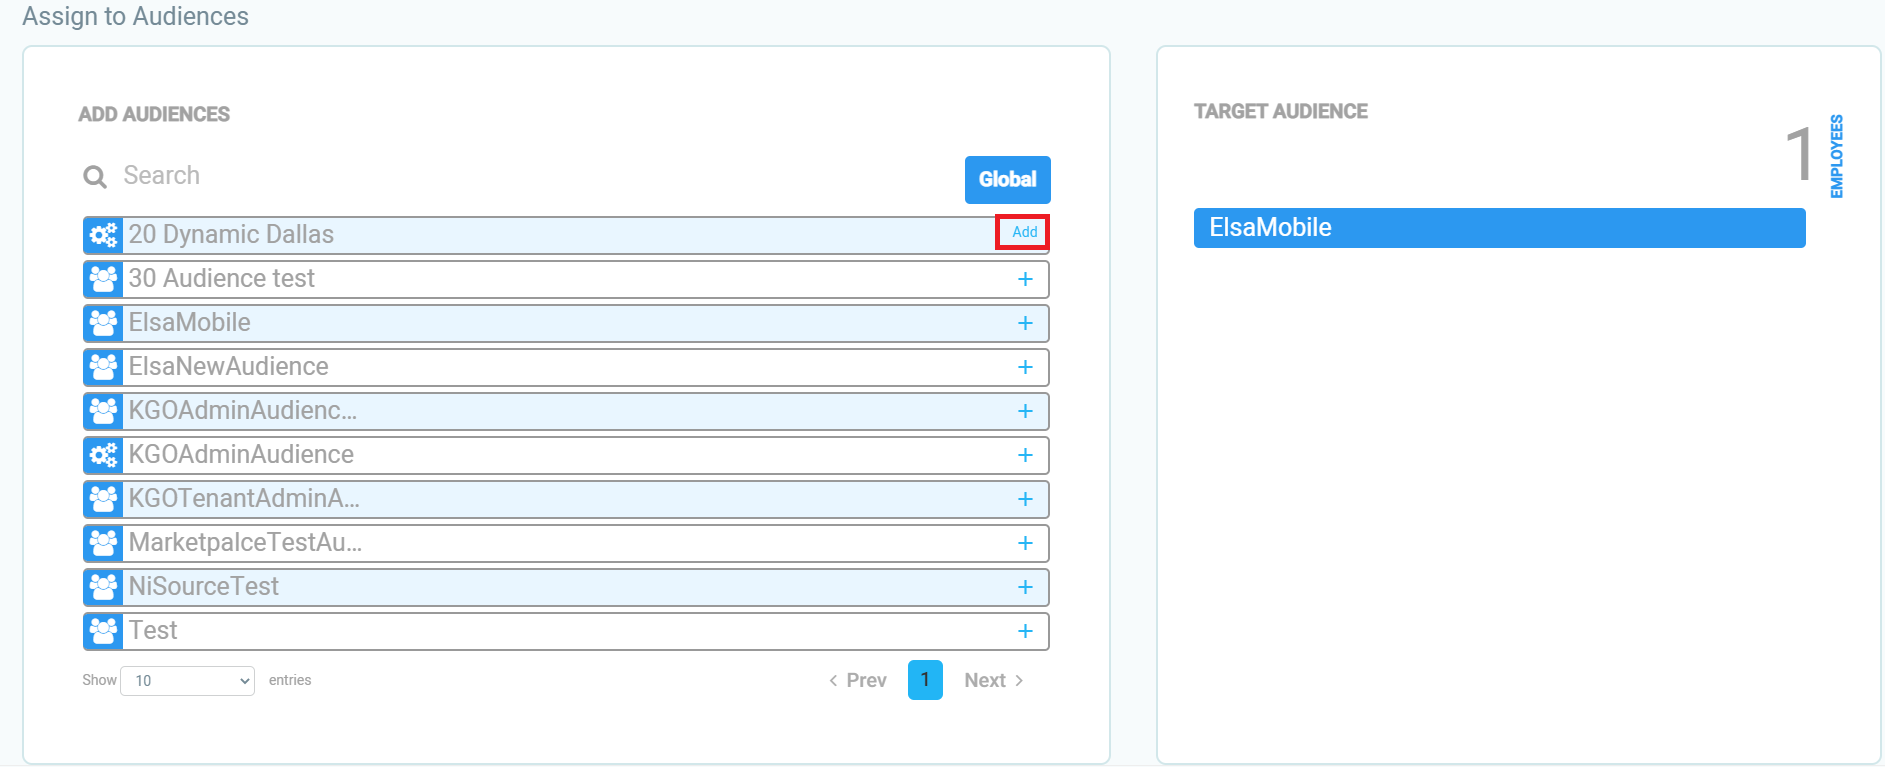
- Add the Audience to the assignment by clicking on the + sign
- Click on Save to sage the assignment.
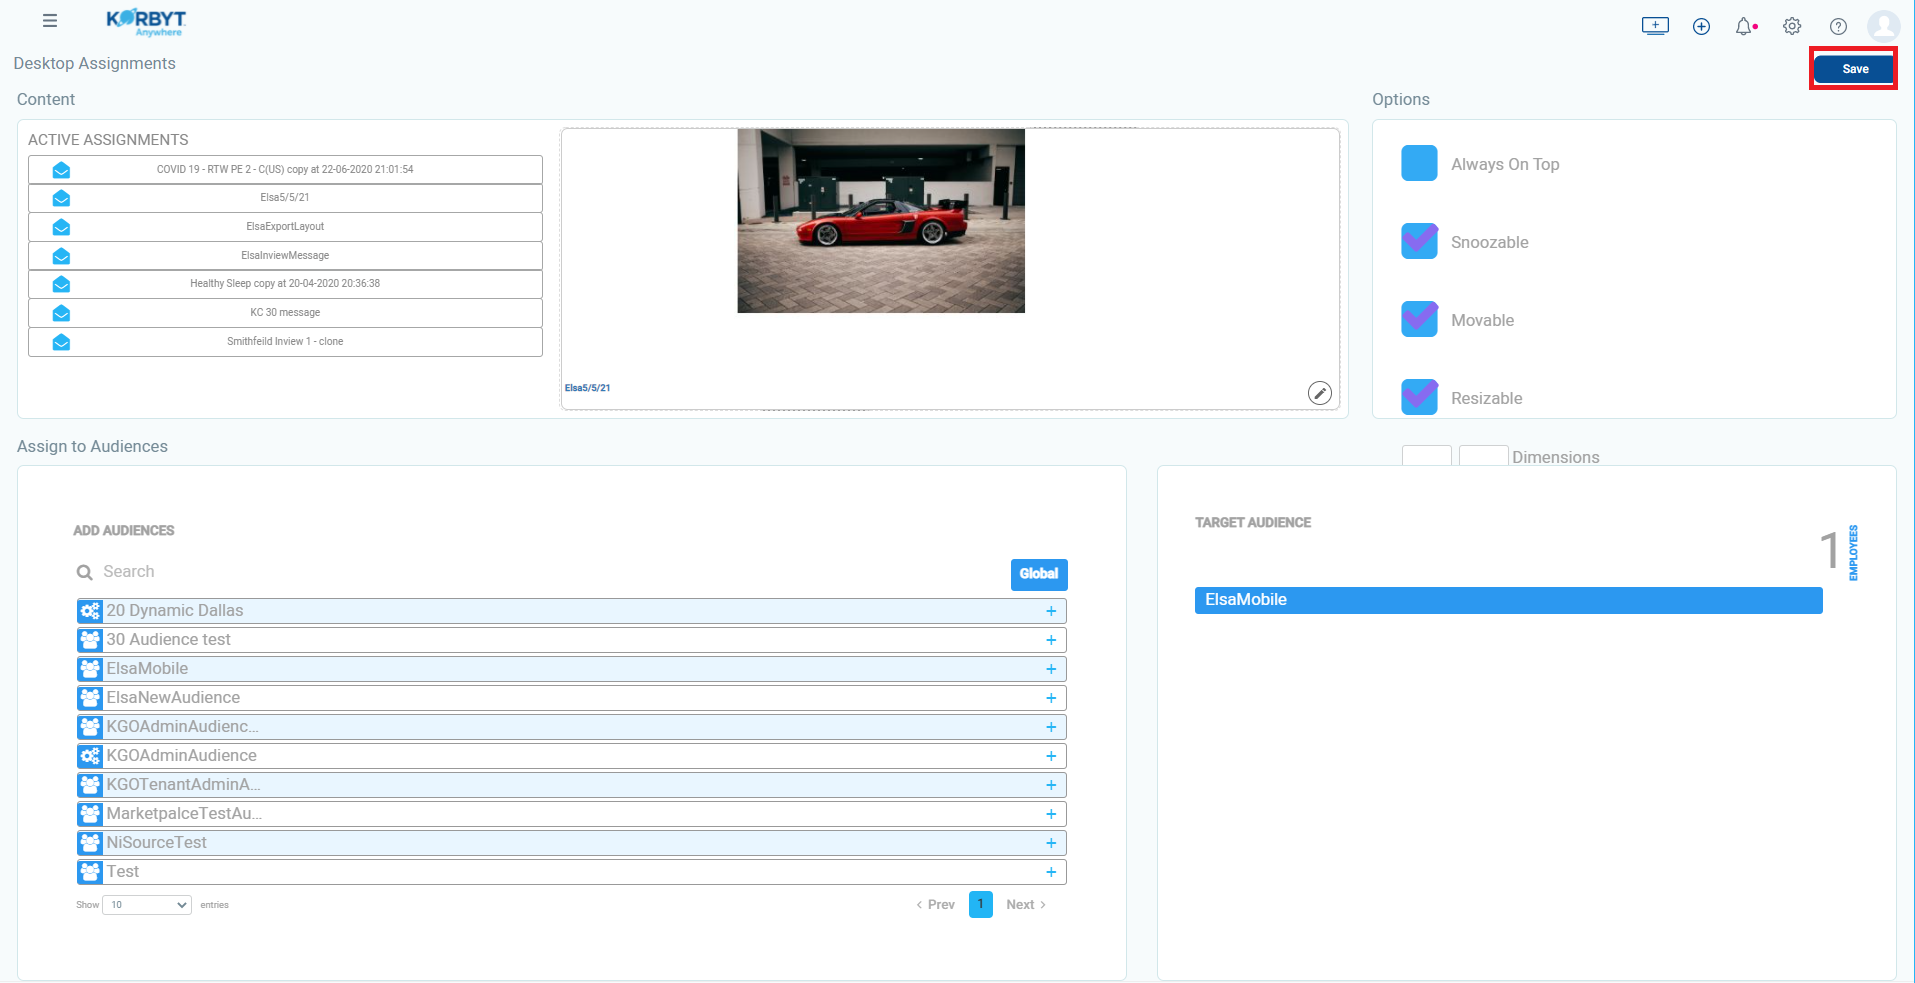
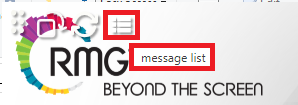
- At this point the message should display on the KorbytInview when that Assignment is selected. The image below is an example of Korbyt Inview Menu that will allow the user to select the desired assignment
Top
- After installation an InView Icon will be placed on the desktop.
- Double click on the icon to open the KorbytInView application. User will have to login.
- When the KorbytInView opens it will display the content. The user has the option to Move the window to a different location on the desktop, change orientation (Portrait or Landscape), Refresh, or Select different assignment within the Message List.

