
.
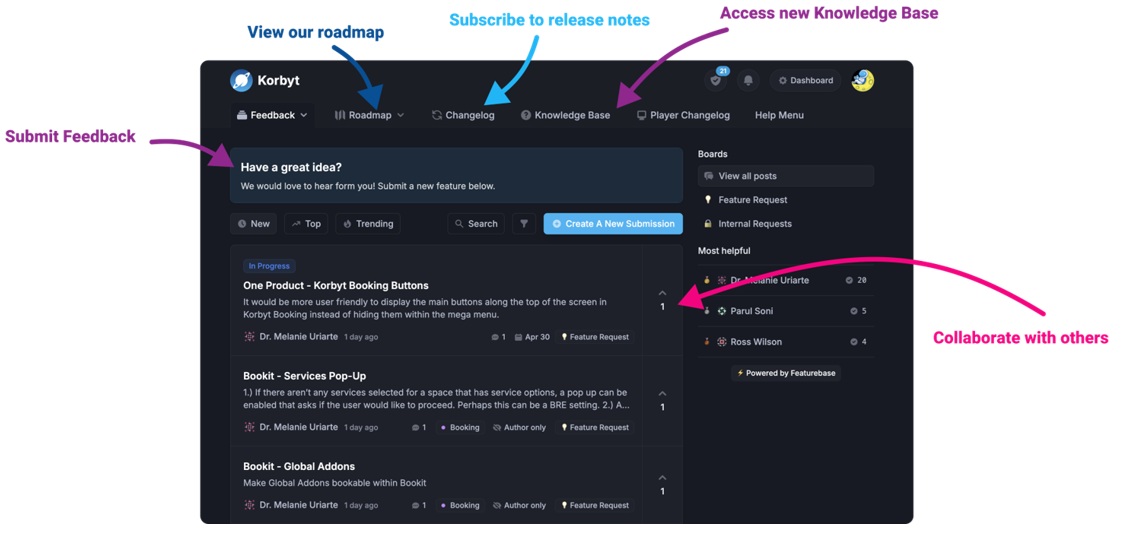
Our Knowledge Base Has Moved
The New Page landing page for the Knowledge Base is https://product.korbyt.com/help
The new version of this specific article can be found at: https://product.korbyt.com/help/articles/2667096-creating-and-managing-playlists
Please update any of your bookmarks to the new Knowledge Base
For assistance on using the new Knowledge Base, we have a Welcome to the New Korbyt Knowledge Base guide
The new Korbyt Product Page also has sections for submitting feedback on system improvements, a view of our Roadmap of upcoming enhancements, and a change log of all updates.
Standard playlists can be used in all players. Standard playlists can contain either static or dynamic content. Standard playlist configurations involve the following steps:
If your media players are running Korbyt SW Agent Version 2.0 or newer they are capable of using Clever Playlists. Clever Playlists allow for more options in their programming and can automate for of your signage system. For instructions on using Clever Playlists go to the article Configuring Clever Playlists.
The Steps to setting up a Standard Playlist are:
- Configure playlist settings
- Add static content
- Add dynamic content
- Add trigger rules
- If you need guidance on Tagging Items, see the Tagging in Korbyt article
- Add players and player groups
- Schedule the playlist
Configuring Playlist Settings
To start the process of configuring your playlist, you must do the following:
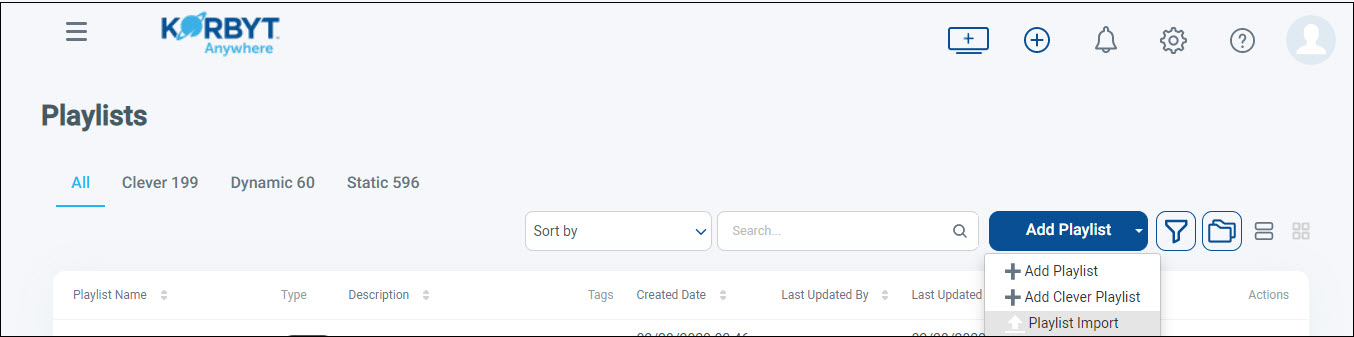
- Click the hamburger icon and navigate to Schedule > Playlists.

- Click Add Playlist > Add Playlist.
- Provide the following information on the Add Playlist Options pop-up.
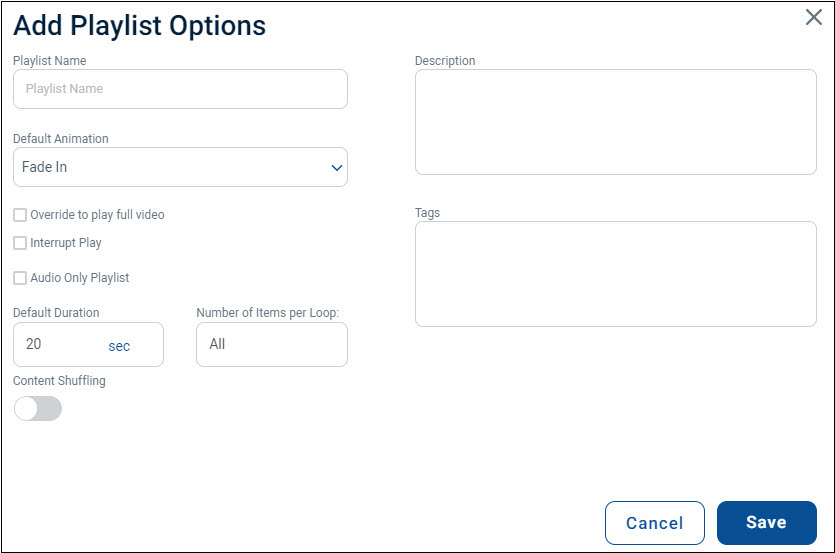
- Playlist Name: Name of the playlist.
- Description: Details about the playlist that will appear within the CMS.
- Tags: Metadata used to identify your playlist.
- Default Animation: Set of animations that will play for all media that has been assigned to your playlist. After setting up your playlist, your media can be modified to have individual animations if you don’t want to have a default one set up.
- Override to play full video: Ensures that any video within your playlist will play for the entire duration instead of playing for the default duration.
- Interrupt Play: Guarantees that your playlist will play at the time it’s scheduled even if another playlist is playing at that time in the assigned player.
- Audio Only Playlist: Indicates that the playlist only contains audio content.
- Default Duration: Default time that all media in your playlist will appear before switching to the next set of media. You can set the duration individually after the playlist is set up.
- Number of Items per Loop: Specifies the number of media items that will be shown for each loop.
- Content Shuffling: Shuffles the order of the content.
- Click Save.
Adding Static Content
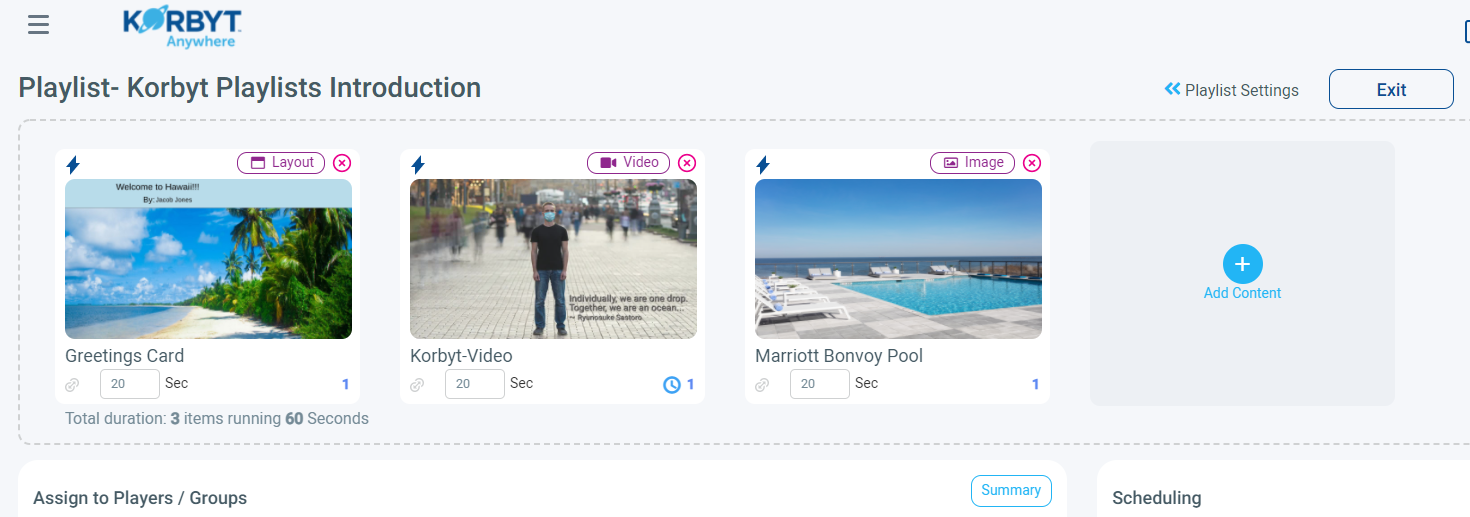
After saving your playlist options, you’ll be taken to the Playlists Edit screen. This is where you can manually select and add static content to your playlist.
To add static content:
- Click Add Content.
- From the Manage Content section, select from the existing content across the Images, Videos, Layouts, and Messages tabs or drag and drop local files from your computer.
- Select the checkbox for the corresponding file.
The number of files selected will display next to the Add button. - Click Add button.
The selected files will display at the top of the Playlist Edit screen.
Adding Dynamic Content
Dynamic content can be added to your playlist based on tag rules. For these tag rules to take effect, your content must have tag metadata.
To add dynamic content:
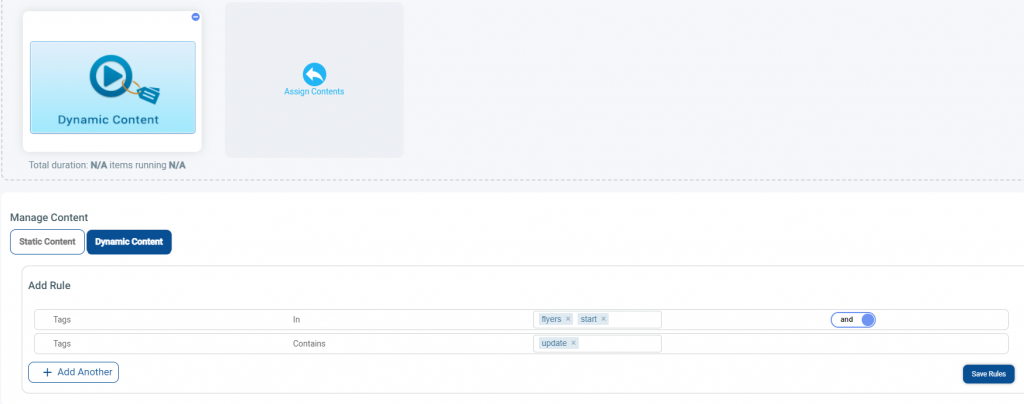
- From the Manage Content section, click the Dynamic Content button.
- Provide the necessary conditions within the Manage Content > Add Rule subsection.
- Click Add Another to add multiple tag rules.
- Click Save Rules.
Adding Trigger Rules
A trigger is a rule that controls whether the playlist should appear.
To add trigger rules:
- Click Manage Triggers.

The Playlist Triggers pop-up appears where you can define your trigger rules. These rules apply to the overall playlist, and not individual items within the playlist. - Click the Lightning Bolt icon.
- From the Add Trigger pop-up, provide the following information:
- select a trigger action, select a column, select a condition, and enter a value in the designated fields.
The column is the parameter that you’ll be comparing a value (qualifier) against. The condition indicates how our rules should be set. The value (qualifier) determines what the rule should look for when showing or hiding content (trigger action). This input can change based on the type of data type your column is set to. Instead of setting all this up manually, we can also set up a script by clicking the Manage Script button from the Playlist Triggers pop-up.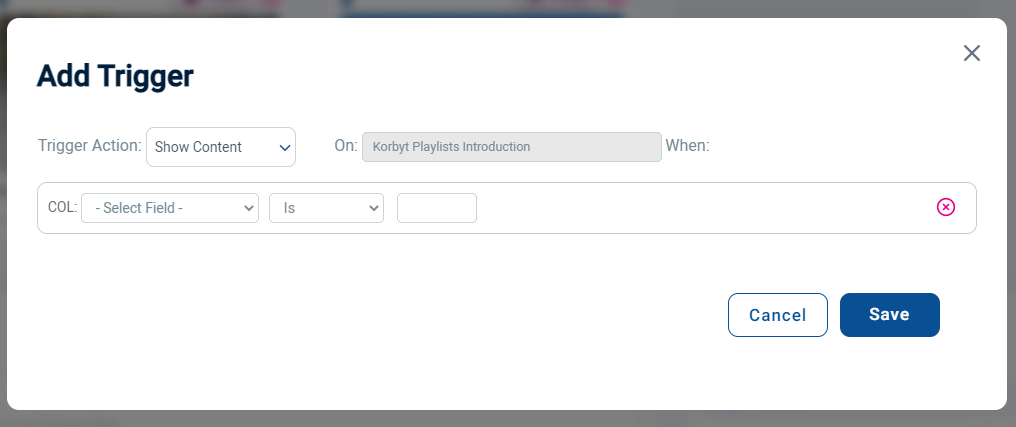
- select a trigger action, select a column, select a condition, and enter a value in the designated fields.
Instead of just using player metadata in our columns, you can use columns from a data subscription to adjust your rules. To set this up, do the following:
- From the Playlist Triggers pop-up, click Manage Subscription.
- Enter a name for this subscription.
- Select a table from your preferred data subscription.
- Select a key field.
- Set a poll rate (in seconds).
- Set a limit.
- Select the columns that you would like to add as possible parameters for your trigger rules.
- Click Save.

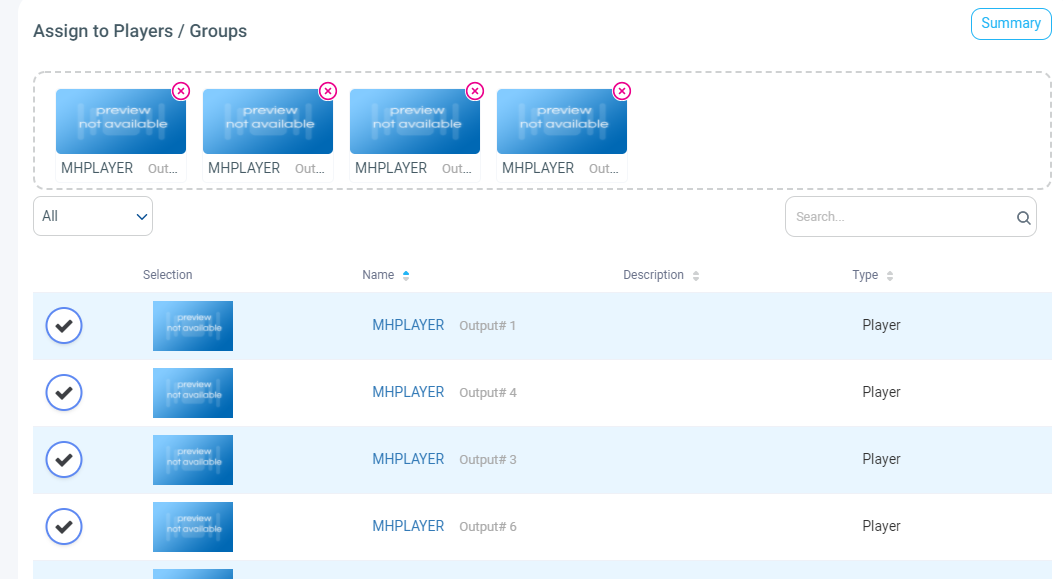
Adding Players or Player Groups to Your Playlist
Drag and drop the appropriate players into the Drag Players and Groups Here field. Once your player is added, your playlist will start playing at its scheduled time on your active player.
Scheduling the Playlist
When you assign a player to your playlist, you can set specific times for when you want your playlist to appear on your player.
To schedule the playlist:
- Click Add in the Scheduling section.
- Select one of the following options:
- Always: Your playlist will play continuously on a player unless overridden by another playlist scheduled on that player.
- Date Range: Your playlists will play continuously from a start date and time to an end date and time.
- Advanced: Your playlists will play from a start date and end date just like the date range option, but you can also set specific days of the week as well as the time of day you want your player to play.
- Click Save.