
Our Knowledge Base Has Moved
The New Page landing page for the Knowledge Base is https://product.korbyt.com/help
The new version of this specific article can be found at: https://product.korbyt.com/help/articles/0608959-using-data-triggers-on-a-playlist
Please update any of your bookmarks to the new Knowledge Base
For assistance on using the new Knowledge Base, we have a Welcome to the New Korbyt Knowledge Base guide
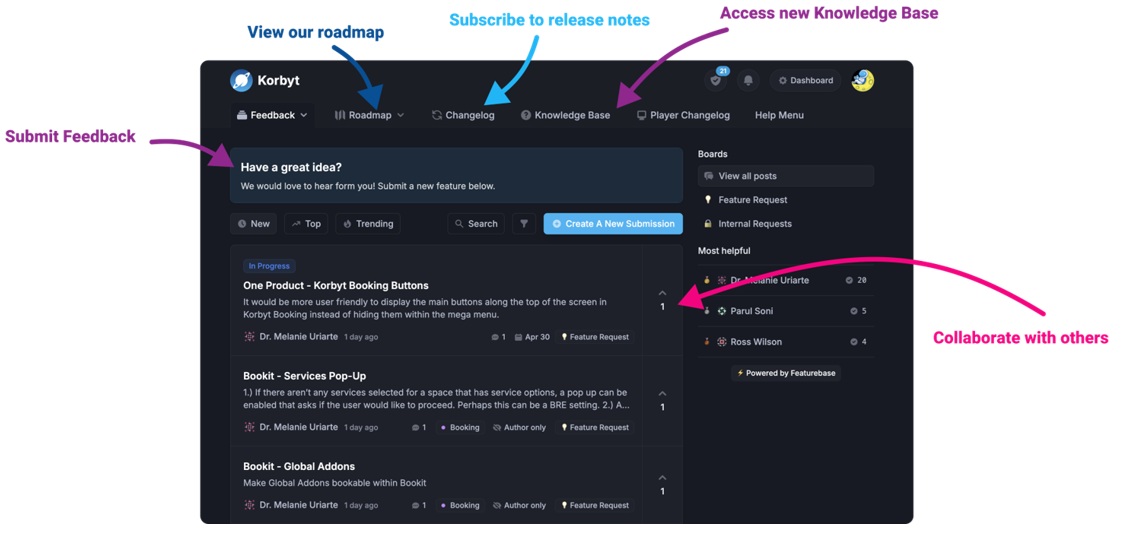
The new Korbyt Product Page also has sections for submitting feedback on system improvements, a view of our Roadmap of upcoming enhancements, and a change log of all updates.
Korbyt’s Playlists have the ability to change the content that is shown based on the information that is provided to Korbyt through Data Adapters.
These data adapters can be linked to your other information systems and databases, pulled from csv files, or manually entered into a fixed data table.
For more information on creating and managing Data Adapters in Korbyt see:
– What are Data Adapters
– Working with Data Adapters and Integrations
If you need assistance with the basics of creating a playlist see:
– Configuring a Standard Playlist
– Configuring a Clever Playlist
This article will review how to program a playlist to respond to data through a trigger
The steps in this process will differ slightly if the Playlist is a Standard or a Clever Playlist
Controlling a Standard Playlist with Data
At this point you will have followed other steps and created your Data Adapter in Korbyt and it is creating a table of information.
You now will subscribe the playlist to that table, linking the two together.
Subscribing a Standard Playlist to a data table
- Within a Standard Playlist – click Manage Triggers, then Manage Subscription
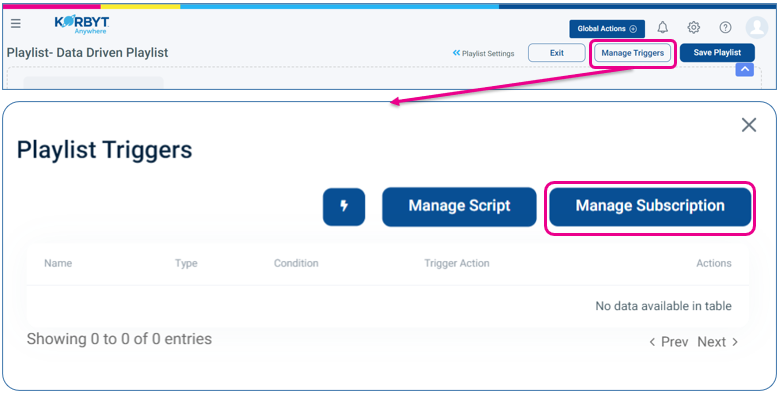
- You will then be able to Add or Manage the subscription to a data table
Adding a Trigger
Now that the data is linked through the subscription you can use it for different actions.
The two main actions that can be triggered are Showing or Hiding content
- In the Same Manager Trigger screen as before, this time click the Lightning Bolt
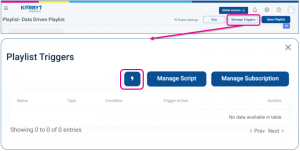
- You can now add the Trigger
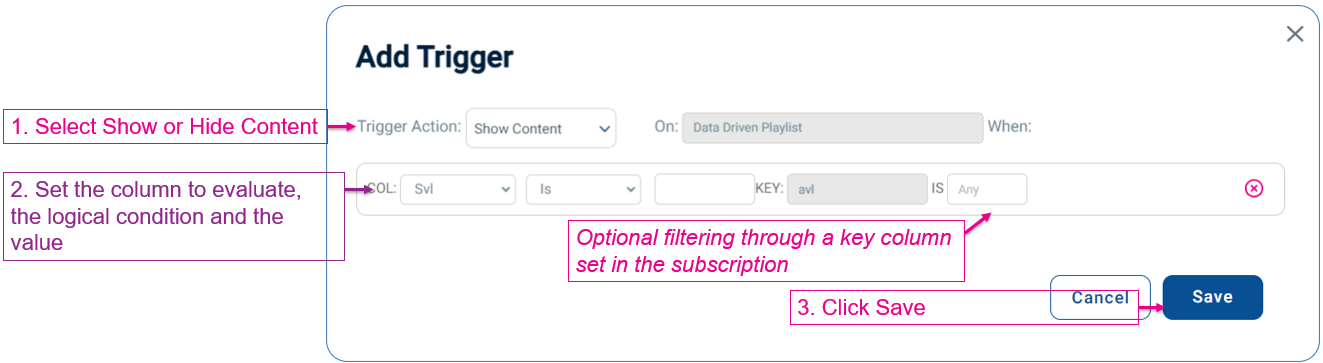
You have now set the trigger condition for the playlist
Controlling a Clever Playlist with Data
At this point you will have followed other steps and created your Data Adapter in Korbyt and it is creating a table of information.
You now will subscribe the playlist to that table, linking the two together.
Clever Playlists have the ability to use data to control the entire playlists, or specific items that are on the playlist
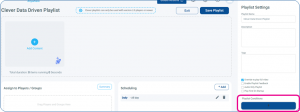
Using Data to Control an Entire Clever Playlist
- To set the subscription for the playlist
- Click on Playlist Settings at the top of the playlist

- Click the blue lightning bolt button at the bottom of the playlists settings
- Click on the Subscriptions button in the playlist trigger area that has appeared
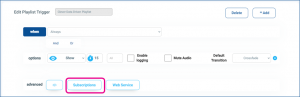
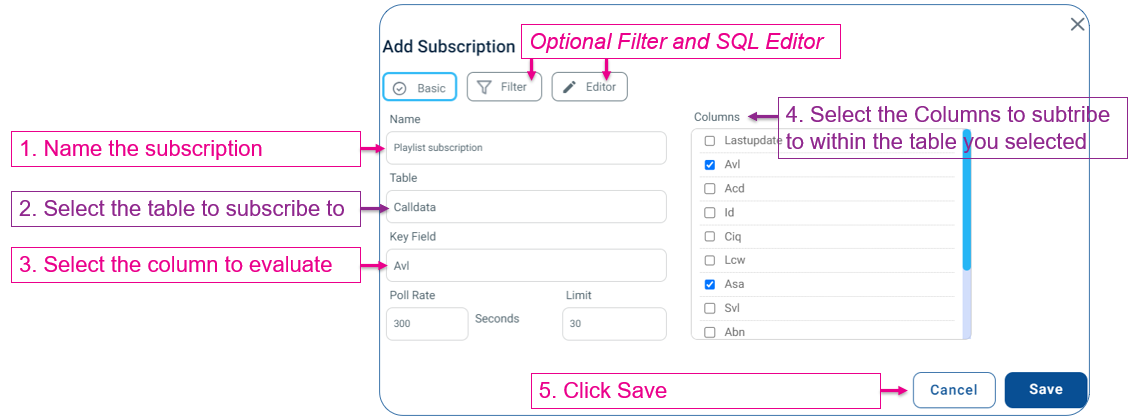
- Now you can configure the Data Subscription
With the Data Subscription saved you can use it in the rule
- In the Playlist Trigger Section use the drop down to change Always to Data Subscription

- You can then select the Data Field, Logical Condition and Value
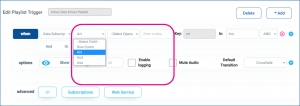
- You can then select options for show and hide behavior
- Click +Add to save the rule
Using Data to Control an Item on a Clever Playlist
To Set a subscription for a playlist as part of a clever content rule
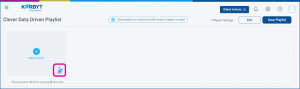
- Click on the +rocket ship button in the content area to create a full Clever Rule to select your content and when it will be shown
- Click on the Subscriptions button at the bottom of the Content Trigger section
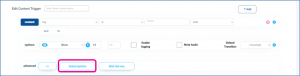
- Now you can configure the Data Subscription
- With the Data Subscription Save you can now use it to control WHEN an item gets played
- In the Playlist Trigger Section use the drop down to change Always to Data Subscription
- You can then select the Data Field, Logical Condition and Value
- You can then select options for show and hide behavior
- Click +Add to save the rule