Our Knowledge Base Has Moved
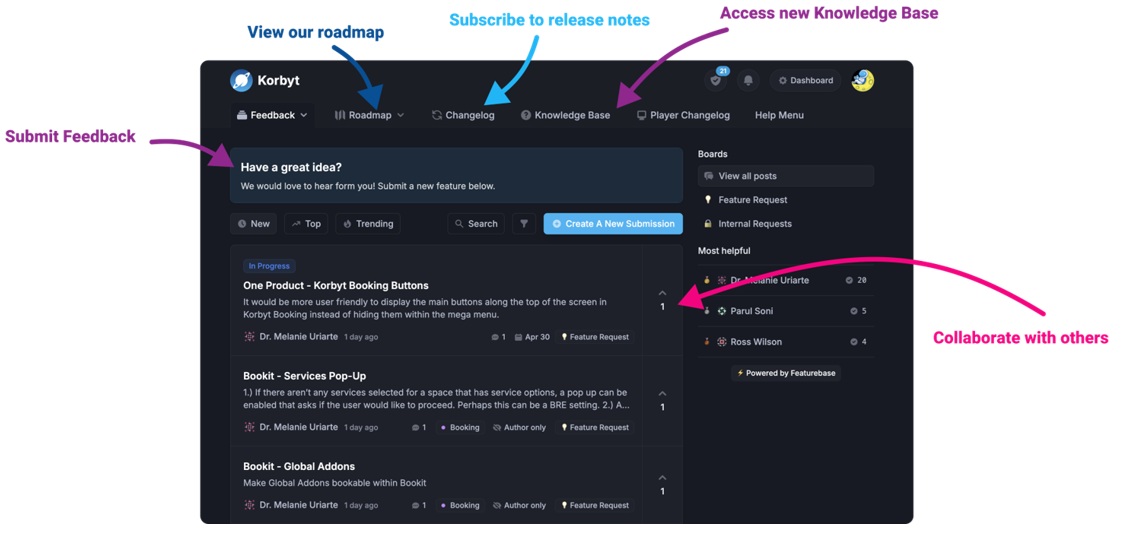
The New Page landing page for the Knowledge Base is https://product.korbyt.com/help
Guides for the Elements can be found at: https://product.korbyt.com/help/articles/6713513-layout-and-message-builder-elements
Please update any of your bookmarks to the new Knowledge Base
For assistance on using the new Knowledge Base, we have a Welcome to the New Korbyt Knowledge Base guide
The new Korbyt Product Page also has sections for submitting feedback on system improvements, a view of our Roadmap of upcoming enhancements, and a change log of all updates.
The Image Element lets you add an image file to your canvas.
Adding an Image Element
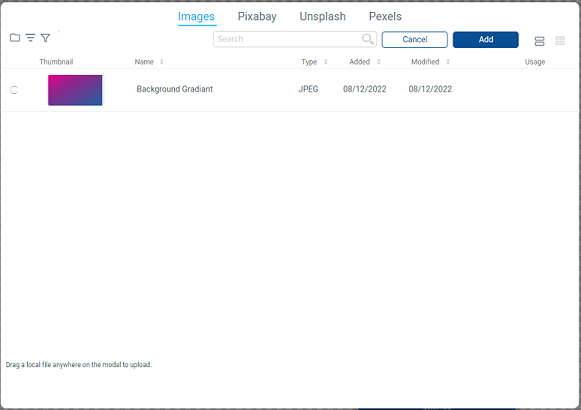
When you add an Image Element it will open on a window that will let you select an item from your Media Manager, Pixabay, Unsplash, or Pexels. You can also upload a new image by dragging the file on your computer to the dialog box. You could also click cancel to be left with an empty Image Element.

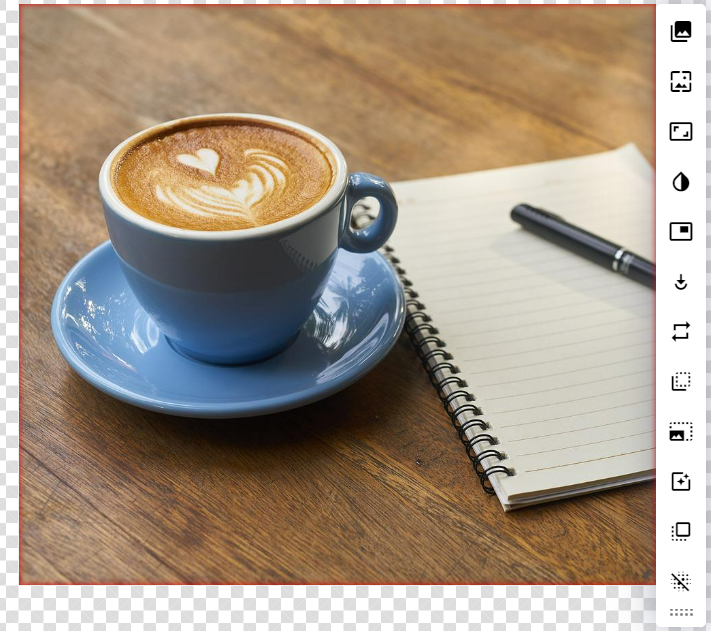
After selecting an image it will fill the space, you can now move and resize the image, or use the Gear icon to open the Edit Element tools.
The default size behavior of an Image Element is to “cover” the space, meaning the image will be cropped to fit the shape of the element (red outline). This can be changed in the size edit options.
Editing an Image Element

| Edit Icon | Description |
|---|---|
| Image allows you to change the image by selecting a different one from the Media Manager. | |
| Stock Media allows to select a stock image. | |
| Frame allows you to add a stylized frame around the image. | |
| Preset allows you to add a preset color filter. | |
| Shapes allows the image to be cropped into a different shape than the standard square. | |
| Animation allows you to add an animation to the image | |
| Repeat Displays the image in a repeating grid that fills the area of the image element. | |
| Offset allows you to pushes the image to the right or down from the top left corner of the element. The offset is configured in percentage. | |
| Size changes the sizing behavior of the image in the space.
cover – Fills the element with your image and adjusts when you resize the Element. |
|
| Filters allows you to adjust the image with different filters. Sepia, Blur, Brightness, Contrast, Grayscale, Inver, Saturate, Hue-rotation | |
| Shadow allows you to add a shadow around the image | |
| Clear Image removes the image from the space |

