
Introduction
Within this article you will be provided information on how to change the network settings on a Brightsign from DHCP to a static IP address. This process is useful if your IT requires that the players are placed on a specific network that doesnt have DHCP configured.
BSN Management
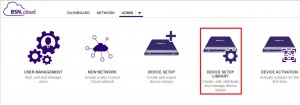
Once your player has been provisioned to the BSN management console at control.bsn.cloud you will then be able to change the network options of each device. New devices that have been provisioned to the BSN management console for the first time will always be pushed the default device setup. This default setup can be reviewed by selecting Device Setup Library under the Admin tab.
- Players that are connecting to the BSN for the first time are configured with DHCP settings by default to make the initial connection to the BSN cloud.
- You can change the default setup using the information below, but you will have to keep in mind that all devices connecting to the BSN for the first time will revert to the IP address you specify. If you are configuring multiple players at the same time this could cause an IP conflict within your network making the players difficult to manage. This method is not advised.

Configuring Static IP
Once a device has been connected to the BSN for the first time you can now create a new device setup. Once a new device setup has been created it will be moved to the Device Setup Library. There are two ways to get to this option. The first option is by selecting Device Setup under the Admin tab.
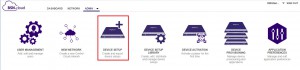
The second, is to navigate to the Device Setup Library and then select the New Device Setup option in the upper right hand corner of the page.

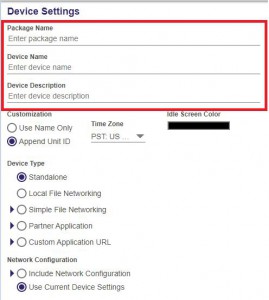
Once you have selected one of these options you will be given the following screens to configure your new device setup.
Fill in the Package Name, Device Name, and Device Description.
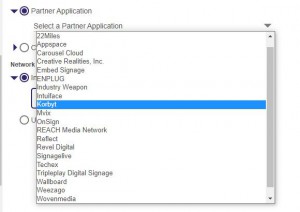
Then for device type select Partner Application.
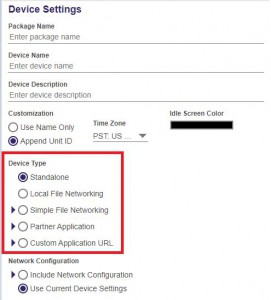
Once selected, you will be provided a dropdown option for the partner application select Korbyt. This will ensure the player using this setup will download the Korbyt software for use.
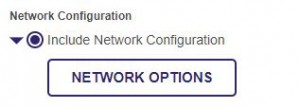
For your network Configuration’s select Include Network Configuration option. You will then see the Network Options button, select it.
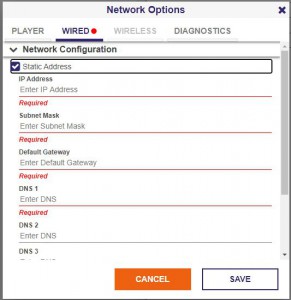
Once selected you will see the networking options prompt. Select the Wired tab, from here you will be able to configure a static IP for this device setup.
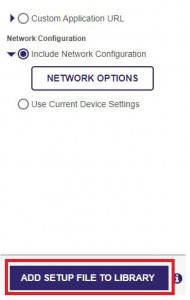
Once completed select Add Setup File To Library Button at the bottom of the page.
Assign new device setup to a player
Now that your new setup has been made and added to the library you can now have this assigned to your player. First navigate back to the Admin page of your management console. This time you will want to select the Device Provisioning option. This will provide you with a list of all of your provisioned devices.

Under the device provisioning page you will see your provisioned players listed. Within your player list ensure that ONLY the player in question has a check box by it as shown below.

You will then select the Apply Setup option on the upper right hand side of the screen.

Once selected you will be given a prompt to select a device setup from a drop down menu. This menu will have the device setup you created earlier, select it and then hit Apply Setup.

After a few minutes your player will reboot and apply the new setup configuration with the new static IP!