Our Knowledge Base Has Moved
The New Page landing page for the Knowledge Base is https://product.korbyt.com/help
The new version of this specific article can be found at: https://product.korbyt.com/help/articles/8517315-how-to-use-a-tableau-element
Please update any of your bookmarks to the new Knowledge Base
For assistance on using the new Knowledge Base, we have a Welcome to the New Korbyt Knowledge Base guide
The new Korbyt Product Page also has sections for submitting feedback on system improvements, a view of our Roadmap of upcoming enhancements, and a change log of all updates.
This article will walk you through how to add a Tableau Element in the Korbyt Layout and Message building tool.
This Element will allow you to display Tableau reports that are already built in Tableau to be seen through the Korbyt System. It requires that your Tableau server has been configured to share information with outside applications.
Tableau Service Requirement:
- In Tableau, permission has to be given for Tableau to feed information out to Korbyt service, and the network that has the player connected “whitelisting”
- A Tableau administrator will also have to create a Secret ID and Secret Value
Tableau Settings and Configuration:
While configuring your Tableau is outside of Korbyt Control we do have general steps here to help you with that process.
- Setup Tableau Cloud account
- Creator level licensing is required
- Setup a Connected App
- in Tableau Settings > Connected App > New Connected App
- For more information see Configure Connected Apps in Tableau help center
- Generate New Secret
- Within Connected App > Generate New Secret
- Collect generated Secret ID, Secret Value, and Client ID in text format for use within Korbyt CMS.
- Enable Connected App
- Select the 3-dot menu button (next to the name of your Connected App) to specifically “Enable” said Connected App
- Create and Publish Tableau Dashboard
- See How to Setup Dashboard in Tableau help center
- We advise setting the Dashboard “Size” option to “Automatic” so that the Dashboard automatically scales with any screen. Publish when finished.
- Share Published Dashboard
- Once published, exit to Tableau Home Page and select the 3-dot menu on said published Dashboard > Share > Copy Link. Copy said link for use within Korbyt CMS
Further help with Tableau can be found in their Troubleshooting Connected Apps help center article
To Create The Tableau Element In a Korbyt Layout:
- In the Mega Menu
 under Content, click on Layouts
 - Click on the Create Layout button Or click the Pencil Icon to edit an existing layout

- Select the name and desired template and click on Create button.

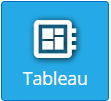
- Drag and Drop the Tableau button element
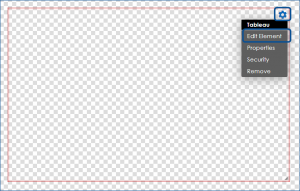
- Click on the wheel to edit the Tableau element
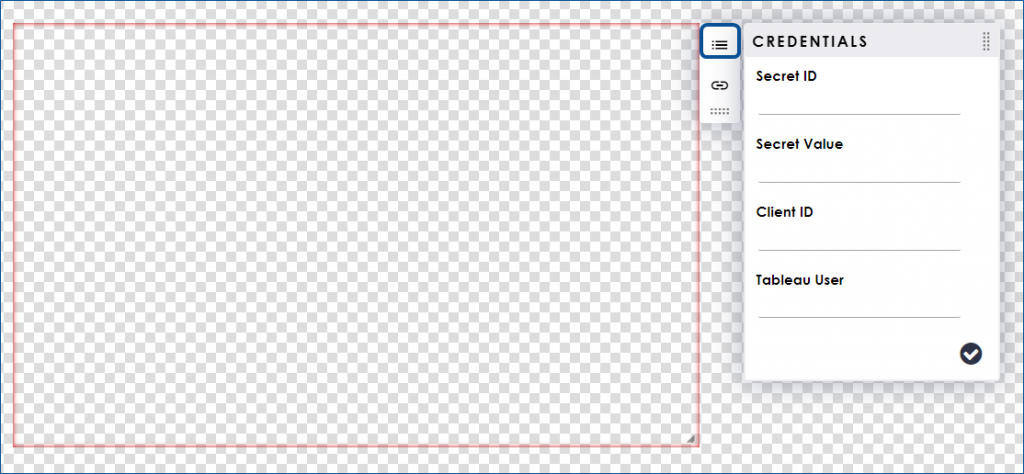
- Click on the Credentials button to enter the needed information Like Secret ID, Value, Client ID
- More information on generating these values in Tableau is provided at the end of this article
- Enter the Share URL for the Tableau information you wish to display
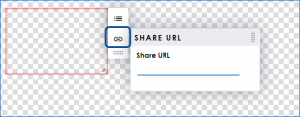
- This will add a gray area where your data will show when played back on your network with your Tableau service
- In the builder or in cloud previews it will not show your data
- Continue to edit the layout as normal, save and publish

