
Our Knowledge Base Has Moved
The New Page landing page for the Knowledge Base is https://product.korbyt.com/help
Guides for the Elements can be found at: https://product.korbyt.com/help/articles/6713513-layout-and-message-builder-elements
Please update any of your bookmarks to the new Knowledge Base
For assistance on using the new Knowledge Base, we have a Welcome to the New Korbyt Knowledge Base guide
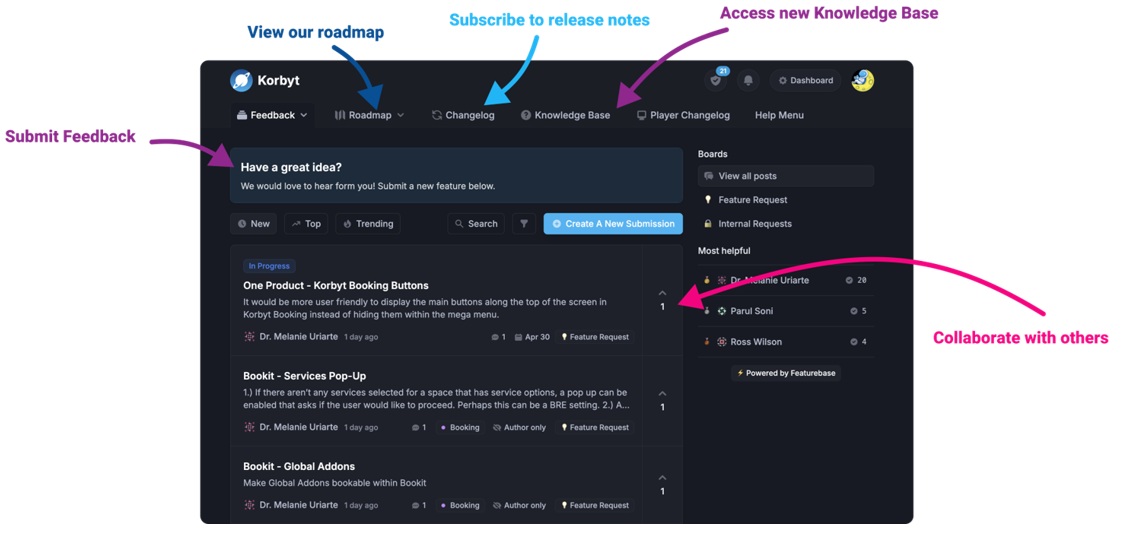
The new Korbyt Product Page also has sections for submitting feedback on system improvements, a view of our Roadmap of upcoming enhancements, and a change log of all updates.
**NOTE: OnTarget is an additional paid service that you will need to discuss with your Client Relationship Manager, if you do not already have it purchased.**
OnTarget data content can be added into a layout. To add please do the following:
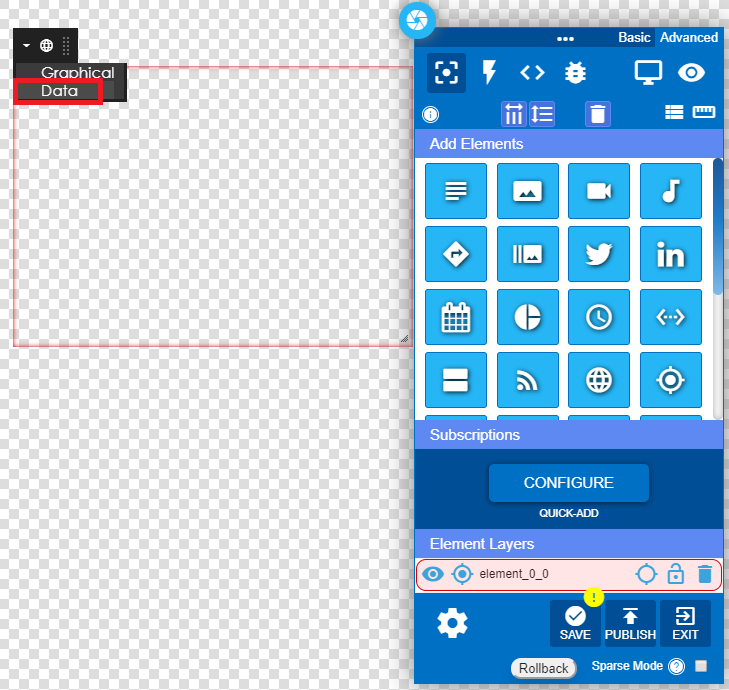
1 – Click and drag the OnTarget Icon into the layout area and edit the element.

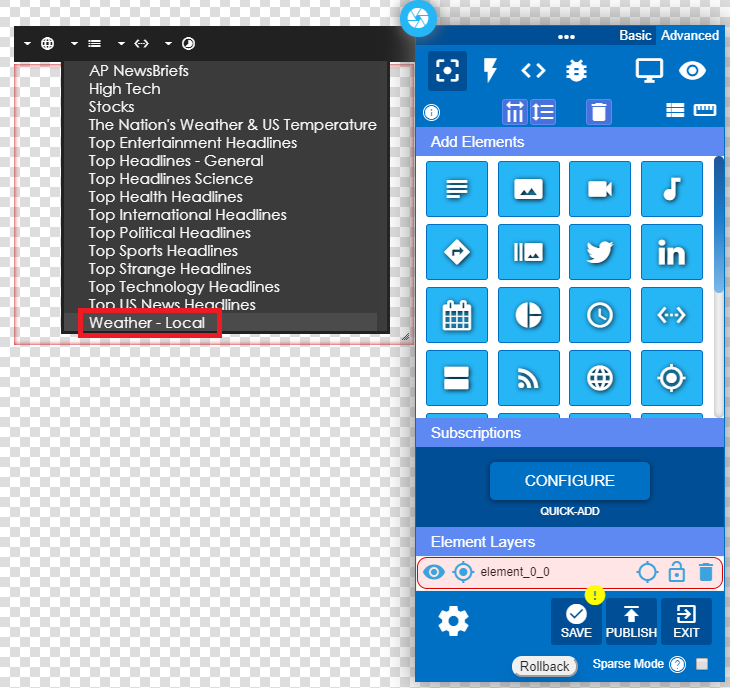
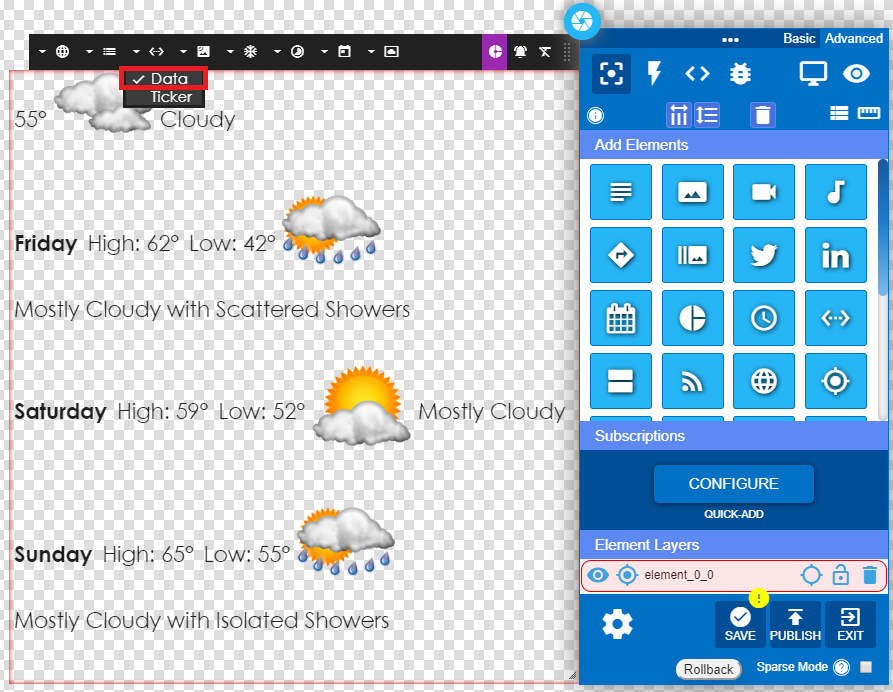
2 – Click on the drop-down arrow and select the Data option.
3 – Select Weather.
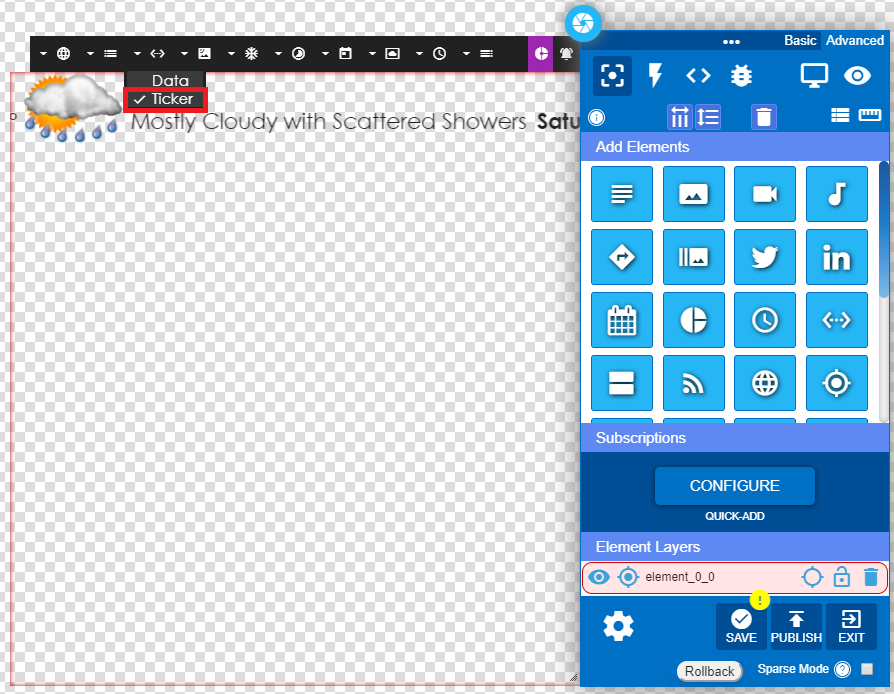
4 – Select the type of of data to display – full screen data or ticker data.
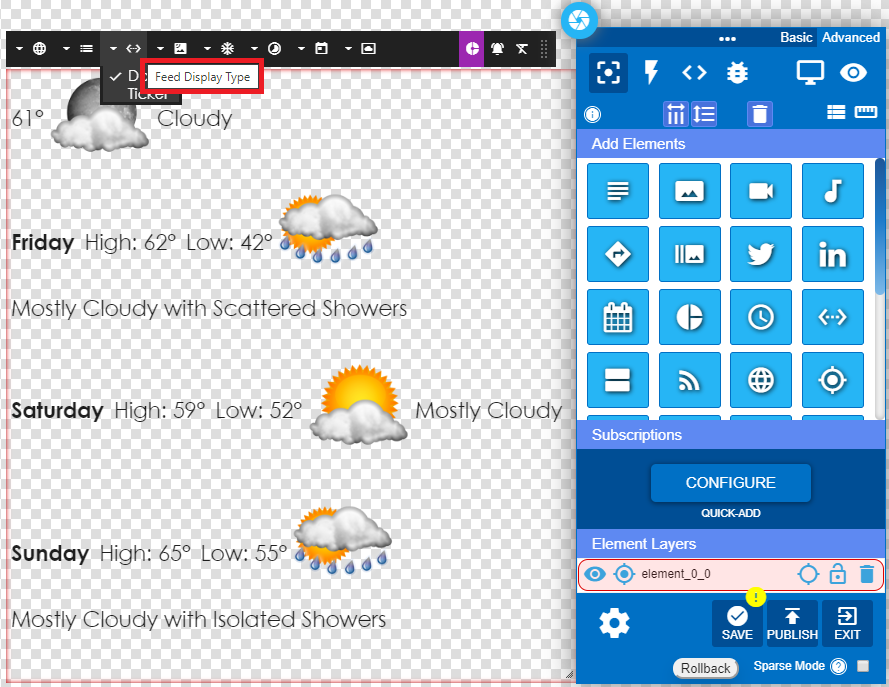
5 – Select Data for multiple rows of text and weather icons.
6 – Select Ticker for a single row of data and icons scrolling to the left.
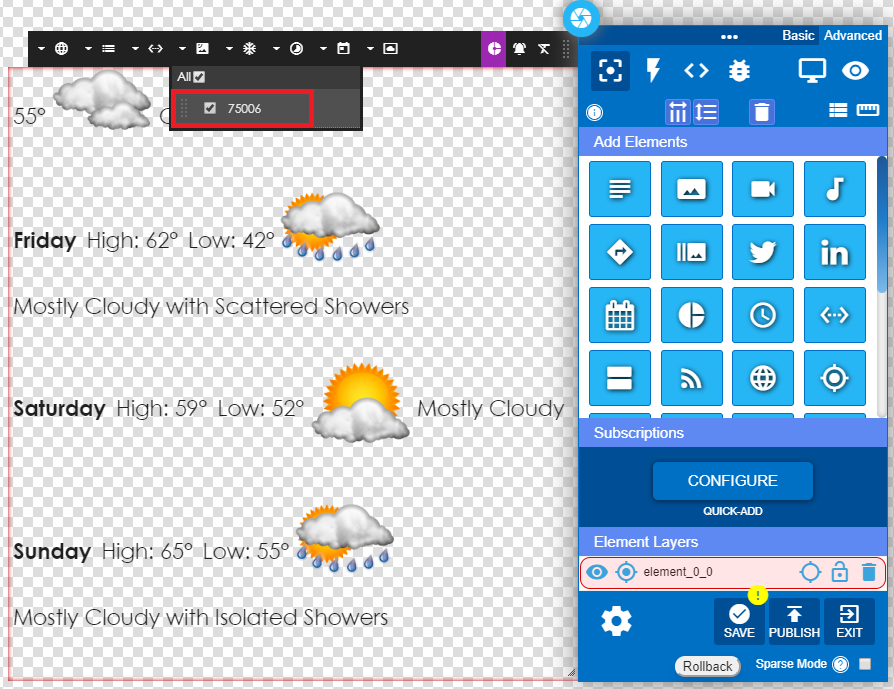
7 – Select the zip code. Weather for multiple zip codes can be generated.
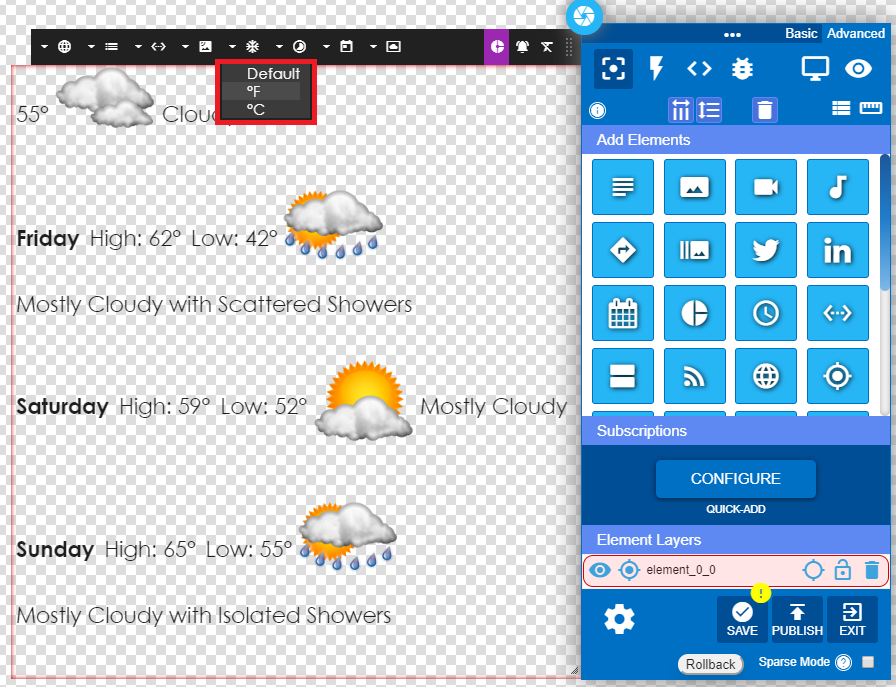
8 – Select Fahrenheit or Celsius.
9 – Select the display time.

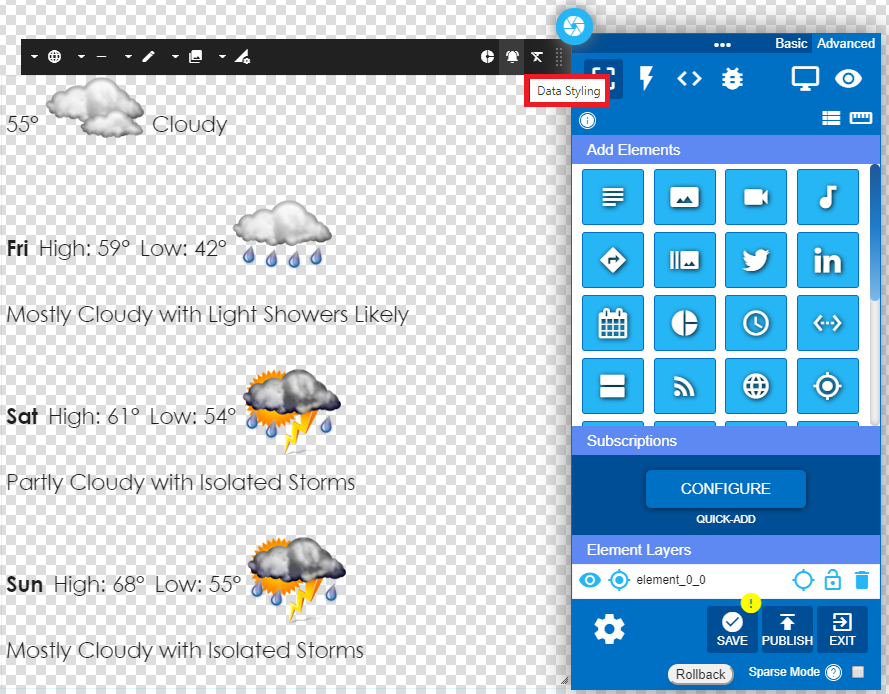
10 – Select Data Style for multiple styling choices.
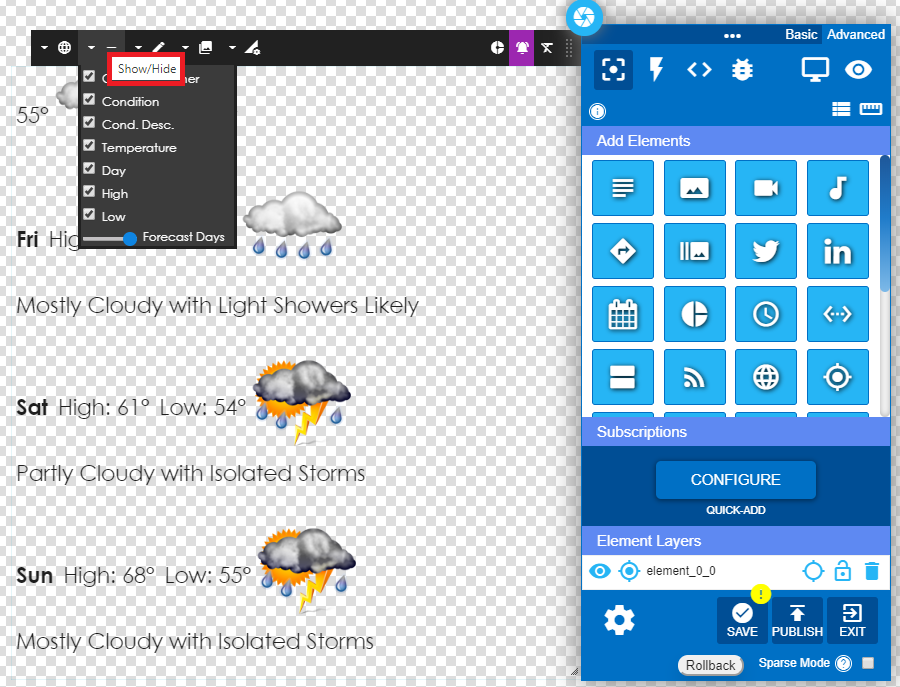
11 – Chose the data to display from the Show/Hide option.
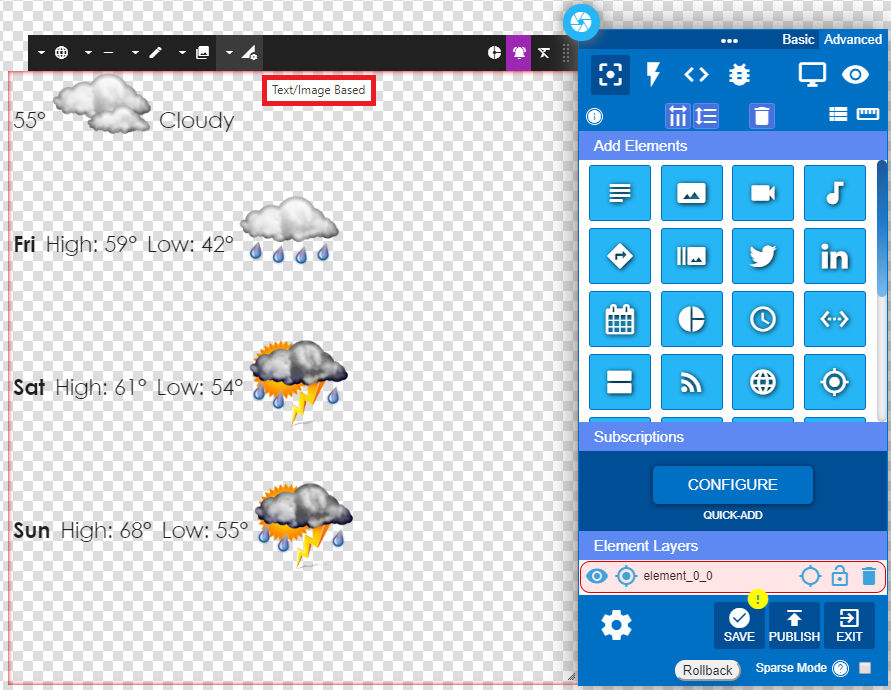
12 – Choose Weather Icons allows several options for icon style.
![]()
13 – From the Text/Image Based tab you can only display the data text.
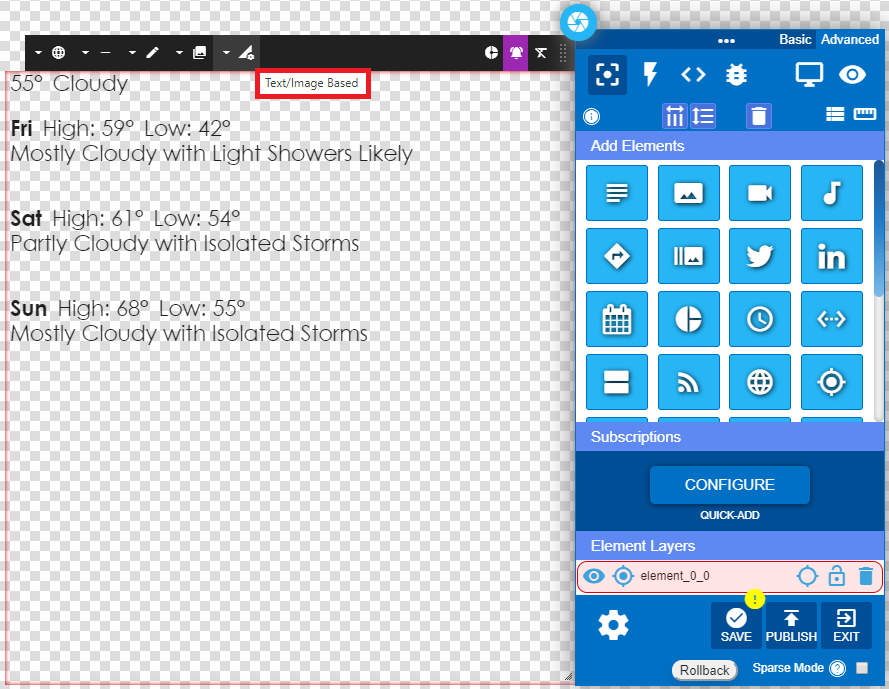
14 – From the Text/Image Based tab you can also display limited data text.
15 – Save the element and publish.