Our Knowledge Base Has Moved
The New Page landing page for the Knowledge Base is https://product.korbyt.com/help
The new version of this specific article can be found at: https://product.korbyt.com/help/articles/5162424-categories-for-mobile-and-web-posts
Please update any of your bookmarks to the new Knowledge Base
For assistance on using the new Knowledge Base, we have a Welcome to the New Korbyt Knowledge Base guide
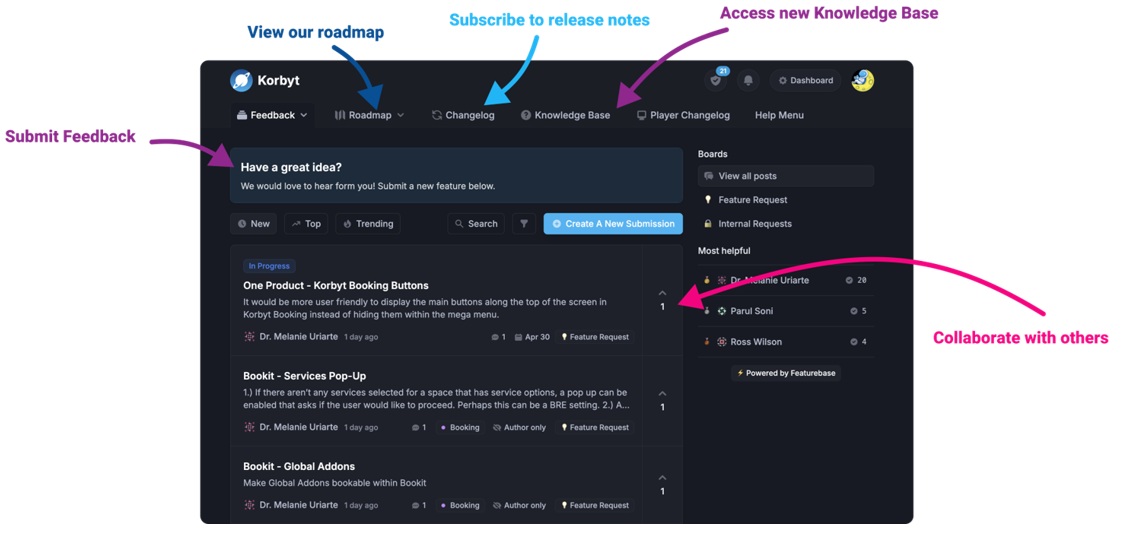
The new Korbyt Product Page also has sections for submitting feedback on system improvements, a view of our Roadmap of upcoming enhancements, and a change log of all updates.
You can create new categories from scratch or clone existing categories and update them accordingly. For more information about cloning categories, refer to Cloning Categories.
To create categories:
- Click the hamburger icon and navigate to Content > Categories.

- Click Create Category.
- Add a photo for the category by dragging and dropping the appropriate file or selecting it from your computer.
You can also select images from the Media Manager. It’s highly recommended that you use an image ratio of 1:1 (100px x 100px). If your image has a bigger image ratio, the system will automatically reduce it.The image displays above the category name on the Categories screen in both the Korbyt Anywhere mobile app and web interface. This image also displays next to the category name within the Recommended Categories section on the Home page within the Korbyt Anywhere web interface.

- Provide the following information:
- Category Name: Allows up to 50 characters. It appears in the Korbyt Anywhere mobile app and web interface. The category name should be simple and engaging enough for users to understand what content the category represents. Categories are ordered first by subscription status and then alphabetically by name. Category names can be edited at any time without negatively impacting published content or number of subscribers.
- Description: Allows up to 150 characters. It adds a bit more detail about what content falls under the category.
- Add the necessary tags to your category so that it can be grouped with similar categories.
Tags are used to organize your categories in the Content Management System. Anyone with access can search for categories based on their tags. You should use tags that users will be able to easily associate with the category. Only Tenant Administrators and Administrators can create new tags. All other roles can only use the tags that the Tenant Administrators and Administrators have created.
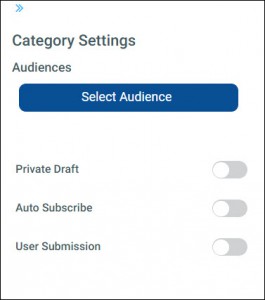
 - Set the following category settings:

- Audiences: Allows you to target your category to specific groups of users. For more details about targeting Categories, refer to Targeting Categories to Specific Audiences.
- Private Draft: Controls whether or not others can see your category in the Content Management System. When enabled, nobody will be able to see this category until you disable the setting.
- Auto Subscribe: Automatically adds new and existing users to specific categories. When enabled, existing users in the targeted audiences will immediately be subscribed. New users will be subscribed to the category after their account has been added under the corresponding tenant. Users can unsubscribe from categories at any time by clicking Unsubscribe. When disabled, users in the targeted audiences will no longer be immediately subscribed. Users who have already subscribed will continue to see the category’s content in their news feed.
- User Submission: Allows users to publish content from the Korbyt Anywhere mobile app or web interface. When enabled, users will be able to publish content to the category.
 This setting will only be available if you have enabled the User Posts setting for your tenant.
 - Auto-Publish User Content: Automatically publishes any user-generated content submitted to the category. When enabled, content published to this category from the Korbyt Anywhere mobile app or web interface will be immediately visible to all subscribed users. When disabled, any user posts will first have to be reviewed and approved by either a Tenant Administrator, Administrator, or Approver before it becomes visible in the Korbyt Anywhere mobile app or web interface.
 This setting will only be available if you have enabled the User Posts setting for your category.
- Click Save to save your category as a draft if you are not ready to publish it.
It won’t be visible to users. - Click Publish to finalize your category and make it visible to users.

All saved and published categories will appear on the Categories screen. If you want to edit a category, click the corresponding pencil icon for the category and make the necessary updates.
You can also archive the category. For more information about archiving categories, refer to Archiving Categories.

