On this article we will describe what Korbyt Command is, how to use and how to create and configure.
What is it?
Korbyt Command is a powerful all-in-one graphical user interface that displays all players installed within a given location and gives the user an un-complicated ability to add and remove content.
With the Korbyt Command feature, you have the ability to use different types of maps to view players that are in separate geographical locations, where a player in located in a specified floorplan, or view all players within a given location.
In addition, you can view what content is currently assigned to a player and quickly assign new content by simply dragging and dropping.
********************************
How can it be beneficial?
Korbyt Command is a very beneficial feature as it streamlines the process to locate a player to view or assign content within a given floorplan or geographical location. You no longer need to guess or have someone on-site to verify a specific player’s location.
Because this feature is a graphical user interface there is little to no training needed to use. Follow the 3 steps of (1) Select Floorplan, (2) Add Displays and (3) Assign output & Save. You simply just click a player on the map to access the player name and content assigned. This allows new users to easily use this feature.
*******************************
The steps below outline the easy process of creating a Korbyt Command
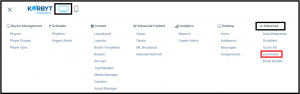
To begin, NOTE: Players need to be active and the needed floorplan images need to be imported. Login to the tenant and under Digital Signage –> Advanced select Command.
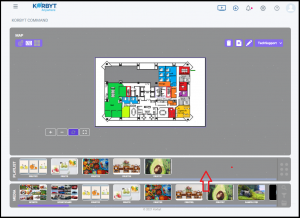
The KORBYT COMMAND window will open.
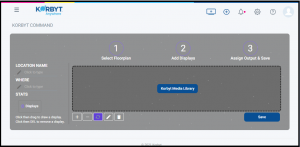
(1) Select Floorplan
Make sure the image for the floorplan is already added via the Media Library
- Enter the Location Name (this is how each location can be identified if multiple locations are created).
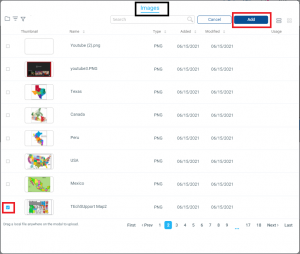
- Click on Korbyt Media Library button to select the floorplan image
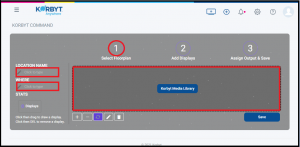
- Clicking on the Korbyt Media Library button will allow the user to navigate to the Media Library. Make sure to click on the check box to select the the image, then click on the Add button
- Now that the Floorplan Image is added, we will proceed with adding displays.
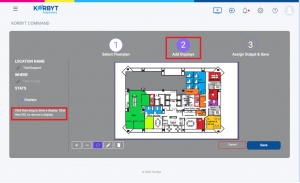
(2) Add Displays
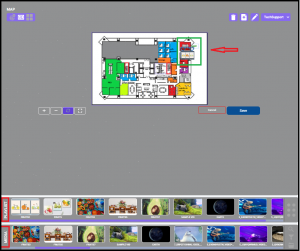
- To be able to add displays – Just click on the desired location on the footprint and draw, this will enable the option to Assign the output.
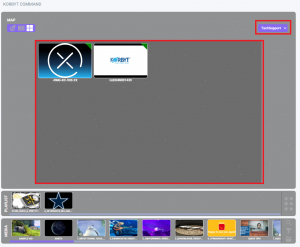
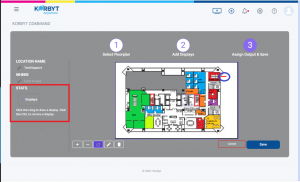
- Once the display is added (highlighted on the blue circle) Notice the Stats, it will show 1 display if only one is added, the number will increase as more displays are added.
- The user has the option to Zoom-in, Zoom-out, Reset-zoom, Drawing Mode and Delete any of the floorplans or displays. Just click on each of the buttons to take that action.

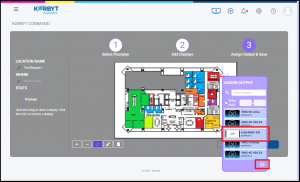
(3) Assign Output & Save
- At this point step 1 and 2 have been completed. To complete Step 3 which is to be able to assign Output and Save the command, click on the draw-line just created on Step 2, a window with the available players will display.
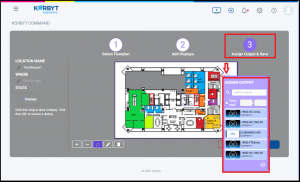
- Select the desired player from the list and click on the check mark to verify the selection
- Note: There is also an option to setup a video wall, if this option is needed, check the Video Wall, enter the number of rows and columns, select the the player and click on the check mark to make the selection.
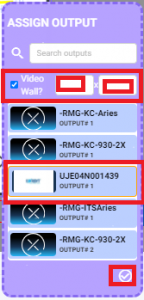
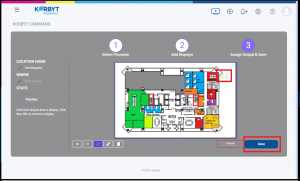
- Notice how the display changed from red to yellow, this indicates the output has been assigned.
- Click on the Save button
- Now that the location has been added the next step is to assign content. Playlist and Media are the only content options available.
- By Default Media section will show content, but more content can be added to that list by clicking on the Open Media browse button showing below.
- Within Media user has the option to
a) Search by Name
b) Filter by Content Type
c) Open Media Browser
- The Media Browser allows the user to select what type of content they would like to add to the Media. This is the available content that can be added. Images, Videos, Layouts, or Messages. Once the content is added to the Media, it will be available to be added to the display by simple drag and drop.

- To build the Playlist section with content, drag and drop content from the Media section to the Playlist Section.
- To assign the content, click on the display then just drag and drop the content from Playlist or Media to the display.
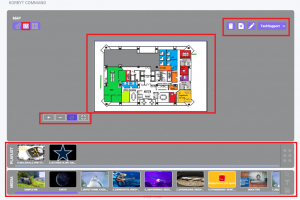
- After content is assigned, by clicking on the display the preview becomes available on the left side of the screen. The preview will show which player is selected and what content (playlist and Media) has been added.
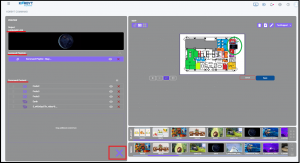
- Click on the X to close the preview.
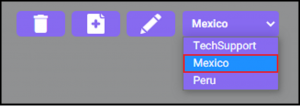
Action Buttons on the Korbyt Command
The Map Display action buttons are:

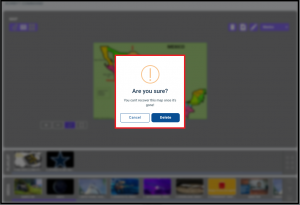
- Delete Map – will delete the selected map but before it deletes a warning will appear.
- Add Map – By adding this option a new map display can be added. The same process will have to be follow just like when adding the fist display. Select the Floor Plan, Add Displays, and Assign Outputs.
- Edit Map – By selecting this option the user will is able to edit the selected Map, for example to add or remove displays or content.
- Select Map – By clicking on the drop down the user is able to select a different Map
***
Zoom in Options

- Zoom-in
- Zoom-out
- Reset Zoom
- Selection Mode
***
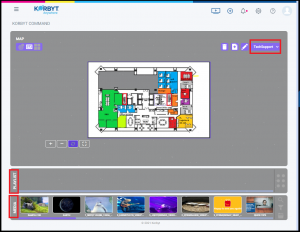
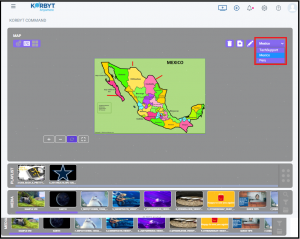
MAP
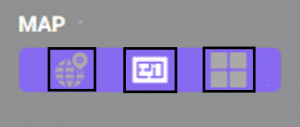
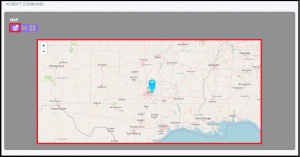
- Global View – By selecting this option a Global Map will display.
- Map View – By selecting this option the floor plan created for the location will display
- Grid View – By selecting this option the grid will show all the players added to the Display(in this case called Tech Support). Multiple displays can be added.